It’s super cold and snowy here and I’ve really been wanting to get a blog post done. I honestly wrote some of this post a few weeks ago, but then I had some health issues that prevented me from finishing it at the time. I won’t go into detail, but 2021 has not been my favorite year. Here’s hoping that 2022 is much better!

We recently had the opportunity to see Alton’s live show, which was super fun. We had previously seen him two other times and both times we were pleasantly surprised by the hilarity of the live shows; that’s not to say that Alton hasn’t been funny on Good Eats, but just that the humor in his live shows has been kicked up a couple notches. I was curious to see how this show would compare to his others, especially since he has publicly stated that this will be his last touring show; I would highly recommend that you catch his show if you so happen to have the chance.

After completing the recipes from this episode, I think it was safe to say that we met our dietary fiber recommendations for that week, as I cranked out all five recipes from Alton’s barley episode in the same week. I enjoy the episodes, such as this one, in which Alton truly demonstrates a multitude of uses for a particular ingredient. And, to make it more fun, barley is an ingredient that I do not regularly utilize.

Baked Barley

This recipe is sort of the stepping stone of the episode, as it is a basic recipe for baked barley that could then be used in myriad ways. Ideally, you will want to use hulled barley for this recipe, but I had to settle for pearled barley. What is the difference? Well, pearled barley has been polished to remove both its husk and bran layers, while hulled barley has only had the outermost husk removed. Hulled barley is more nutritious and takes longer to cook. Still, this recipe seemed to work just fine for the pearled barley I used.

To make baked barley, put 1 C barley in a 1.5 quart lidded casserole dish, along with 1 t Kosher salt, 1 T butter, and 2 C of boiling water. Stir, cover the dish tightly with foil, and place the lid on top of the foil. Bake the barley at 375 for an hour.
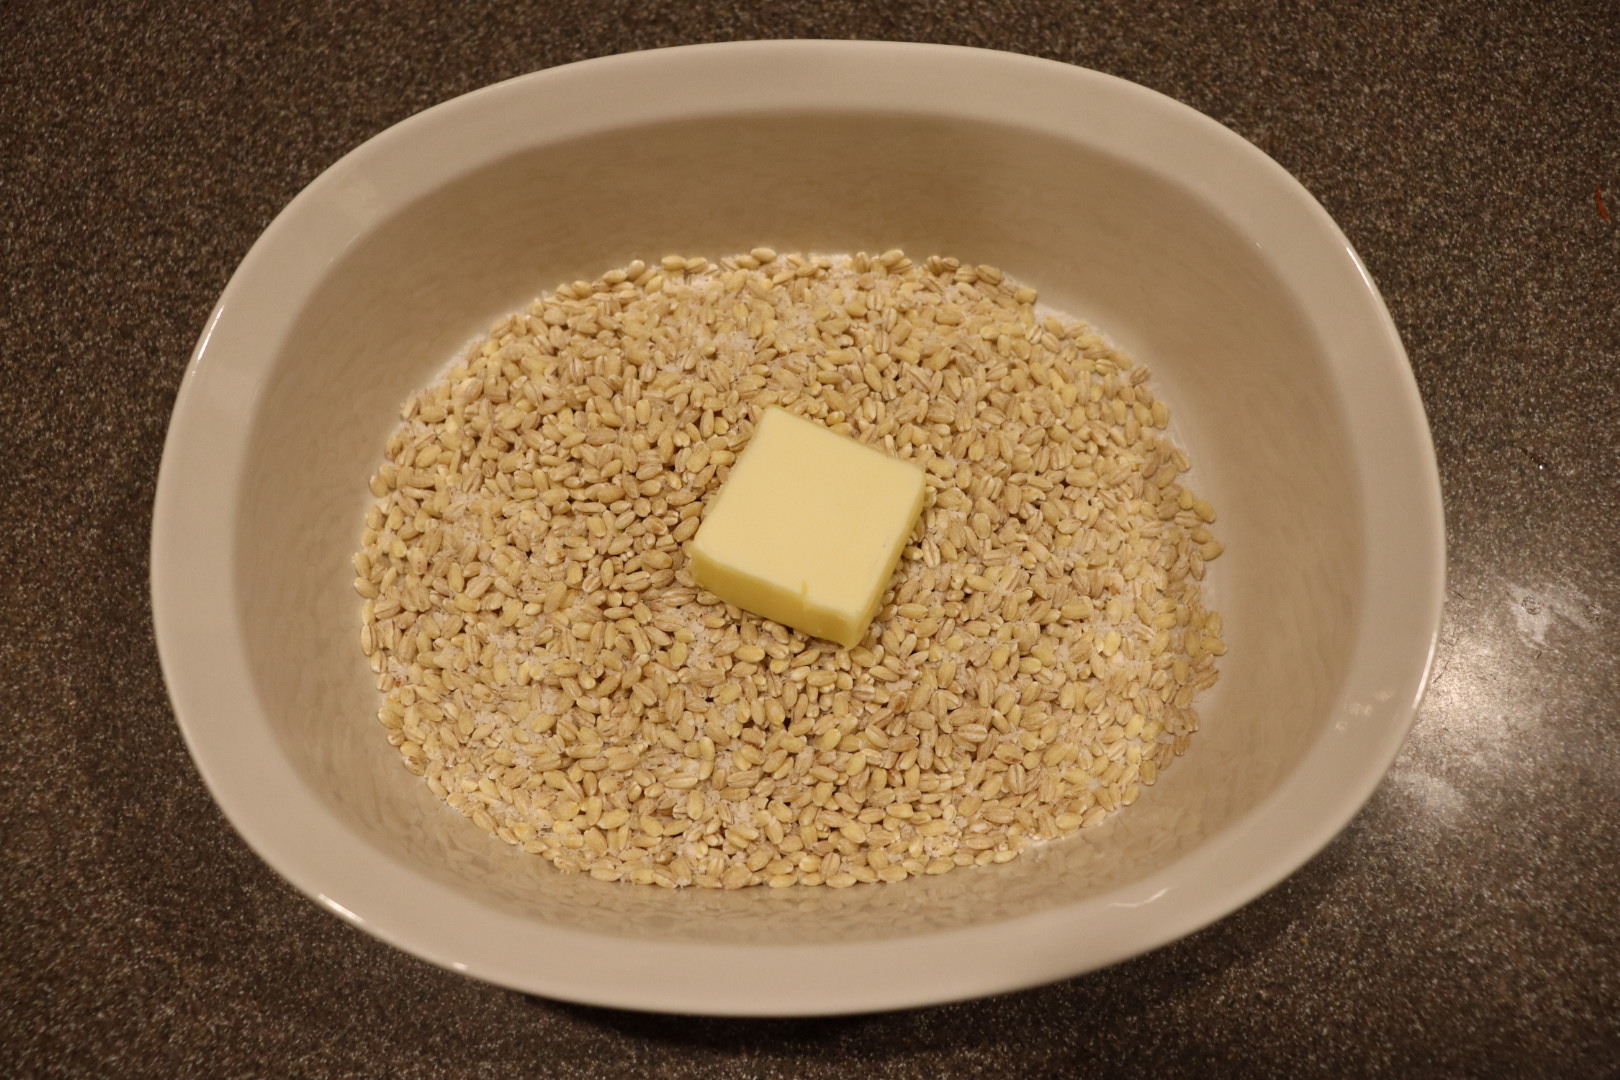
Immediately upon removing the barley from the oven, remove the lid/foil and gently fluff the barley with chopsticks or a large fork.

Barley before and after fluffing.

You can serve the barley immediately or you can refrigerate it for later use. Or, you can use it to make a…

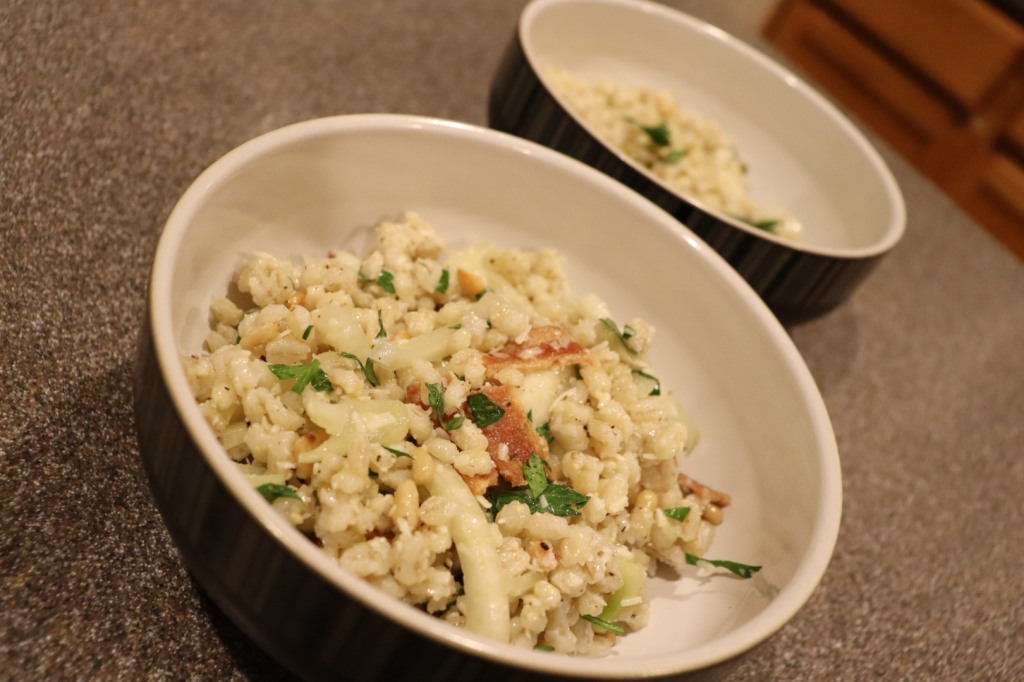
Barley Salad

For this salad, you’ll need to prepare a batch of Alton’s baked barley, as written above. To make the dressing, whisk 2 T extra virgin olive oil with 3 T fresh orange juice.

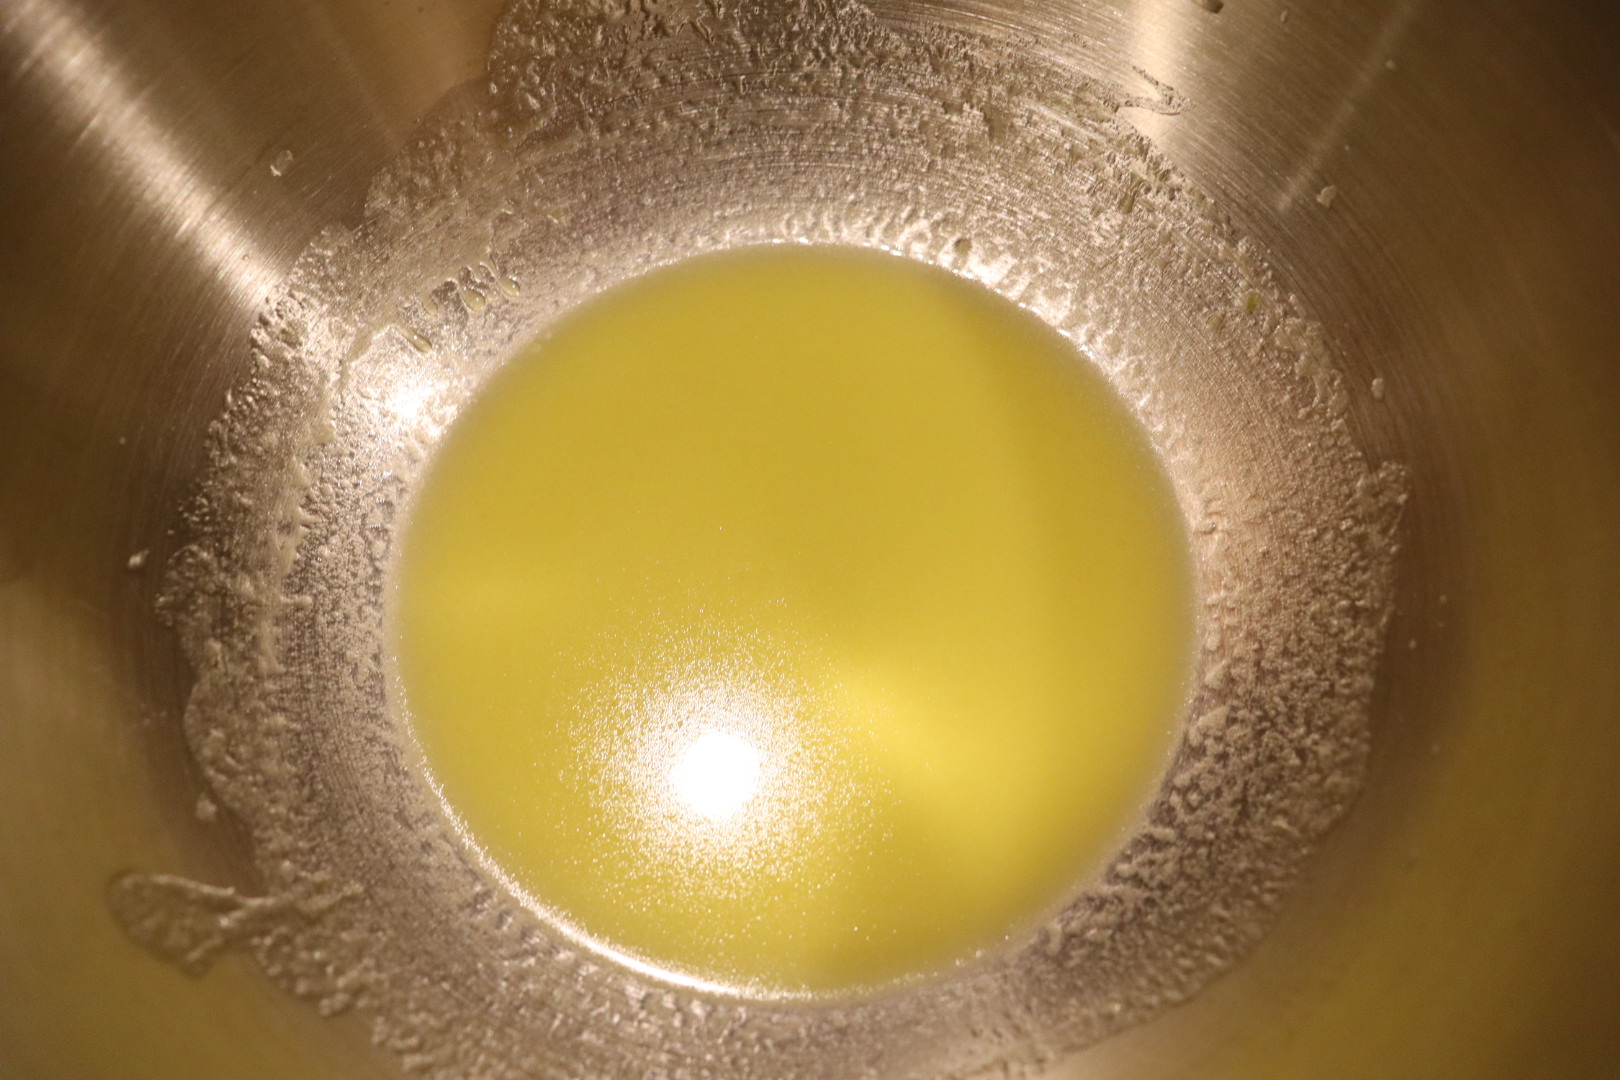
Add a batch of Alton’s baked barley (cooked and cooled), a julienned head of fennel, 1/4 C of toasted pine nuts, 1/2 C grated Parmesan, 1/2 C cooked/crumbled bacon, 2 T chopped parsley, and Kosher salt/black pepper (to taste).

Alton’s barley salad.

We enjoyed this salad, though the orange juice was almost unidentifiable. I found that adding additional orange juice really jazzed this salad up a few notches. I also found it necessary to add quite a lot of Kosher salt. I would certainly make this again, especially as a dinner side or a lunch salad.

Barley and Lamb Stew

Where we live, at least, it is certainly stew weather. I view lamb as a very polarizing ingredient, as people seem to either love or despise lamb, with very little in between. I happen to greatly enjoy lamb, so this stew was enticing from the get-go. This recipe begins with trimming/cubing 2 pounds of lamb shoulder. Add pinches of Kosher salt and pepper to the lamb cubes, along with 1 T flour. Toss the lamb to thoroughly coat in the flour.
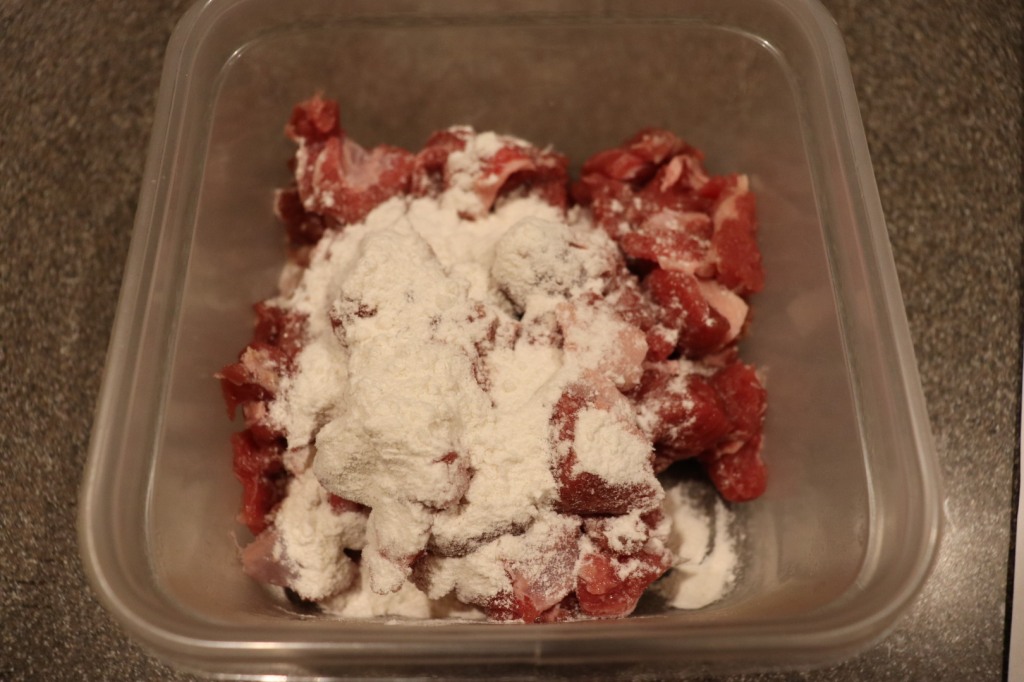
Cubed lamb shoulder tossed with Kosher salt, pepper, and flour.

Heat a 4-5 quart Dutch oven over medium-high heat, adding 1/2 T olive oil. Once the oil is hot, add ~ a third of the meat, browning on all sides. Remove the meat as it browns, and brown the remaining meat in two batches.

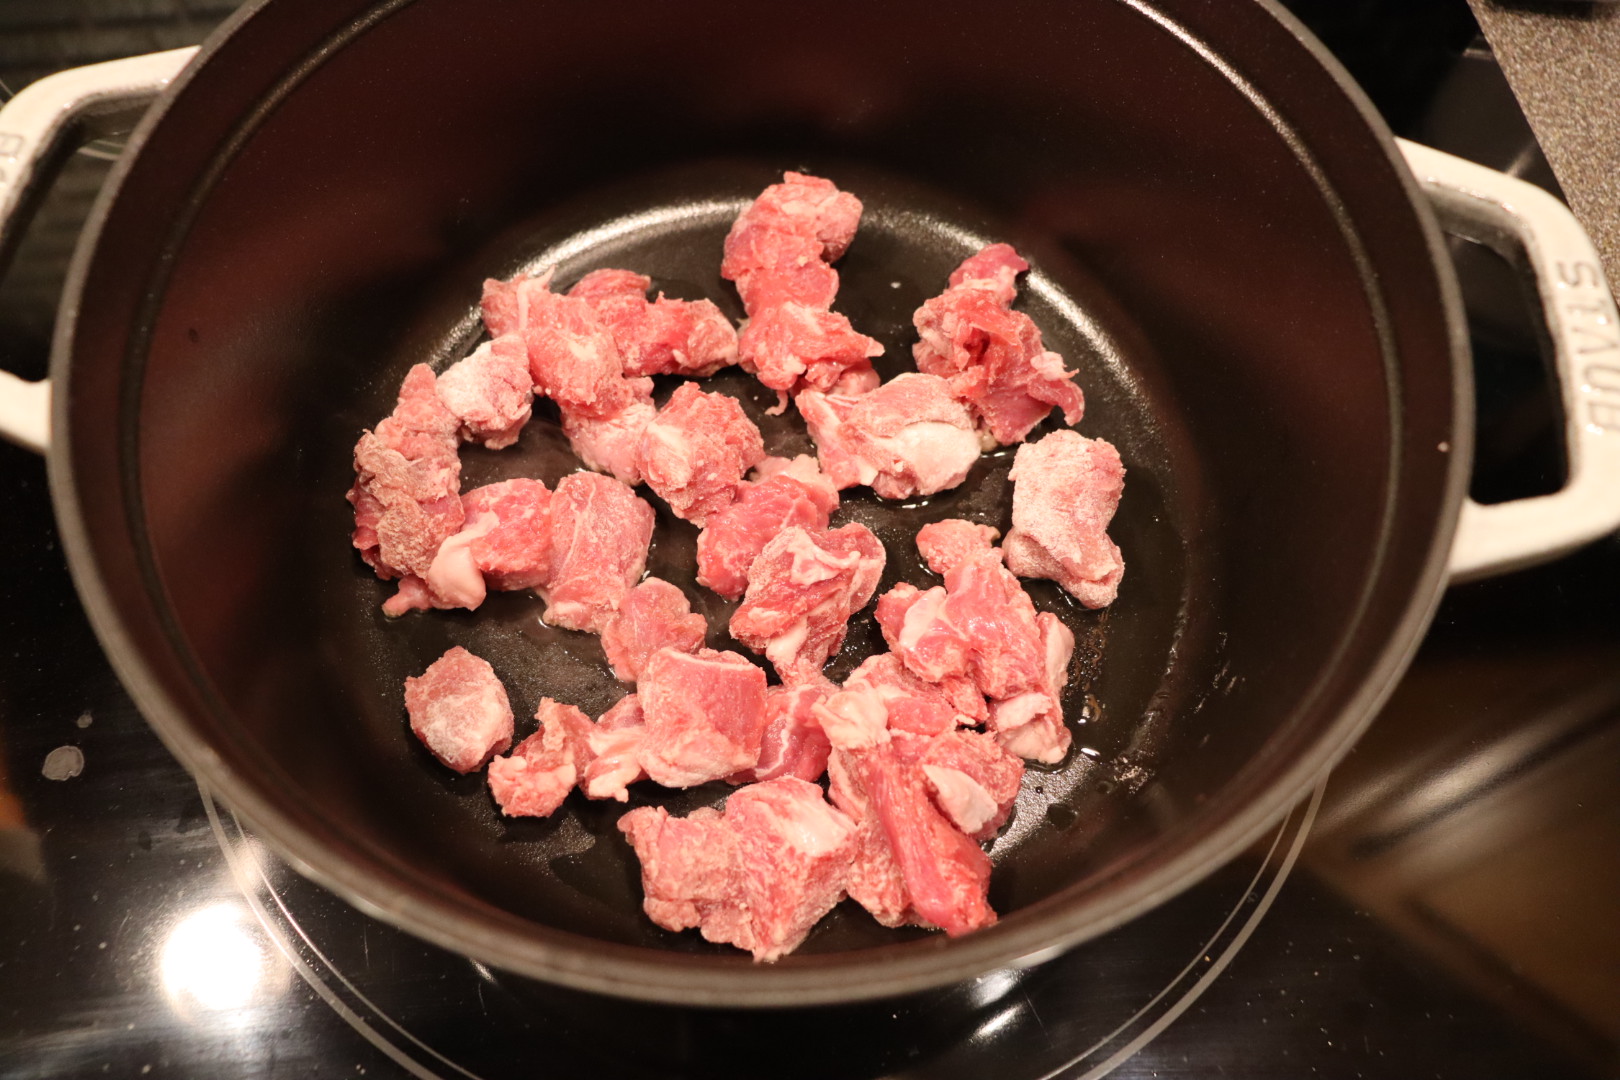
When all of the meat has browned and been removed from the pan, add more oil (if needed), 3 sliced carrots, and a pinch of Kosher salt. Cook the carrots until they have some color.
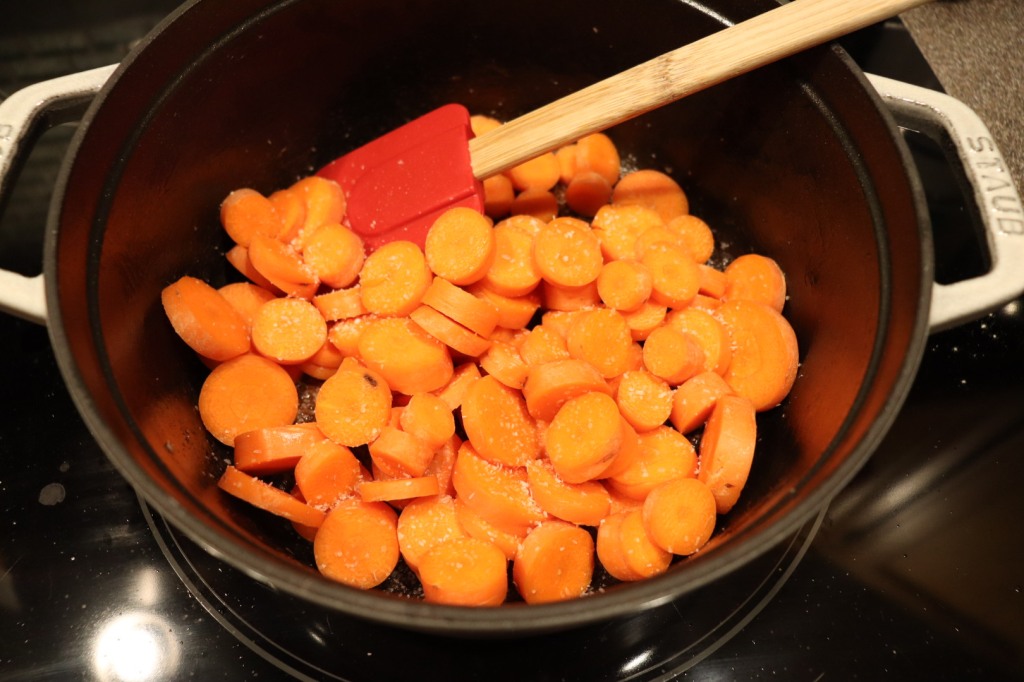
Carrots and Kosher salt added to pot to cook until golden.

Add the lamb back to the pan, along with 1 C of barley grits (we ground barley to a grit-like consistency), and a quart of chicken broth or stock. Bring the stew to a boil, add a cover, and simmer for 30-45 minutes, or until the lamb falls apart.
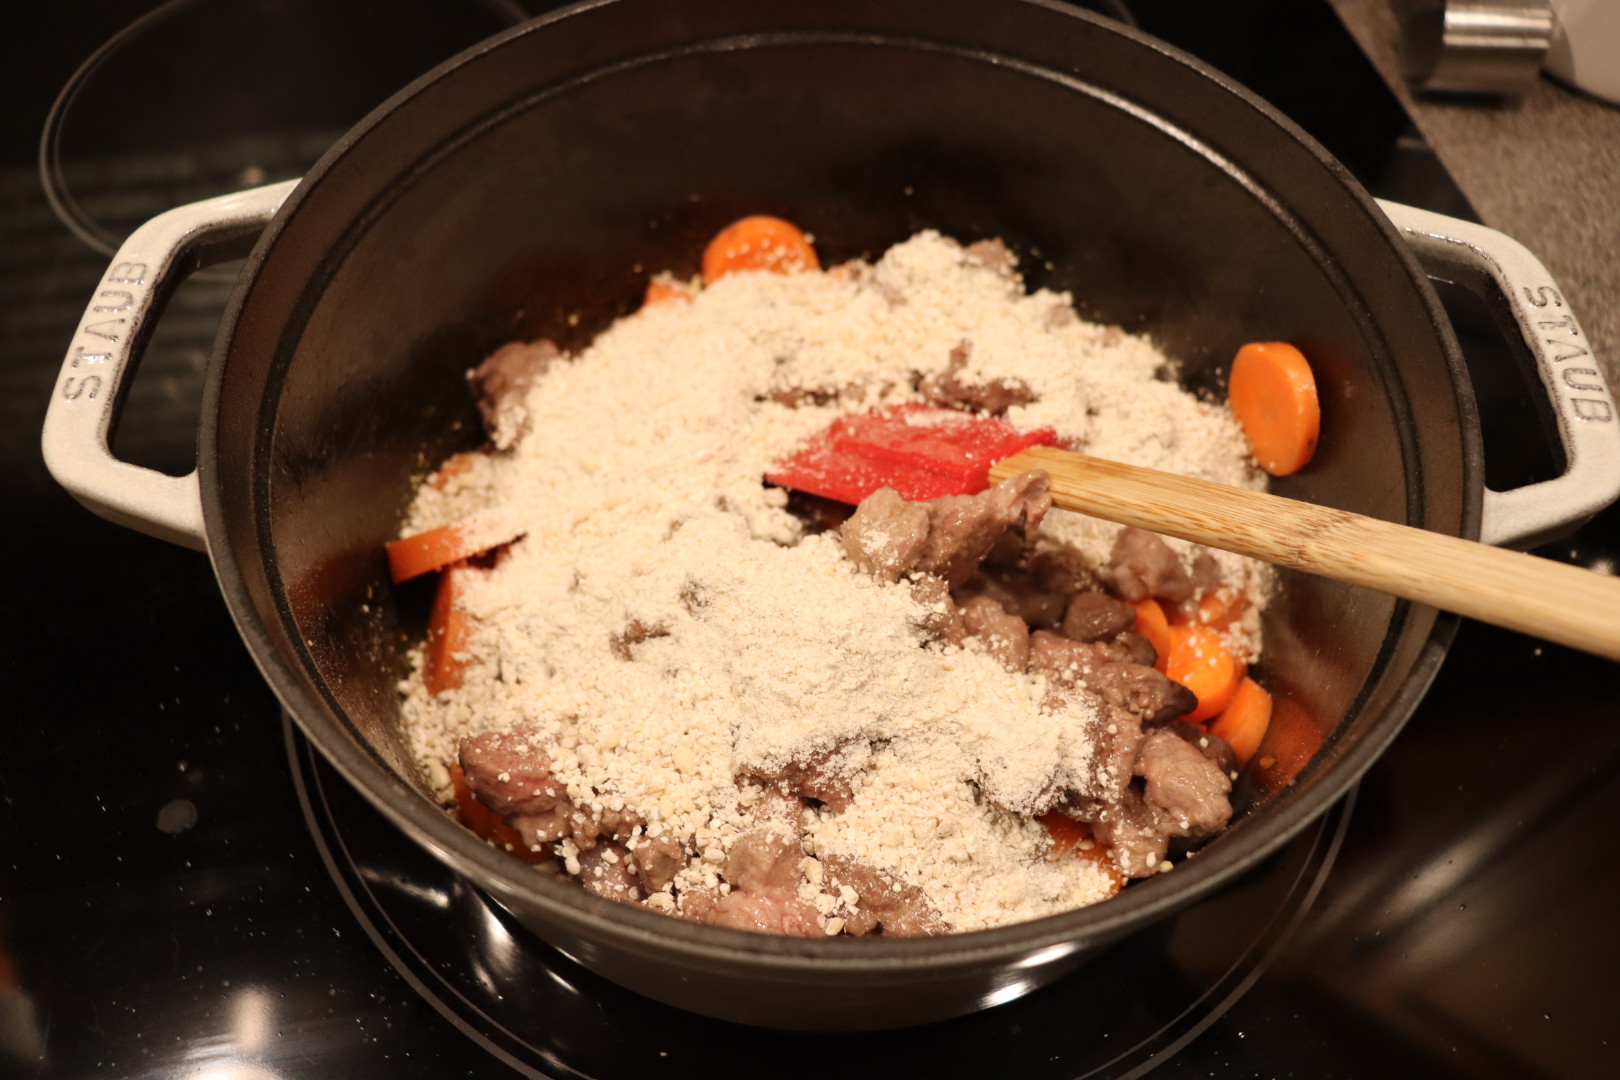
Serve the stew with fresh oregano.

Alton’s barley and lamb stew.

This lamb stew was good, but not Earth-shattering. I would call this stew simple but tasty. I would recommend serving this stew the day it is made, as it becomes overly thick/congealed when refrigerated and reheated. We ate this stew with a side of…

Barley Bread

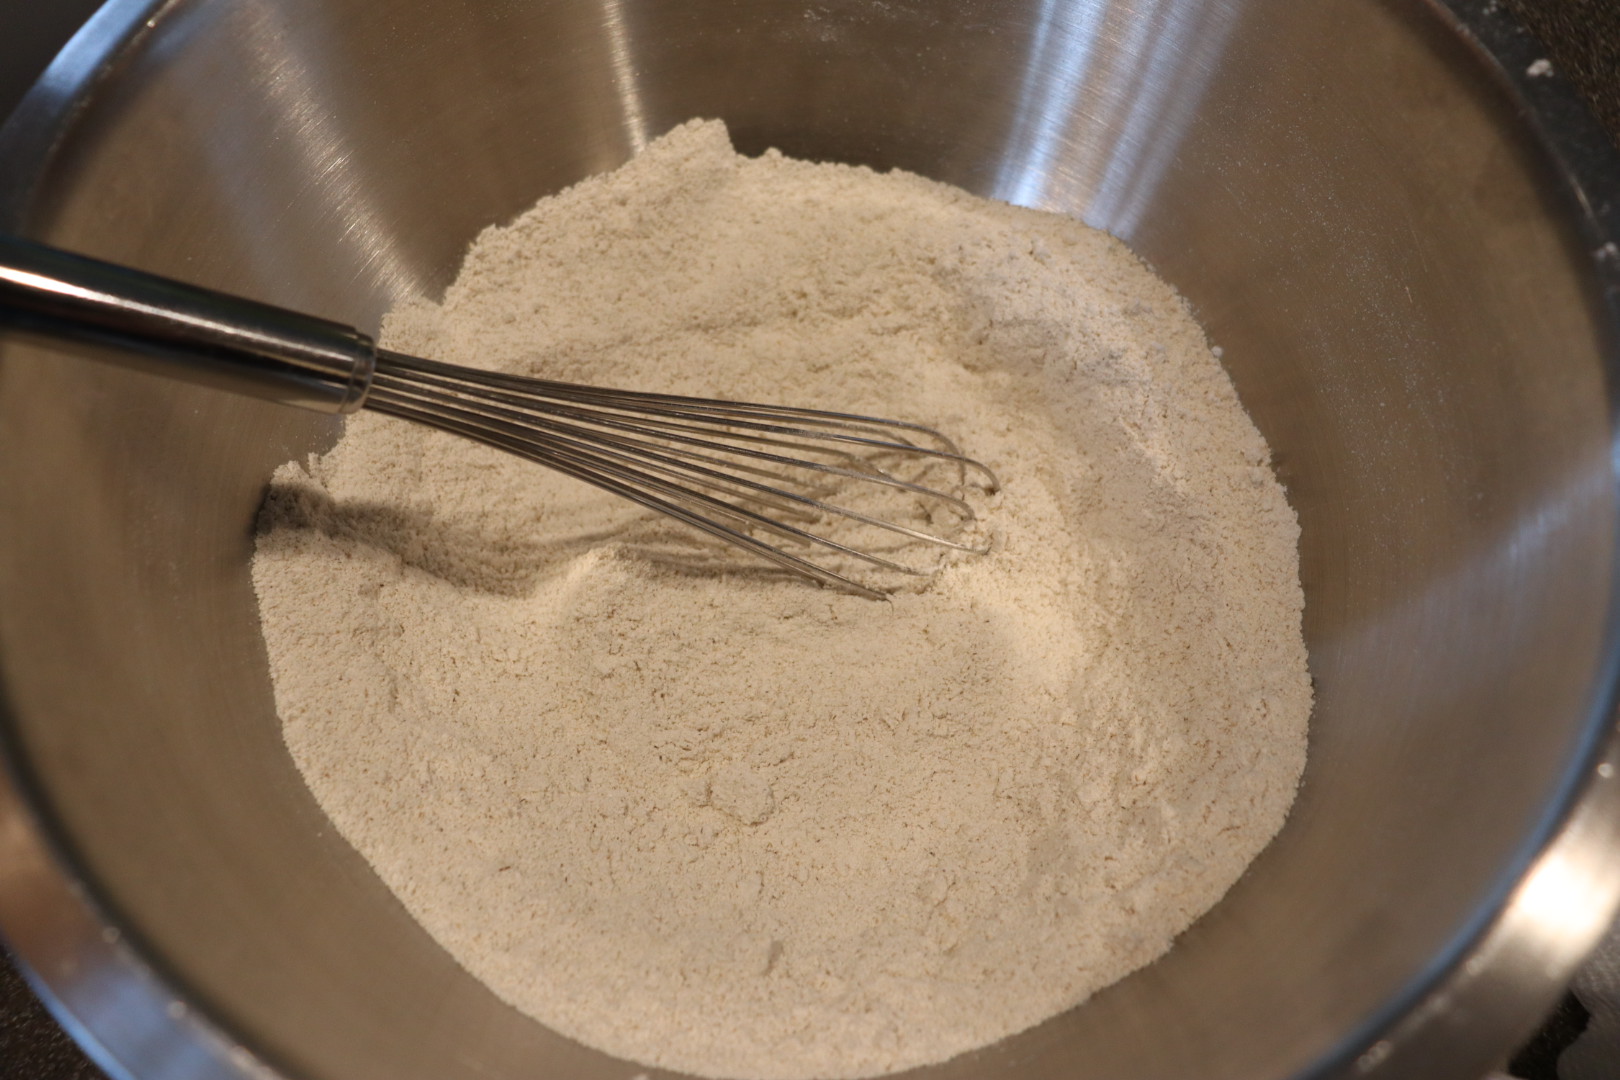
When making Alton’s barley bread, you will need 10 ounces of barley flour; you can either purchase this ingredient or you can mill the flour yourself from 10.5 oz of barley. Either way, place the flour in a bowl with 2.5 T baking powder and 1 t Kosher salt, whisking to combine.

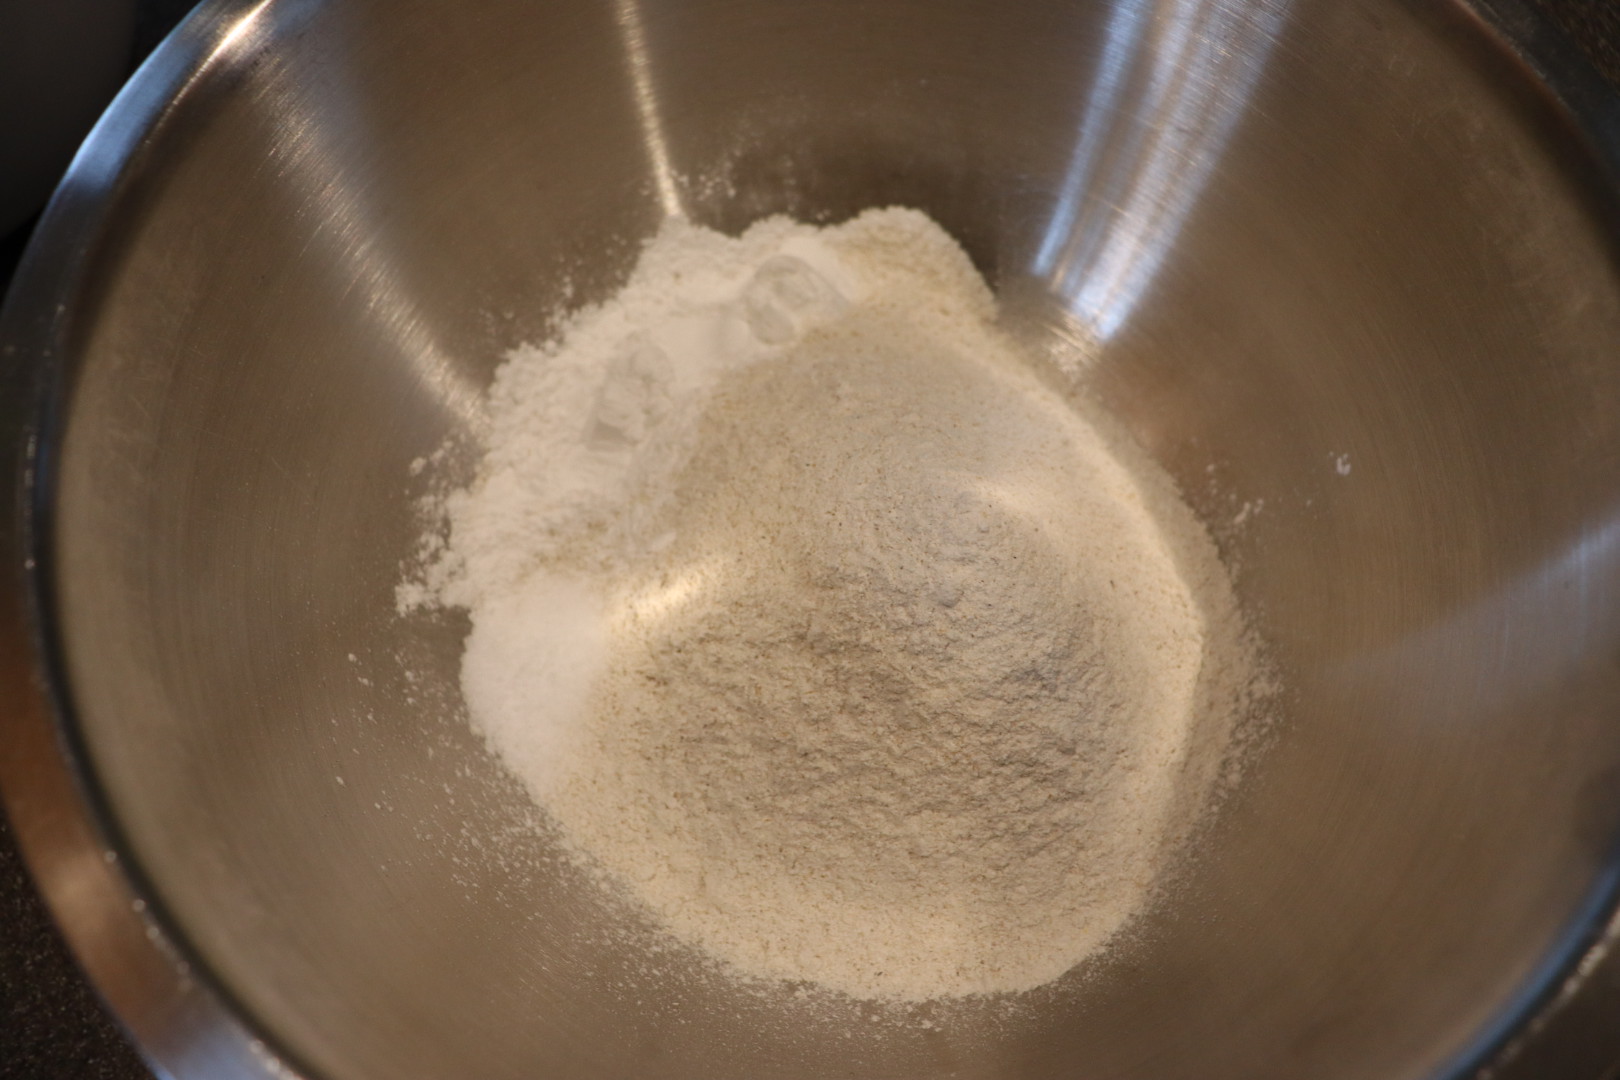
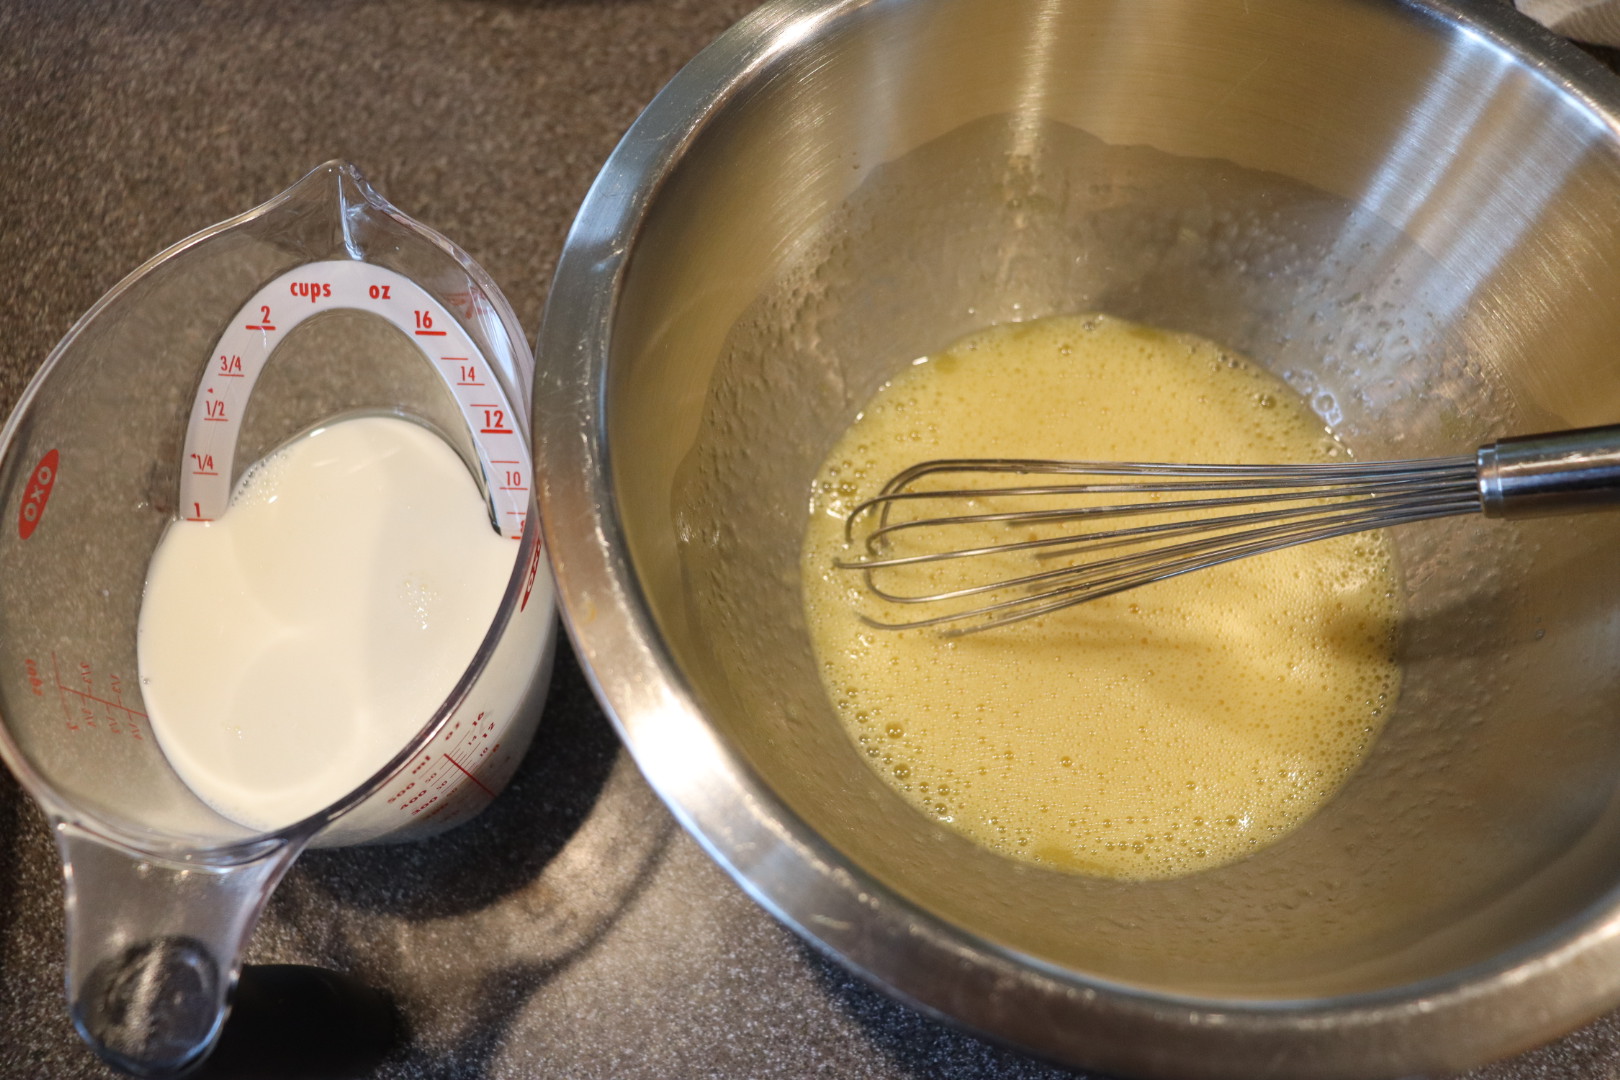
In a separate bowl, whisk together 2 eggs and 2 T honey. Add 1/4 C canola/vegetable oil and 1 C milk.

Once the wet ingredients are combined, add the wet ingredients to the dry ingredients, stirring to combine; since barley is low in gluten, you can thoroughly stir this dough without making it tough.

Pour the dough into a lubed Dutch oven and cook it for 35-40 minutes, uncovered, over a gas grill that has been preheated on low for 15 minutes. Alternatively, you can bake the bread in a 350 degree oven for 25-30 minutes, which is what I did. Regardless of cooking method, seek an internal temperature of 190 degrees.

Cutting the barley bread.
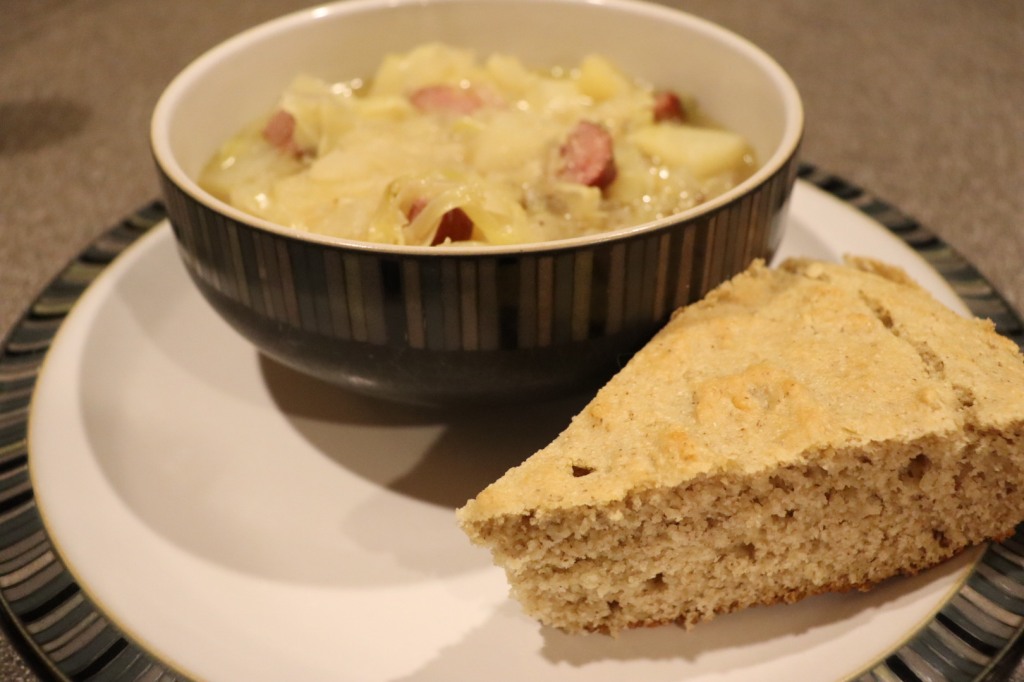
A slice of barley bread, served here alongside Oktoberfest soup.

We enjoyed this bread, which was slightly sweet and nutty. The crumb is very crumbly, so don’t expect a bread that holds together tightly when sliced. I also found that this loaf stuck to my Dutch oven, so I used a dinner knife multiple times to free the edges of the loaf from the pan. I then used Alton’s tip of placing a paper plate on top of the loaf before inverting the loaf onto the plate. Eventually, this worked, though I did have some cracking and breaking at the edges of the loaf. I find this to be a good weekday bread to pair with soup; we ate it alongside an Oktoberfest-style soup.

Barley Water

The final recipe of this episode is one I immediately recognized as being included in Alton’s “EveryDayCook” cookbook. I figured then that this must be an Alton favorite. Barley water, by the way, is a beverage that is traditionally served at Wimbledon. To make it, heat 1 C hulled barley in 2 quarts water over high heat until boiling. Decrease the heat and simmer the barley for 30 minutes.

While the barley simmers, use a vegetable peeler to zest two lemons into a pitcher, also adding their juice. Stir in 1/4 C honey.
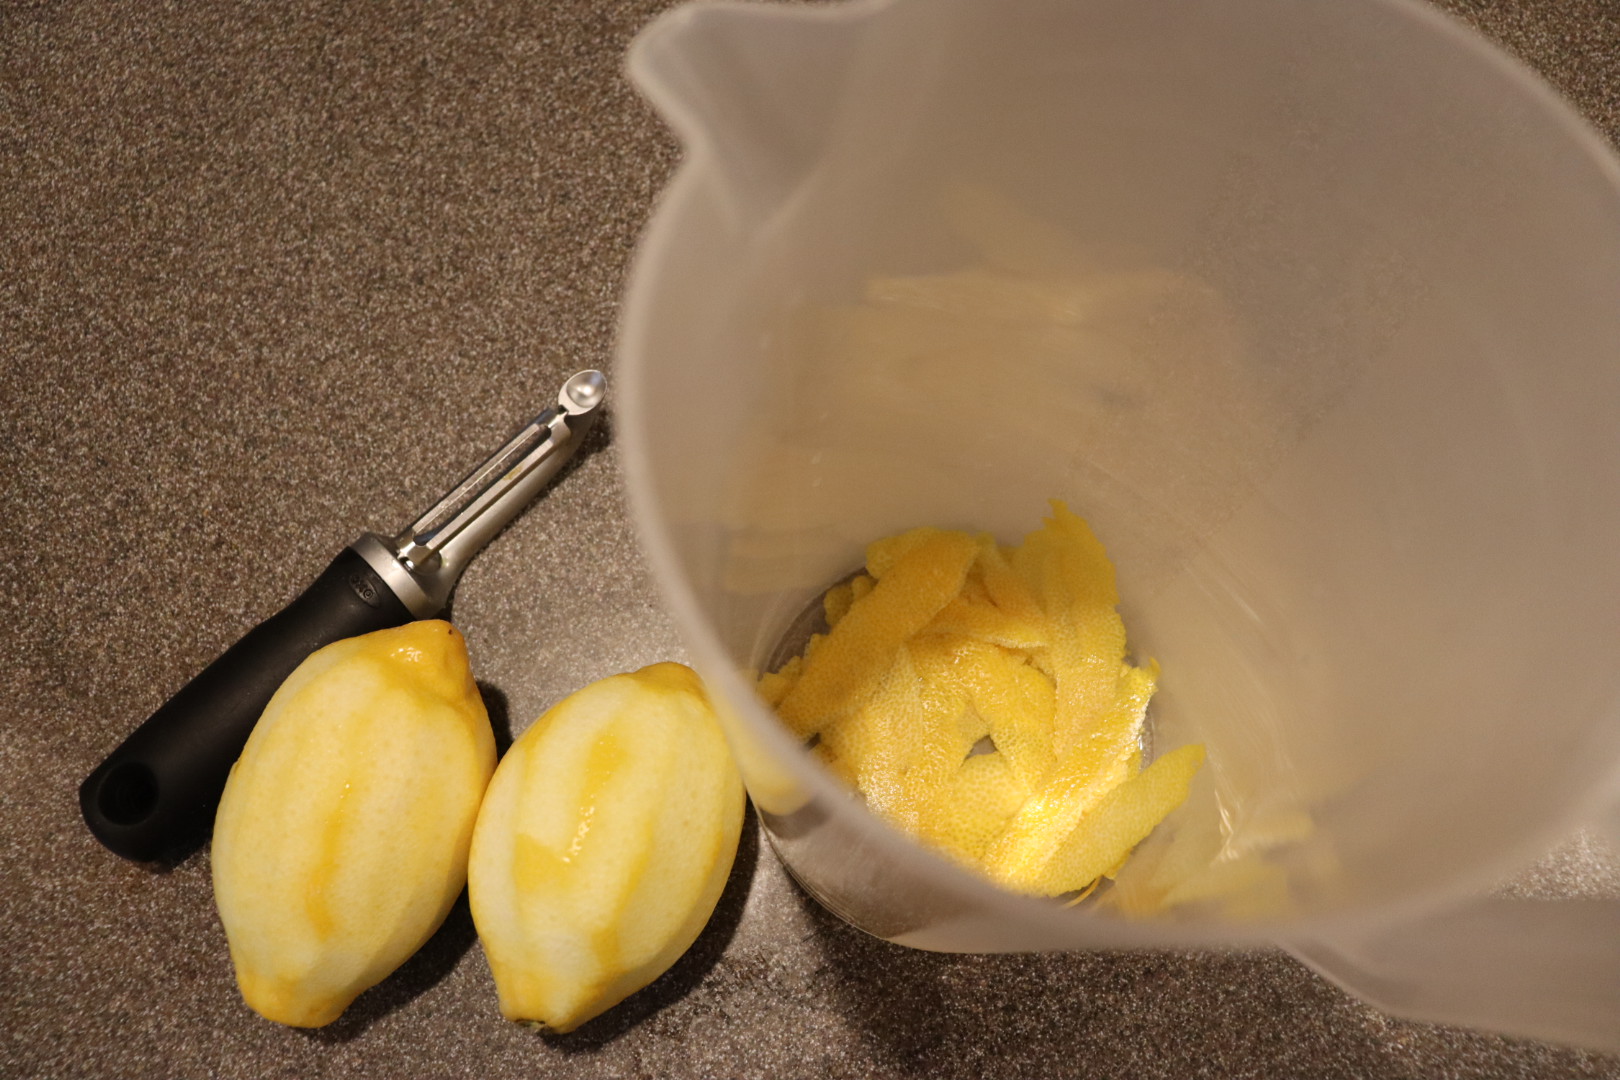
Strain the liquid from the cooked barley into the pitcher, stirring to combine. Refrigerate the barley water until it is sufficiently chilled before serving.

Barley water after straining liquid into the pitcher.
A glass of chilled barley water.

Although we were not enjoying this beverage in the midst of warm weather, I can still say that it is very refreshing. The predominant flavor in this drink is lemon, and particularly the slightly bitter flavor of lemon zest. I would maybe consider decreasing the amount of lemon zest here with hopes of less bitterness. Since I have never consumed any other barley water I cannot say whether this level of bitterness is typical; perhaps it also depends somewhat on the actual lemons you use? That said, I legitimately liked Alton’s barley water and I plan to make it again when the season again turns to warmth.

Some episodes of Good Eats end up being easier than others. This particular episode turned out to be a bit of a pain. Although there were only two recipes in this episode, I had to make the first recipe several times, so it ended up taking me a few weeks to complete the cooking portion. Anyway, I tried the recipes therein, and here’s how they worked for me.

Corn Tortillas

When I have had the opportunity to taste fresh, homemade tortillas, I have always found there to be a huge difference between them and the ones you can buy at the grocery store. I had never, however, attempted to make tortillas myself. Once again, I found this project to be pushing me to make a new food item at home. To make Alton’s corn tortillas, you’ll need dried field or flint corn, calcium hydroxide, and a tortilla press; I purchased all of these items through Amazon. The tortilla-making process takes two days, so you’ll also need to start this recipe the night before you plan to eat the tortillas.

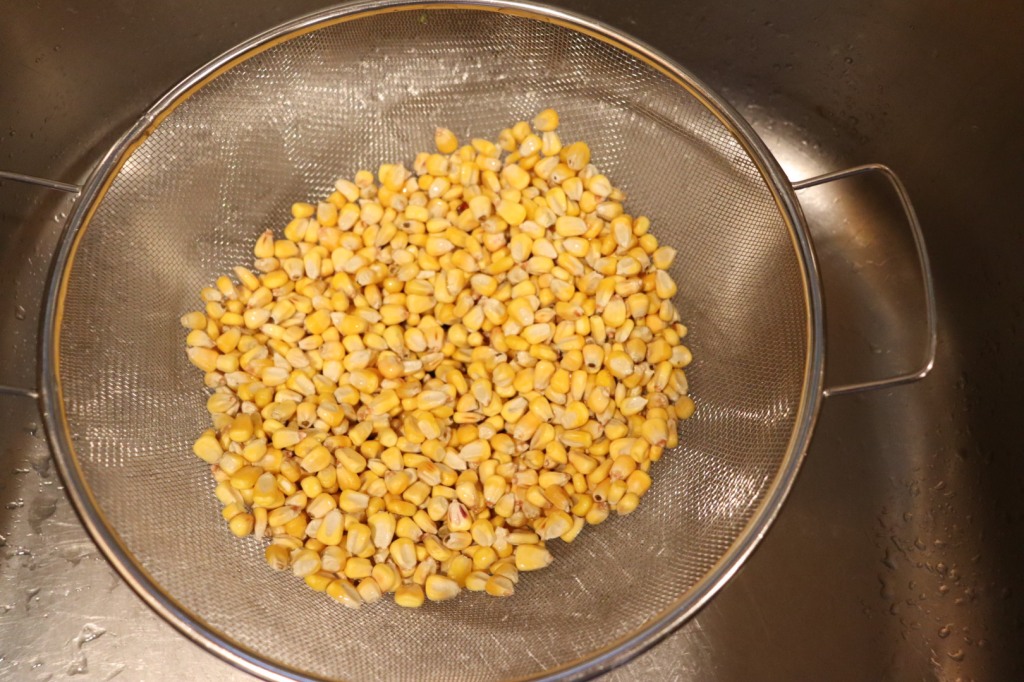
To begin, rinse a pound of dried field or flint corn under cool water.

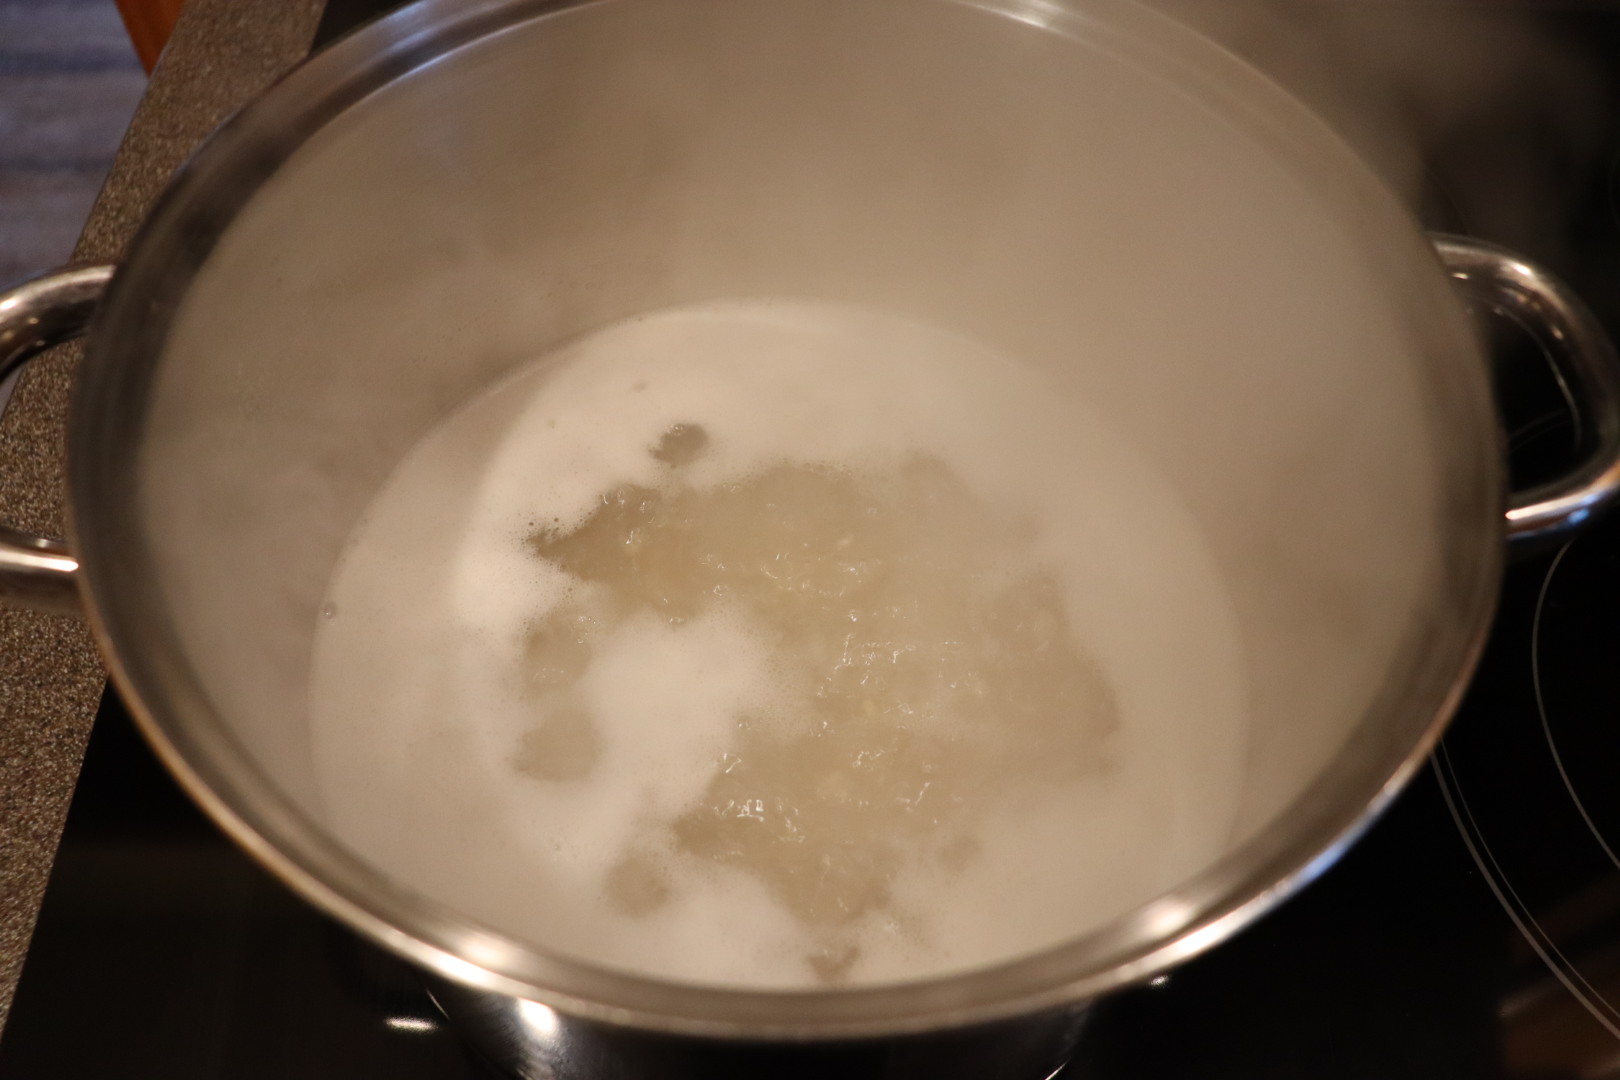
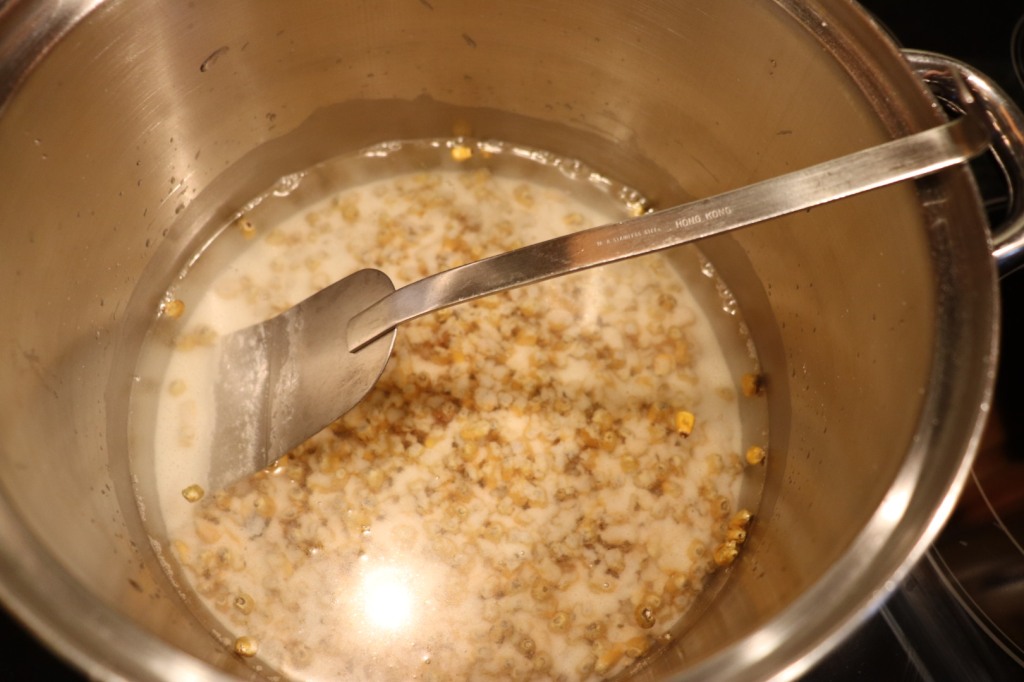
Place the drained corn in a stainless steel pot, along with 6 C water and 1/2 ounce of calcium hydroxide. Calcium hydroxide (which is alkaline), otherwise known as slaked lime/pickling lime/cal is used to cause the corn to undergo nixtamalization, which removes the hulls from the corn and releases its nutrients and amino acids. After combining the corn with the water and cal, slowly (over 30-40 minutes) bring the solution to a boil. Be sure to use a stainless steel pot and utensils when working with cal, as it can bleach wood and discolor other metal.

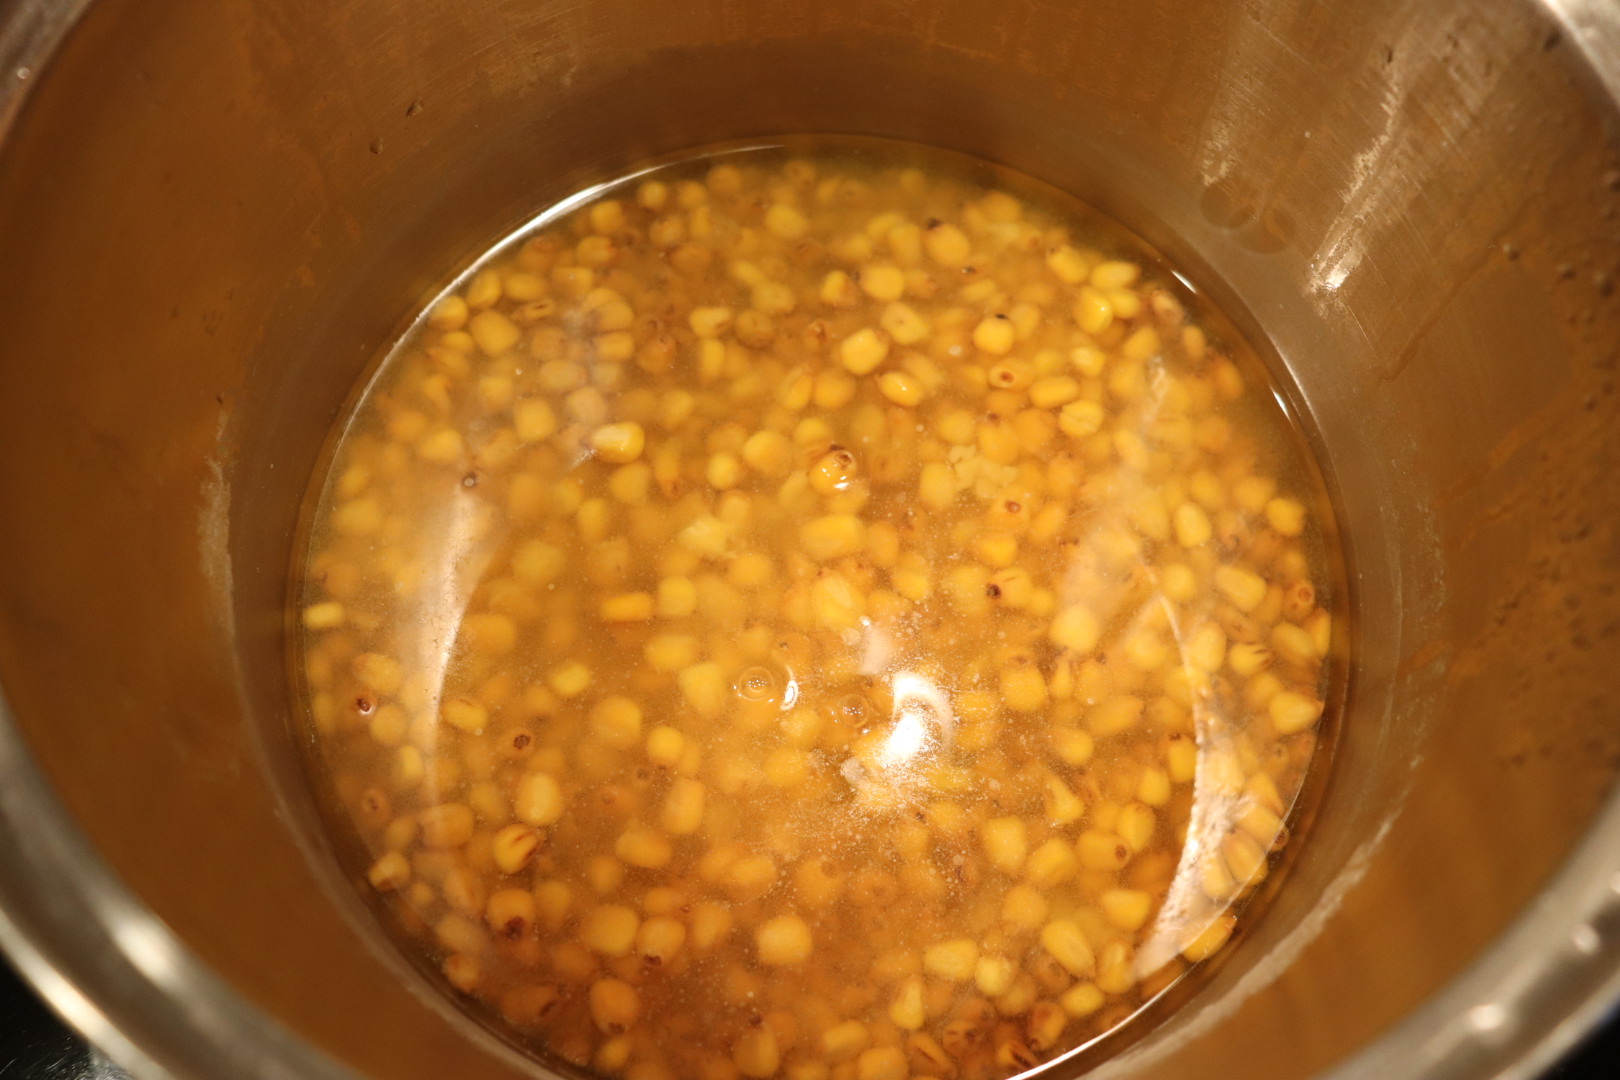
Once the solution has reached a boil, place a lid on the pot, remove it from the heat, and allow it to sit at room temperature overnight; it is crucial not to refrigerate the mixture, as cold will halt the desired chemical reaction. The following day, rinse the corn under lukewarm water for 5-6 minutes, rubbing the corn between your fingers to remove the hulls.

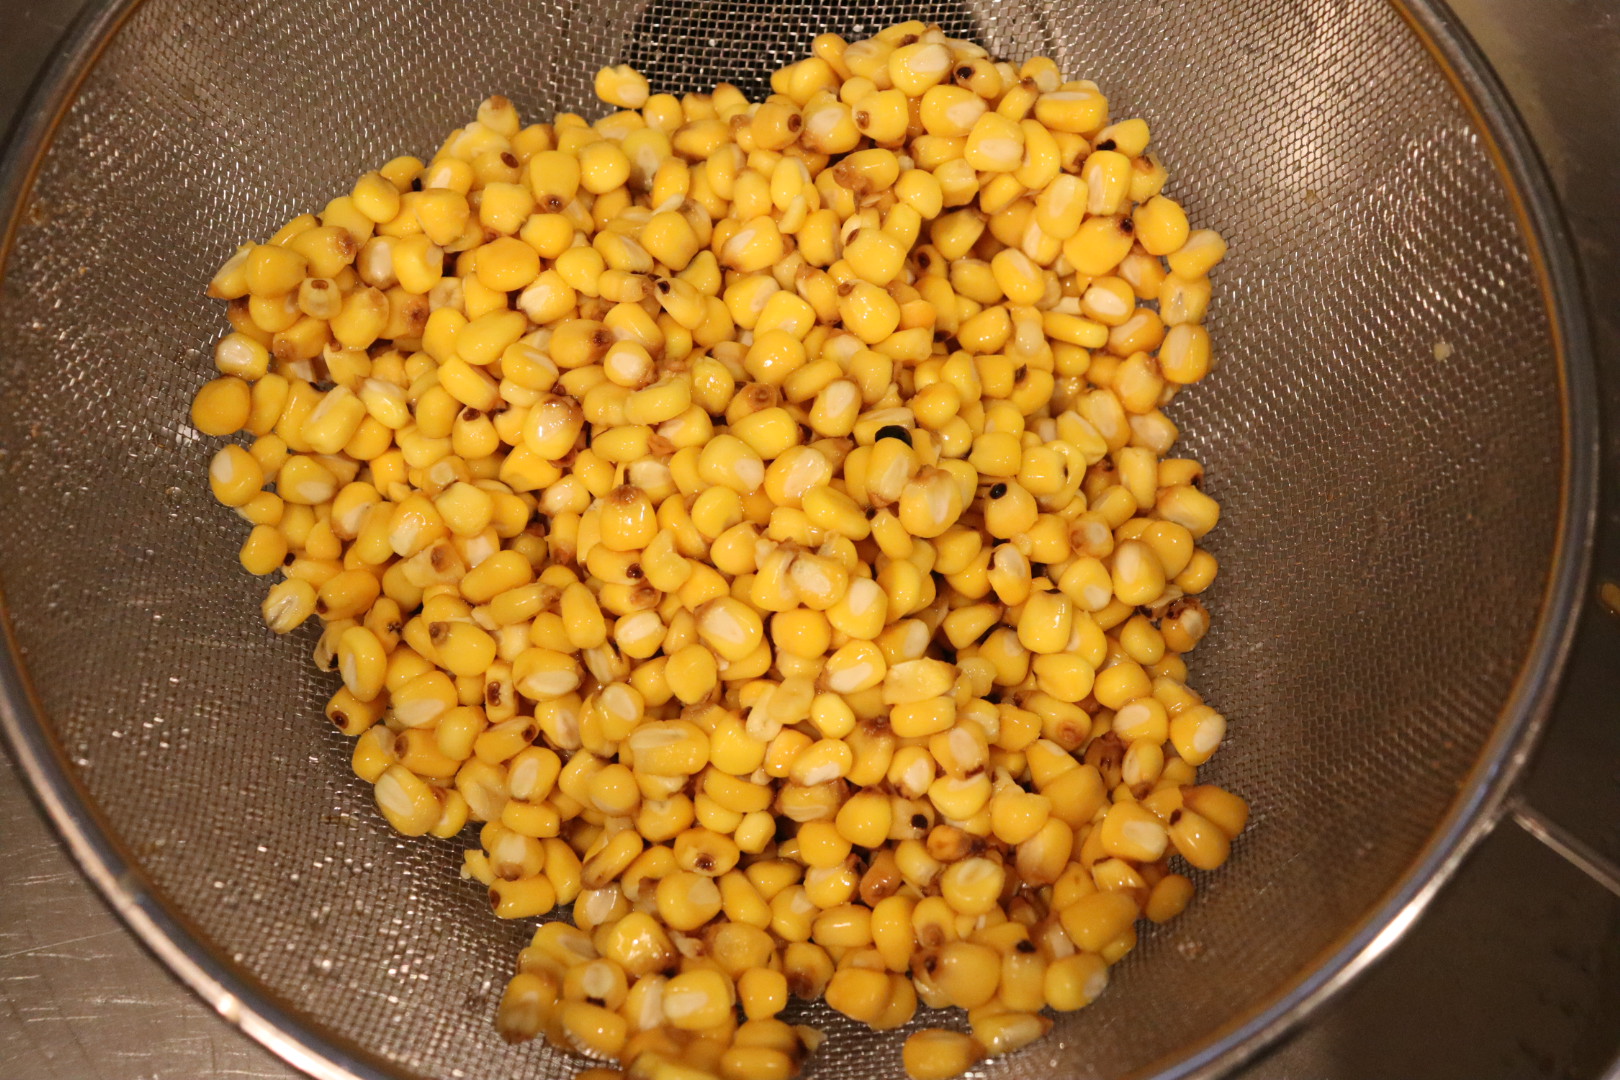
Next, soak the corn for two minutes in cold water. Drain the corn and soak it for an additional two minutes. I wore latex gloves when I handled the corn and I found it helpful to use a slotted spoon to remove the corn from the soaking water, as this left more of the hull pieces behind. The resulting corn you have now is called “nixtamal.”

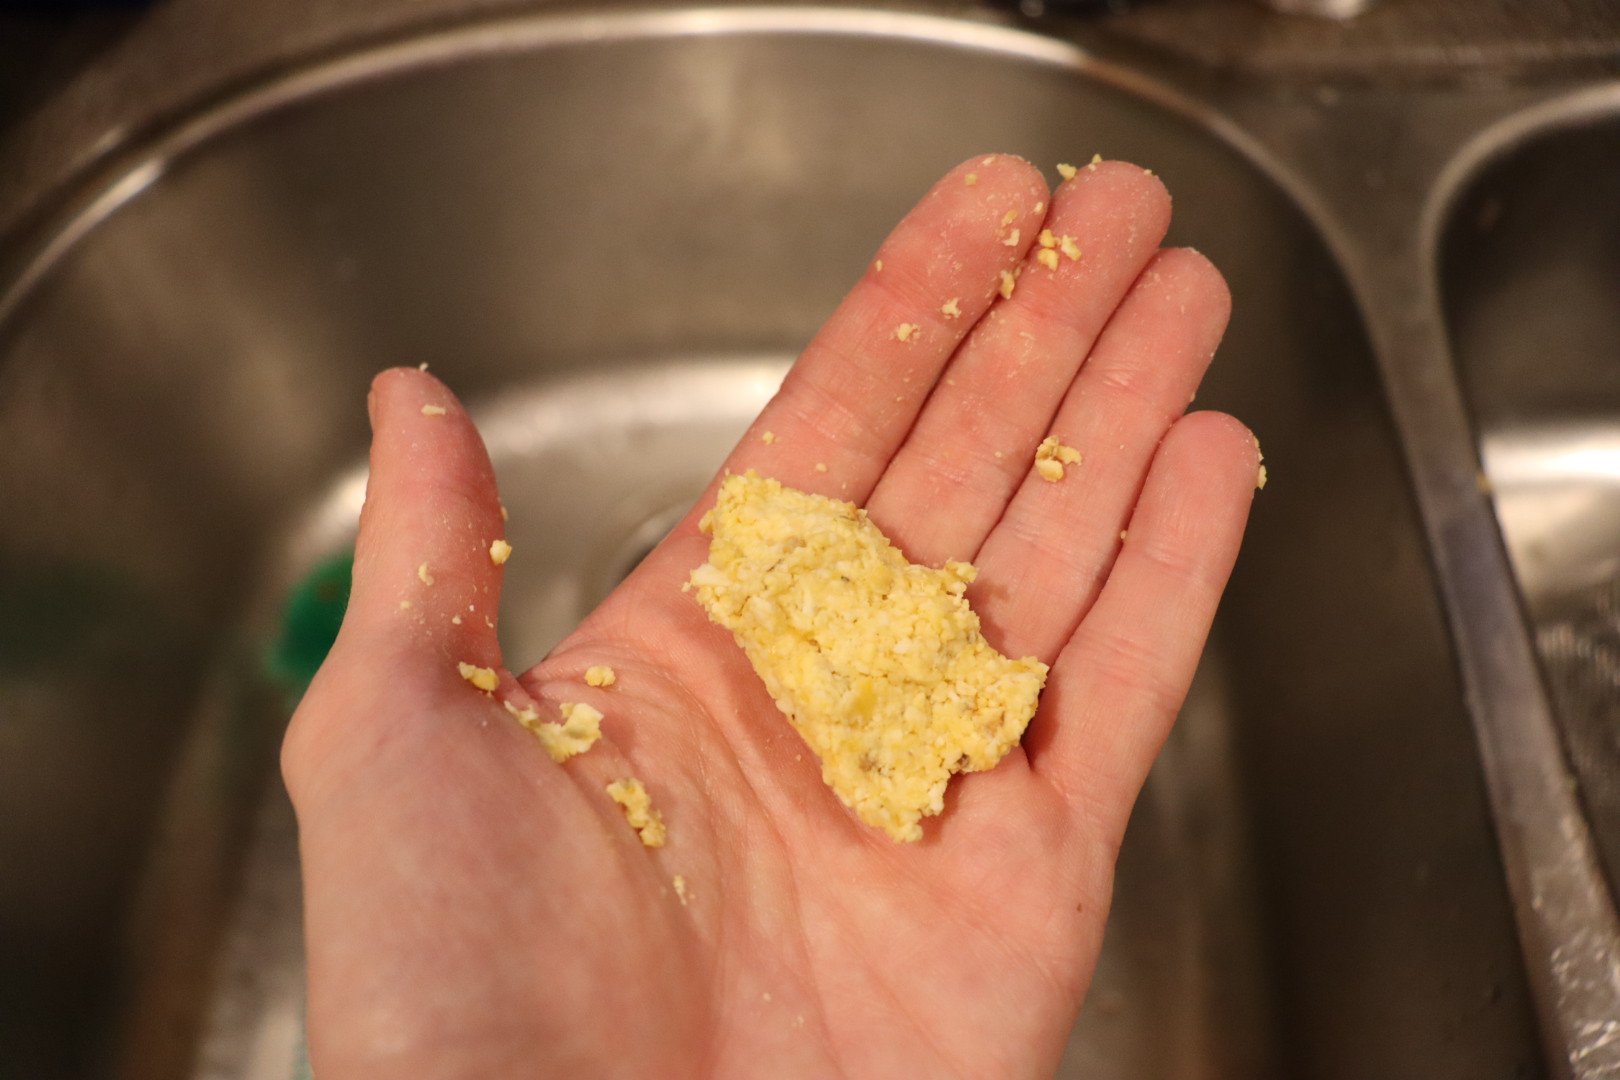
Place the nixtamal in the bowl of a food processor and pulse it 10-15 times. Scrape the bowl with a spatula, add 2 T water, and pulse 8-10 more times. Add 2 T water and 1 t Kosher salt and pulse until the dough clumps together when squeezed, adding more water if necessary.

Form the dough into a ball, wrap it in plastic, and let it rest for 30 minutes at room temperature.

Dough after resting.

Next, portion the dough into balls, placing them under a damp towel; Alton said he did 1.5 ounce portions, but I found the balls to be too small for my tortilla press. I opted for two ounce portions. Alton used a griddle to cook his tortillas, but I just used a large sauté pan. Either way, you want your cooking vessel to be around 400 degrees, which is approximately when drops of water sizzle and dance away. If you want to keep your tortillas warm, you can place a tea towel on a heating pad. When ready to cook, use scissors to remove the sides and zipper of a Ziplock bag, and use the trimmed bag to line both sides of your tortilla press. Place a ball of dough slightly off-center in the press (toward the hinge side), press the ball with your hand to flatten gently, and then press completely with the tortilla press.

The tortilla may stick to the bag a bit, so flip the tortilla over and peel the bag off of the tortilla. Cook tortillas in the hot pan for about a minute per side. If big cracks form in your tortillas, you can try kneading more water into the dough, and then try again after another 30 minute dough rest. To refresh tortillas for later eating, spritz them with water, stack them in foil, and heat them for a few minutes in a 300 degree oven.

Okay, okay, so I wanted to like this recipe, but it was a complete dud for me. The first time I made the dough, my dough seemed crumbly in the food processor, so I added additional water. Yeah, that was a poor decision, as my dough became overly wet and sticky, and was impossible to work with. Into the trash, the dough went, and I had to start all over again several days later. The second time I made the dough, I did not add any additional water during the food processor portion of the recipe. The dough was still incredibly difficult to work with. I found that the dough stuck horribly to the plastic bag, so I tried spraying the bag with non-stick spray. That didn’t work. I also tried lining my press with both parchment and wax papers. Still, the dough stuck. Eventually, the system that seemed to work the best was to line the press with two pieces of parchment, pulling one sheet off and then flipping the tortilla into the pan, parchment side up. I would then try to gently peel the top piece of parchment off of the top of the tortilla, which almost always resulted in breaking the tortilla. If I was lucky, I would occasionally end up with a somewhat round tortilla.
Tortilla after pressing between parchment layers.

The corn aroma that filled our kitchen was wonderful and we used the tortillas from the second batch of dough to make tacos for dinner one night. The tortillas had rich corn flavor, but I did find them to be a bit too thick/chewy.

Tacos made with homemade tortillas.

When all was said and done, the effort:reward ratio just was too skewed with this recipe. Now that I have a tortilla press, I do plan to make homemade tortillas again, but I plan to try them next with storebought masa harina. Oh, and I did make a third batch of these tortillas to continue on to the second recipe of the episode, which was for:

Lime Tortilla Chips

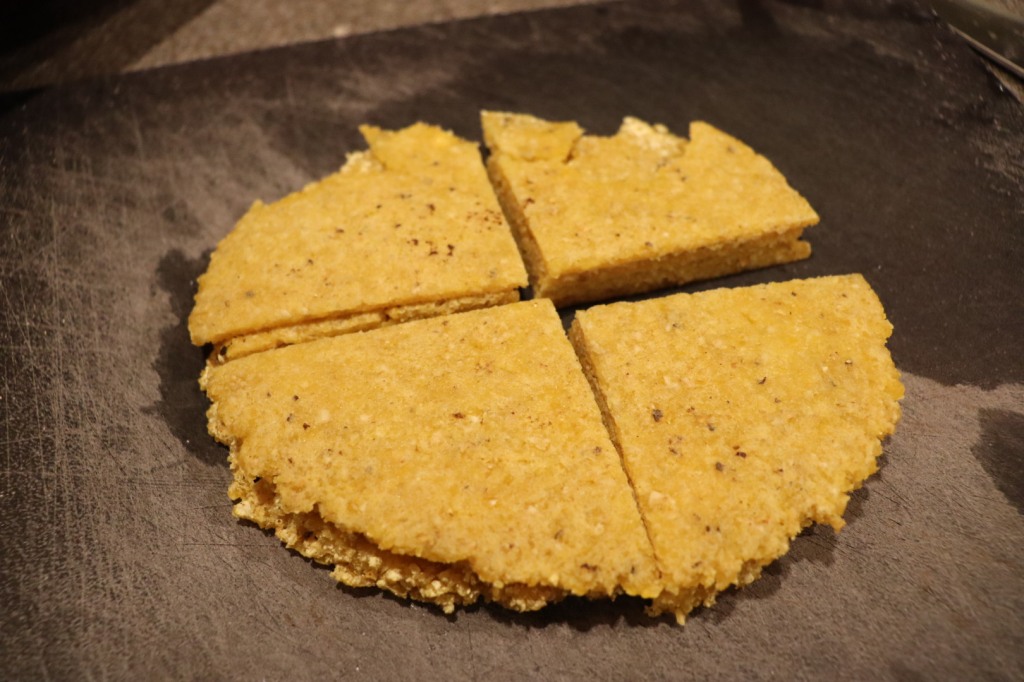
Making Alton’s tortillas was such a pain but I still maintained high hopes for the lime tortilla chips Alton made on the show. To make a full batch of the chips, stack 10 fresh corn tortillas and cut them into quarters.

Tortillas cut into triangles for chips.

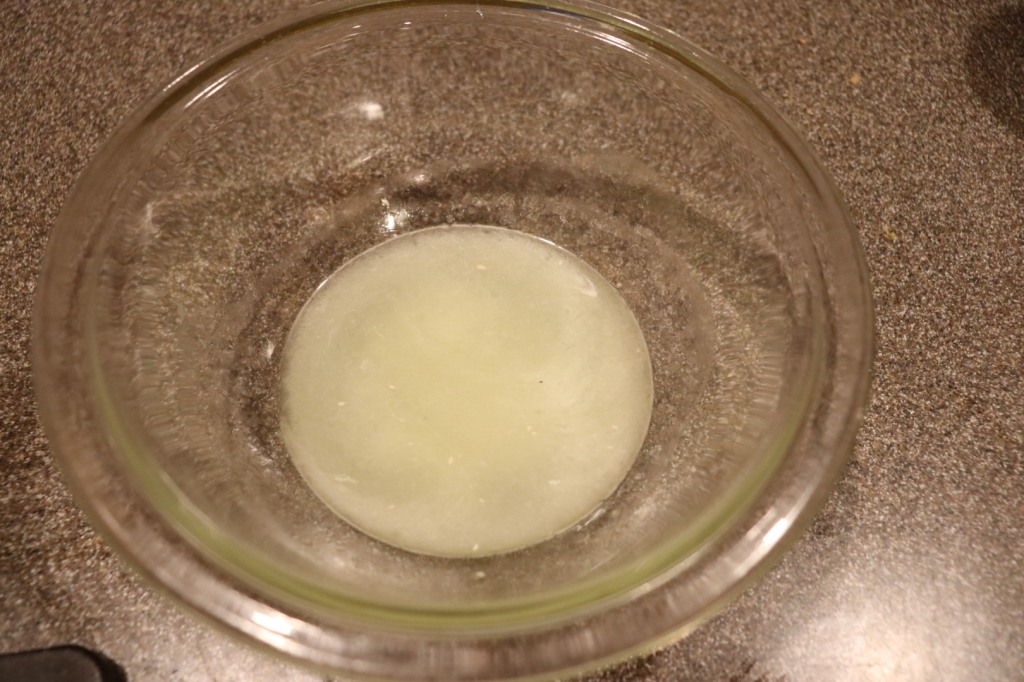
In a bowl, whisk together 1/4 C lime juice and 2 t Kosher salt. Dip both sides of each tortilla triangle into the lime/salt mixture and set the triangles on a rack to dry for one hour.

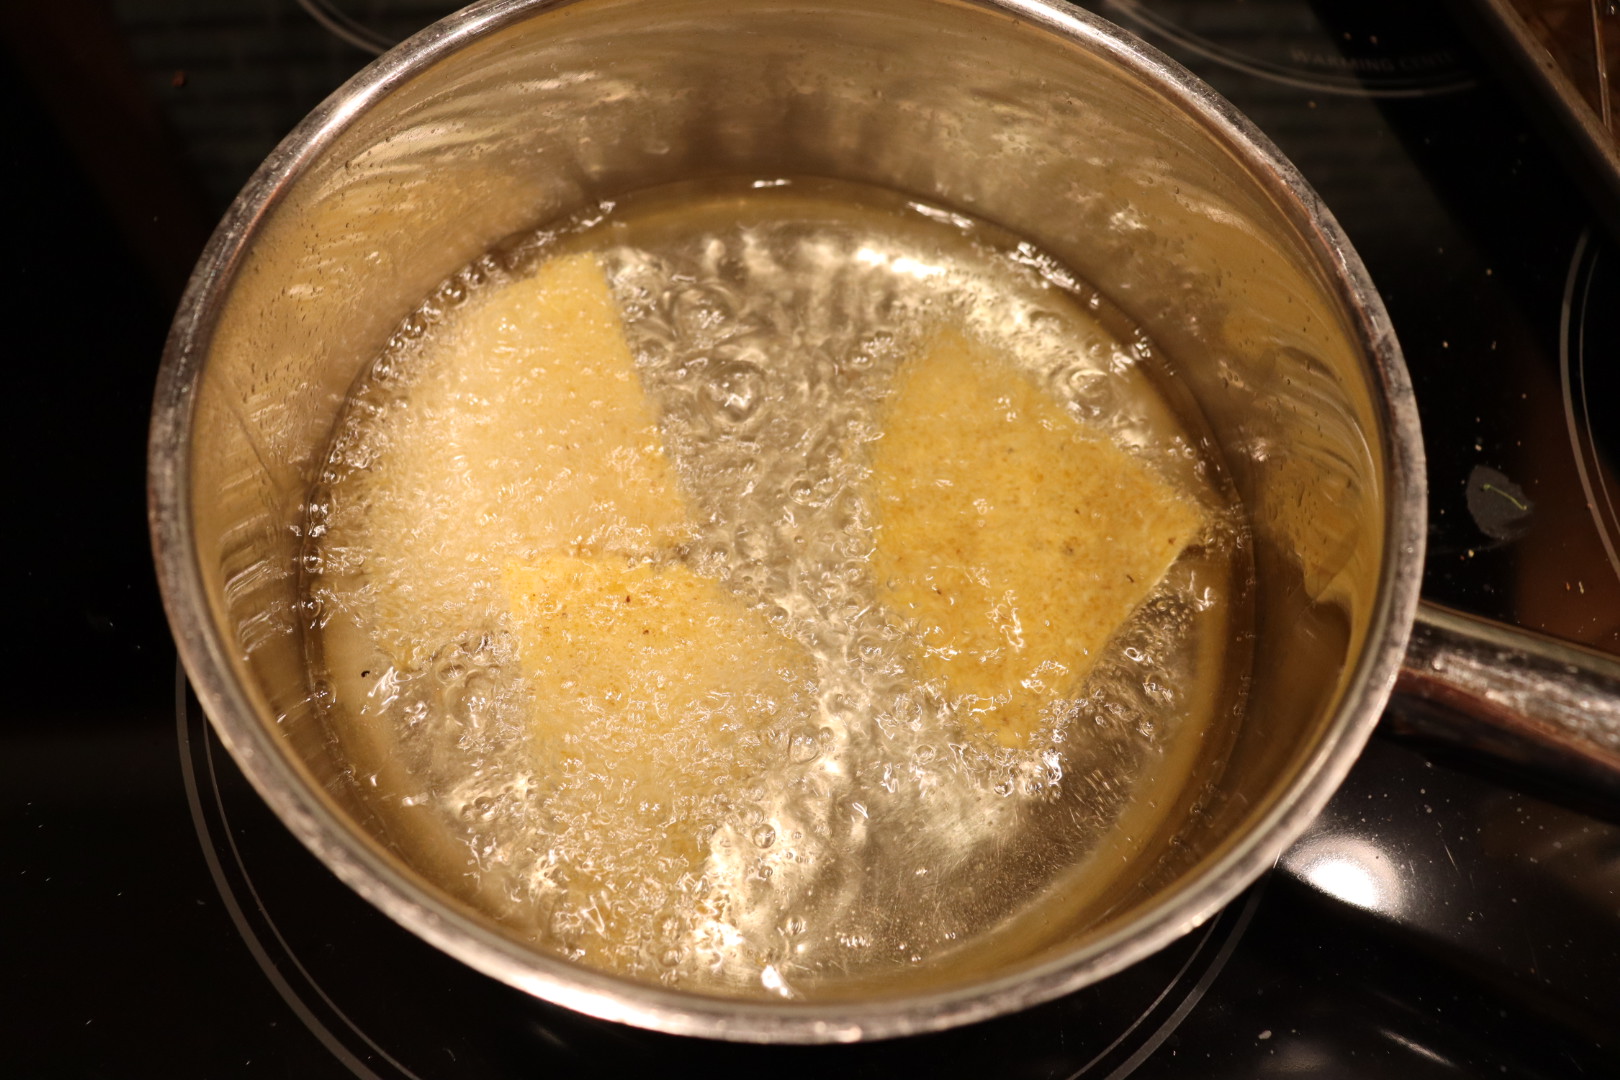
After an hour, fry the triangles in two quarts of peanut oil at 365-375 degrees. The tortillas will need to fry for 20-30 seconds or until they float. Transfer the chips to a rack to drain/cool.

We found these chips to be nearly inedible, as they were incredibly dense and hard. They were difficult to bite/chew and I just threw my portion of nachos away.

Even served as nachos, Alton’s tortilla chips were inedible.

I was honestly afraid I would chip a tooth! I would just simply not make these again, or at least not with Alton’s corn tortillas. As I mentioned previously, I found Alton’s tortilla recipe to result in fairly thick, chewy tortillas, and that just really translated into the chips. I think I would enjoy the lime/salt flavor of these chips if it were possible to make them light and crispy, and maybe that would be possible with thinner, less dense tortillas. Here’s hoping to better recipes in the next episode!

Okay, enough is enough. It’s seriously time for me to get back in the saddle and get back to this project. A four month hiatus is just too long and I’ve been missing all of my time in the kitchen trying the old Good Eats recipes. I recently saw that Alton made a social media post indicating the official conclusion of new episodes of the show. He spent 22 years making Good Eats, and if I don’t step it up big time, it’ll take me longer than that to complete this blog! I recently purchased a toddler kitchen stool, so I hope to start bringing my daughter into the kitchen with me for some of the simple tasks she can help with.

Episode 148 finished out season nine of the show and had no recipes for me to test. Instead, this episode was a behind-the-scenes look at the making of the show, including glimpses of the sets and a trip to a home owned by a producer; the kitchen of the home served as the set for the fifth and sixth seasons of the show. Eventually, due to complaints from neighbors about the filming, the show was no longer able to film at the home and had to move to a set.

During this episode, Alton takes viewers through the process of building an episode of Good Eats, beginning with research and recipe development and continuing on to filming locations and set design. He then takes a tour of the props department, which appears to be a disorganized mess of bins filled with random items from all of the years of filming, yet the props masters seem to have some miraculous catalog in their brains of just which items are where.

Several of the more prominent/regular actors from the show are showcased, including Daniel Pettrow who played “Chuck” and “Rusty,” among other characters. This part of the show wouldn’t be complete without introducing the main “experts” on the show, including food scientist Shirley, nutritional anthropologist Deb, The Lady of the Refrigerator aka Carolyn, and W. W’s actual name is Vickie Eng, and it turns out that she’s a chiropractor in “real life.” The funny thing about that fact is that I recall my dad telling me this years ago when he saw this episode, but I had never actually seen the episode until now.

Throughout the episodes of Good Eats there have been many family members on the show, some of whom are actual relatives of Alton, while others are actors. So, who are the real family members? Alton’s mother has been in a few episodes of the show, and was his only “kitchen crew” for the pilot episode. In addition to her, his real grandmother was featured in the biscuit episode. Alton’s daughter also played a role in episode 49 and his dog, Matilda, was in episode 78. Matilda, by the way, was a hound dog, which we all know is my personal dog of choice. Don’t tell my husband, but I’ve been eyeing a couple cute Beagles lately.

To finish the episode, Alton pays visits to the editors, animators, and musicians who fine tune the details of each episode. This really makes you realize how many people are working unseen (perhaps underappreciated?) to bring a show like Good Eats to fruition. Last, but not least, a tribute is played to puppets of the show and their many roles throughout.

As such a long-term fan of the show, I enjoyed this look at production. With the newer episodes that have been produced in recent years, I’m sure many things have changed, yet I also would be willing to bet that many of the same faces have continued to work to bring Good Eats into our homes.

I’ll be back with a new recipe post sooner than later. Season 10 starts with an episode about tortillas and I just purchased a tortilla press to get my butt in gear. Until then, I hope everyone is enjoying some good eats.

It may seem as though I have given up on this blog, but I truly have not. The days just seem to fly by with me having the best intentions of taking time to write, but not actually finding the time to do so. Or, maybe I just need to prioritize differently. I believe this episode will close out the recipes for season nine, as there is only one more episode from this season, and it is a behind-the-scenes look at the making of Good Eats. The recipes from this episode feature olives, which I adore, so I knew this one would be fun for me.

According to Alton, olive quality is mostly dependent upon the method of their production. Raw (green) olives are very bitter, so require a soak in lye prior to brining. Ripe (black) olives do not require a lye soak and can go straight to an oil cure or a salt brine. When you have a jar of olives at home, be sure to always keep the olives submerged in their brine; if you need to top off the brine, you can always add a mixture of 1 T salt dissolved in a pint of water.

Citrus Marinated Olives

Marinated olives are first in this episode. To make these, you’ll first need a pound of green olives with pits. Rinse your olives in water and then submerge them in water for at least five minutes, and up to five hours; five hours is best.

When your olives are done soaking, combine the following ingredients in a lidded plastic tub: 1 minced clove of garlic, 1/2 C extra-virgin olive oil, 1 T red wine vinegar, the zest and juice of a medium lemon, 1/2 t red pepper flakes, 1/2 t dried tarragon, and 1/4 t curry powder.

Marinade ingredients: garlic, extra-virgin olive oil, red wine vinegar, lemon juice, lemon zest, red pepper flakes, dried tarragon, and curry powder.

Drain the soaked olives and add them to the container, giving them a good shake to coat them in the marinade. Let the olives sit at room temperature for a day, and then refrigerate for a couple more days before serving.

We snacked on Alton’s olives as an appetizer before dinner. I found that I needed to remove them from the refrigerator a bit in advance because the marinade is quite oil-heavy and would sort of congeal when chilled. I recommend serving these olives with napkins handy since they are quite oily. These olives pack a citrus punch and have just a little heat from the red pepper flakes. My problem with these olives was that I felt they lacked some salt. Obviously, the purpose of soaking the olives in water was to remove their salt before marinating, so I’m guessing they would retain some salinity if soaked for a shorter period; I soaked mine for the full five hours. I think I personally would prefer a little more salt to these guys, so I would like to try them again with a shorter water soak. I also found that my olives were a little less firm than I would prefer, but I’m going to blame that on the olives I used. Many of the grocery stores near me typically have olive bars, where you can mix and match a variety of olives to purchase, but all of these olive bars disappeared with Covid. The selection of olives I could find that were not already marinated was extremely limited, so I had to settle for some green olives without pits, while Alton’s recipe specifically calls for olives with pits. I’m guessing olives with pits would have a firmer texture.

Tapenade

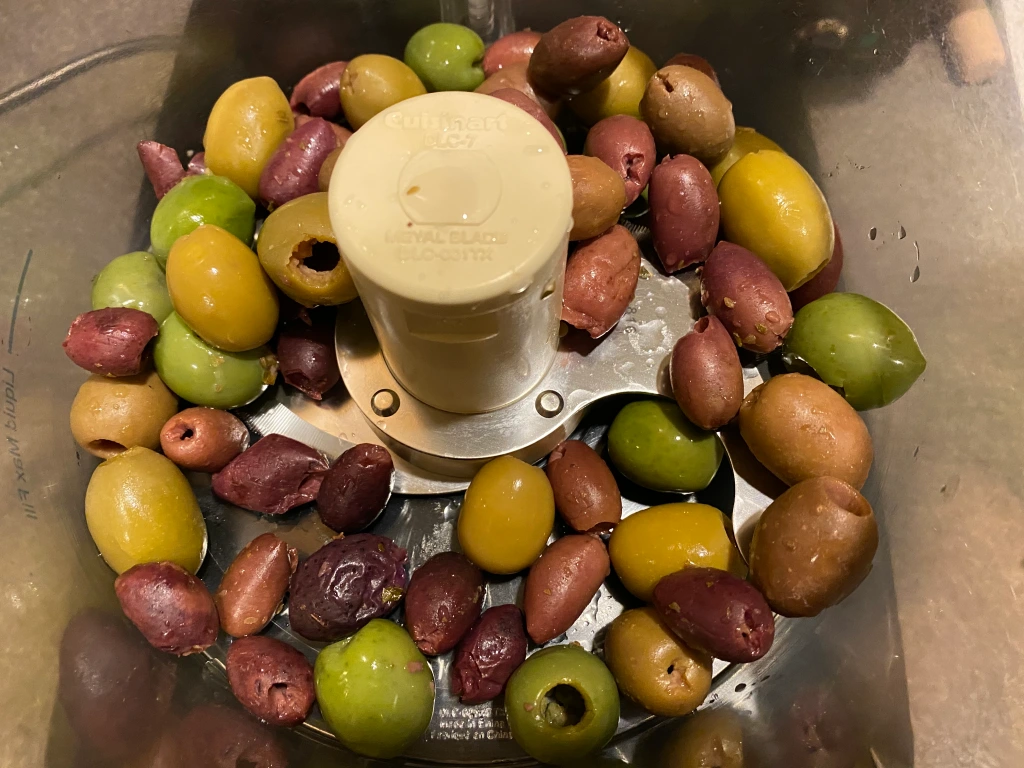
An olive tapenade is the second recipe of this episode. To make Alton’s tapenade, place the following ingredients in the bowl of a food processor: 1/2 pound mixed/pitted/rinsed olives, 2 T extra-virgin olive oil, 1 T lemon juice, 1 small minced clove of garlic, 2 T capers, 2-3 fresh basil leaves, and 2 anchovy fillets (rinsed if salt-soaked).

Process the olive mixture for about a minute, scraping down the sides of the bowl as needed.

Tapenade after processing for a minute.

Transfer the tapenade to a bowl and serve with bread or crackers. We ate Alton’s tapenade as an appetizer with crackers, cheese, and meat.

Alton’s olive tapenade.

This is a really flavorful tapenade that comes together in mere minutes. If you are leery of the anchovies, I can say that you would not know they are in the tapenade unless someone told you, but I think you would sure miss them if they weren’t there. That being said, if you’re a vegetarian, you could always omit them. This would be a super easy appetizer to make to serve to guests, and you could even make it in advance, which is always a bonus! Now, if you want to go on to make Alton’s final olive recipe from this episode, you can reserve 1/3 C of your tapenade to make his…

Olive Loaf

Yep, in the episode, Alton uses some of his homemade tapenade to make his olive bread. Or, you could always just use a purchased tapenade, though it probably wouldn’t taste as good. To make the bread, place 17 ounces of flour in the bowl of a food processor with 1 T baking powder and pulse to combine.

Flour and baking powder in food processor.

Add 1/3 C of olive tapenade and pulse four times.

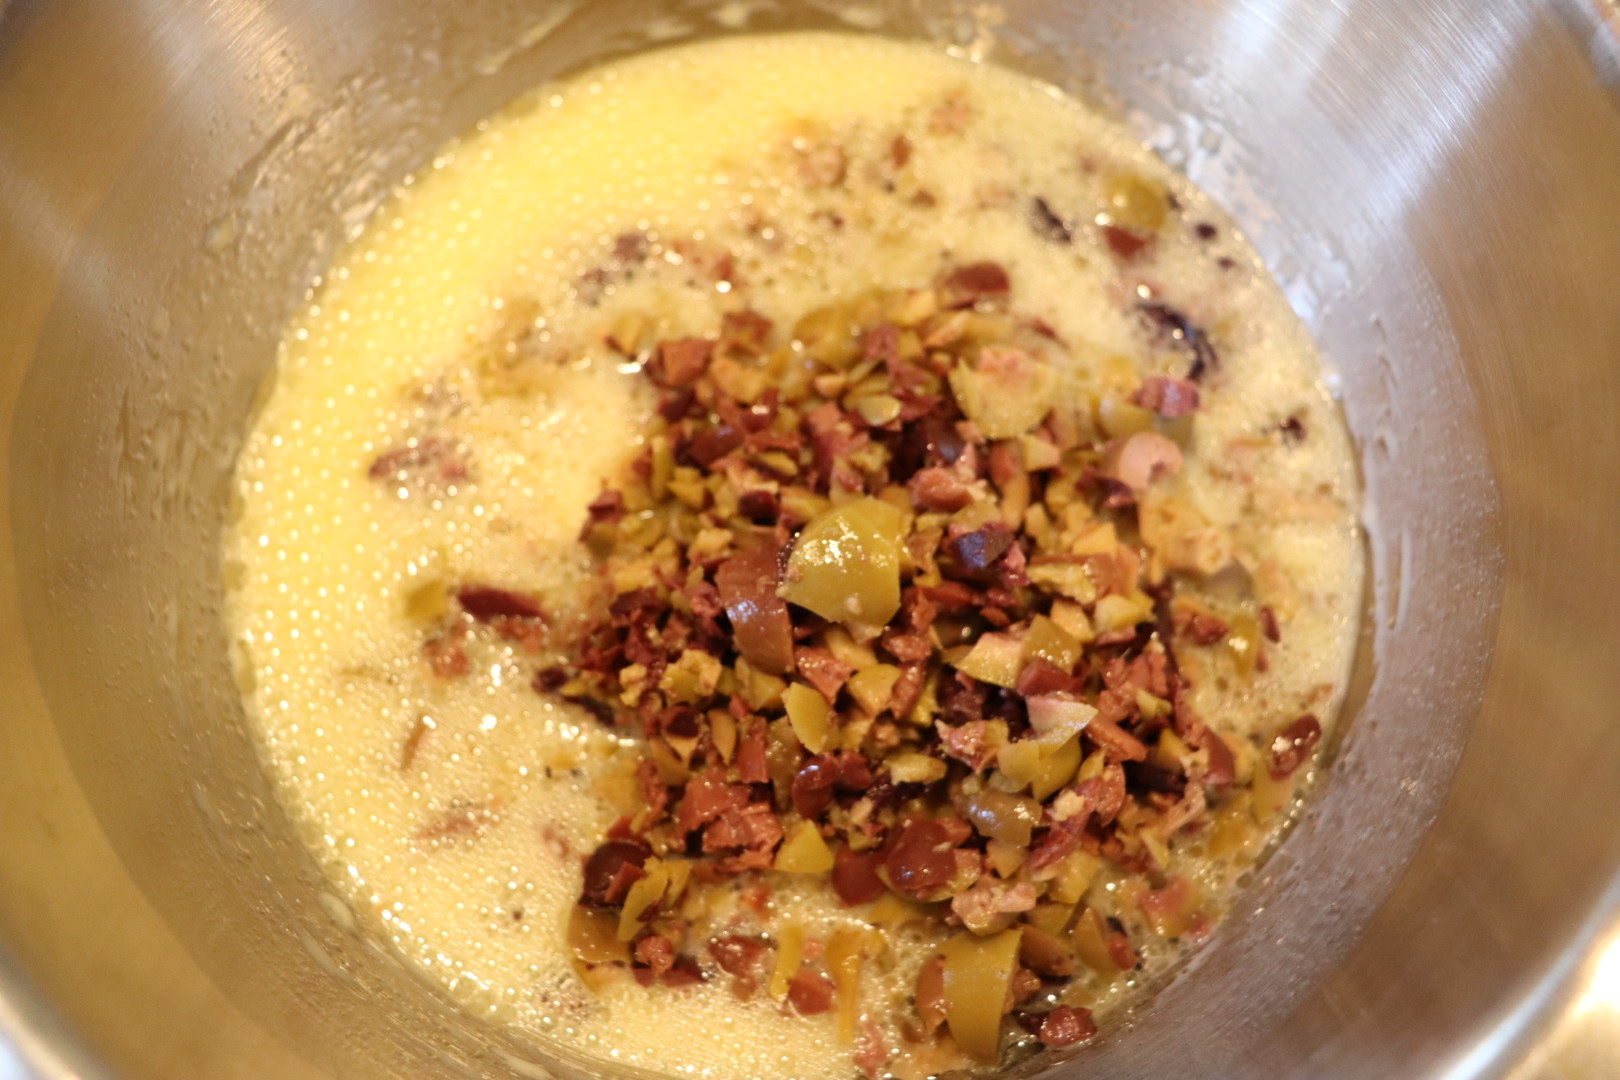
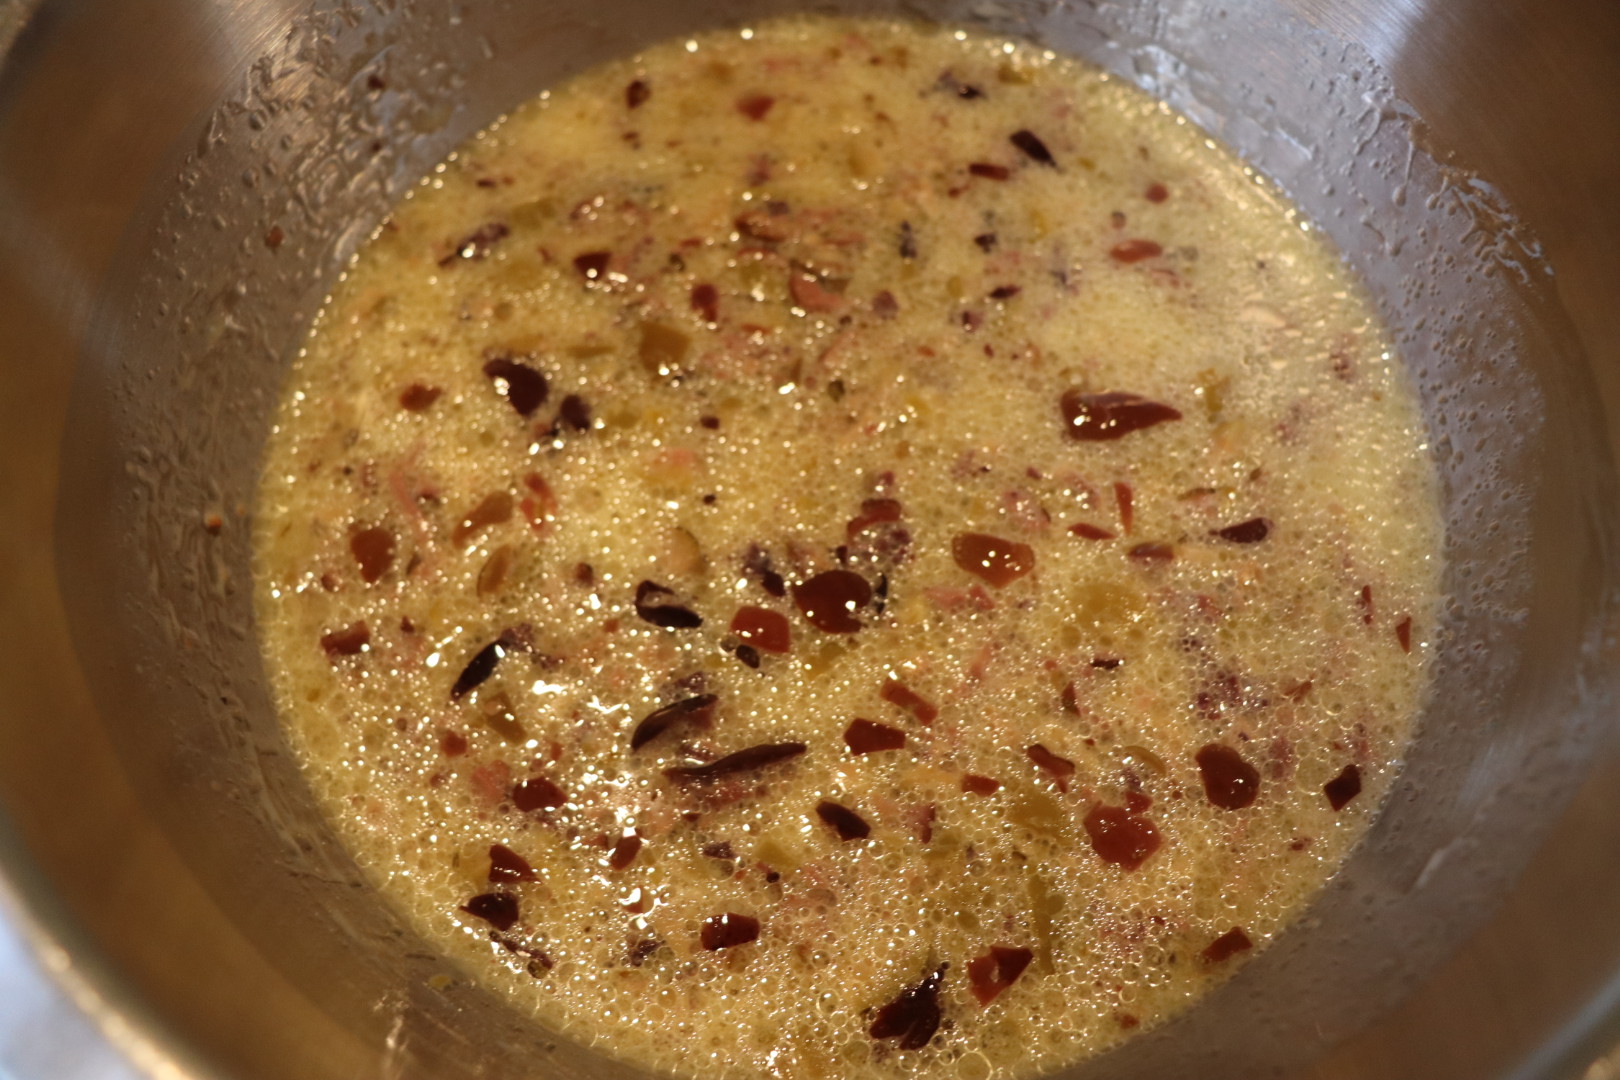
Using a whisk, combine 1 1/4 t Kosher salt, 1/2 C olive oil, 1 C milk, 2 beaten eggs, and 1 T honey in a large bowl. Stir in 12 ounces of rinsed/pitted/chopped olives.

12 ounces of rinsed/pitted olives.

Add the dry ingredients to the wet ingredients, mixing until wet.

Dry ingredients added to wet ingredients.

Spray a loaf pan with oil and line it with a parchment “sling.”

Loaf pan lined with parchment sling.

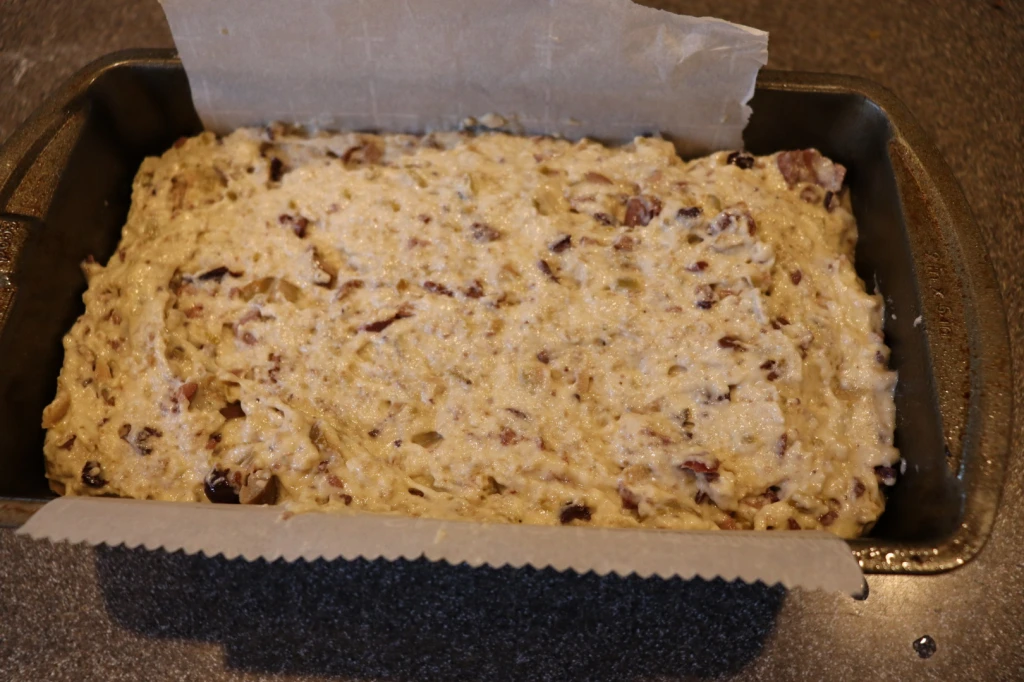
Pour the batter into the prepared pan and bake at 375 degrees for 75 to 80 minutes, or until the bread has an internal temperature of 210 degrees.

Bread dough placed in prepared pan.

Remove the bread from the pan and allow it to cool before slicing.

Alton’s olive loaf after baking.
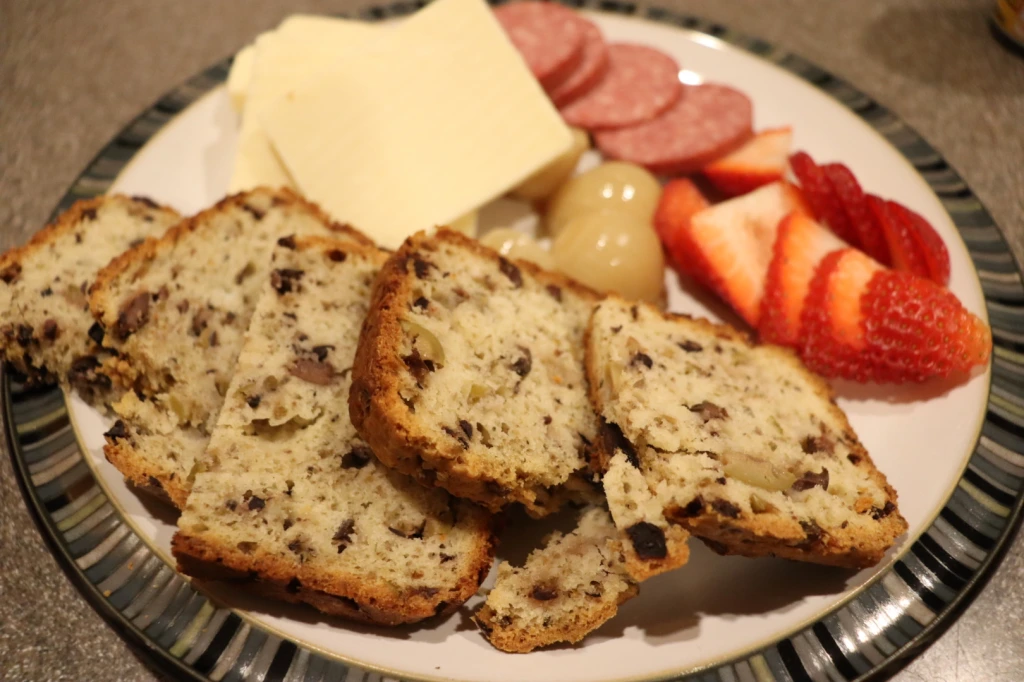
Sliced olive loaf.

We thoroughly enjoyed this bread. It came out moist and loaded with olives. Some reviewers claimed this bread was too salty, but we did not find that to be the case at all. I would definitely make this bread again, especially if you are an olive lover like I am.

I have to share that I am super excited because I discovered a few days ago that Alton will be touring later this year, and I was able to purchase tickets. If you have not seen his live show, it is a lot of fun!

Things are crazy around here with a busy toddler! Although I am able to find time to cook at night, it is often tough to find time to sit down and write a blog post. Cycling and running are two of my biggest hobbies, and I try to do a ride or run most days of the week. My favorite little gal is sometimes now only napping for an hour or so during the day, which means I have to carefully choose how I want to spend said free hour! Today, though, the little one is out running errands with her dad, so I have some time to sit down and do some writing.

Seafood is probably the food category I am least confident cooking because I always fear that I will either over or undercook it. Typically, though, I find that my gut is usually fairly trustworthy, if only I’ll allow myself to listen to it. Scallops were recently on the menu in our house, as I prepared Alton’s three scallop recipes for us. While I have cooked scallops a few times, they do not make regular appearances in our house; rather, they are something I occasionally order when we go out to eat. My favorite scallop preparation I remember consuming was a pairing of sea scallops with a huckleberry reduction that my dad and I both ordered as a special at a restaurant.

Seared Scallops

When purchasing fresh scallops, store them in an airtight container over ice, and use them as soon as possible after bringing them home. Frozen scallops can be kept in the freezer for a couple months and should be thawed on ice in the refrigerator. Diver scallops are optimal, as they are the freshest and have been harvested by divers. I did not know that sea scallops (the big ones) can be classified as either wet or dry. Dry scallops tend to have a sticky texture, have an ivory/pink/orange hue, and are not stored in any liquid. Wet scallops, on the other hand, are white in color and have been soaked in a solution of sodium tripolyphosphate, which is a preservative. This preservative causes the scallops to retain water and can impart some odd flavors, so dry scallops are preferable. Oh, and for an odd fact about scallops… did you know they are hermaphrodites?

Alton’s first scallop recipe is a simple and classic seared preparation of sea scallops. If you can find dry scallops, you’ll want to use those; I could not find dry sea scallops where I shopped, so mine were wet. To make four servings of scallops, you’ll need 1 – 1 1/4 pounds of scallops. Rinse your scallops in cold water and pat them dry with paper towels. If your scallops have a small side muscle attached (it looks sort of like a mini scallop attached to the side), pull it off and discard it. Place a large skillet on medium-high heat, adding 2 t olive oil and 2 t butter.

Olive oil and butter in skillet.

Season your scallops with Kosher salt and pepper and, once the butter stops bubbling, add the scallops to the pan, working from the outside of the pan to the inside. Sear the scallops for 1 1/2 minutes on each side.

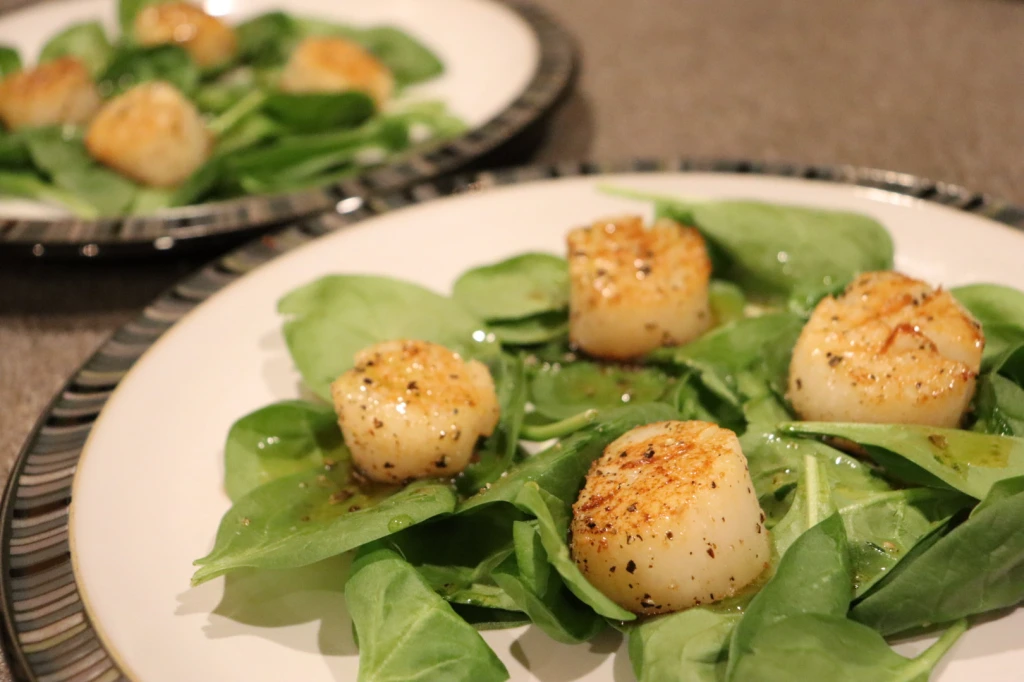
Serve the scallops immediately over greens with a vinaigrette.

Alton’s seared scallops.

This is an easy and foolproof recipe for cooking scallops. If you cook the scallops as Alton instructs, you will be rewarded with perfectly cooked scallops. This would be an excellent first recipe to try if you have not cooked scallops before, and it is also one of the fastest meals you could ever make!

Scallops on the Half Shell

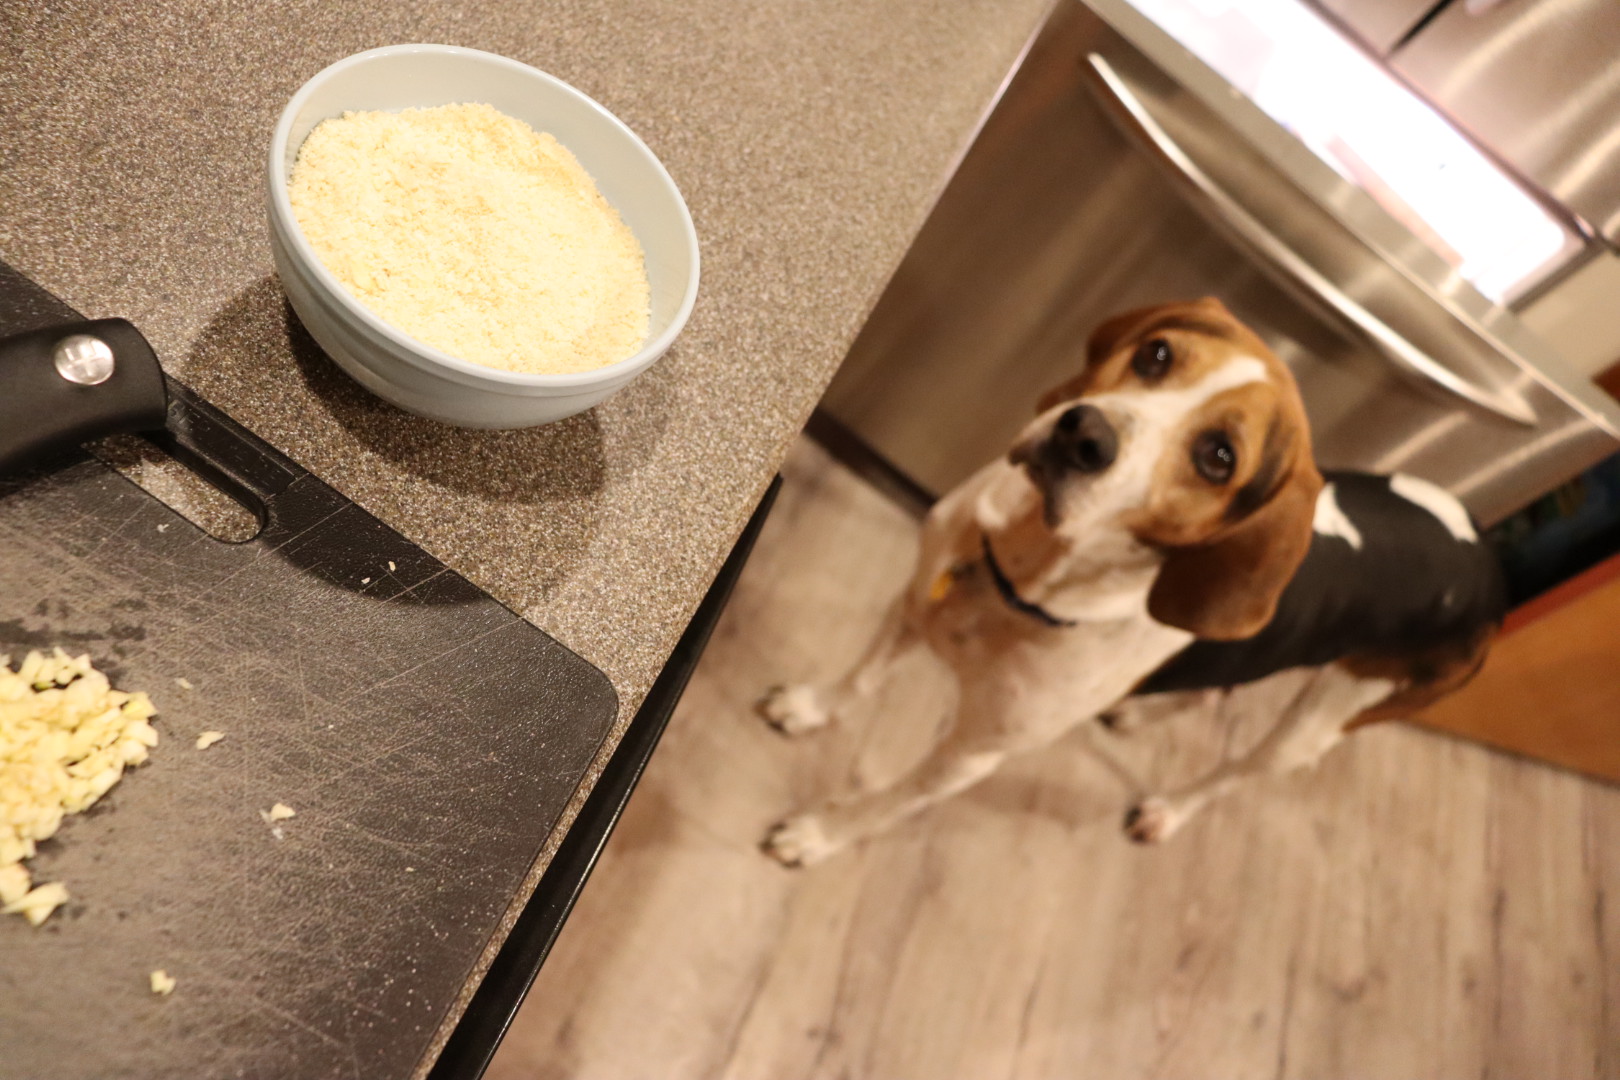
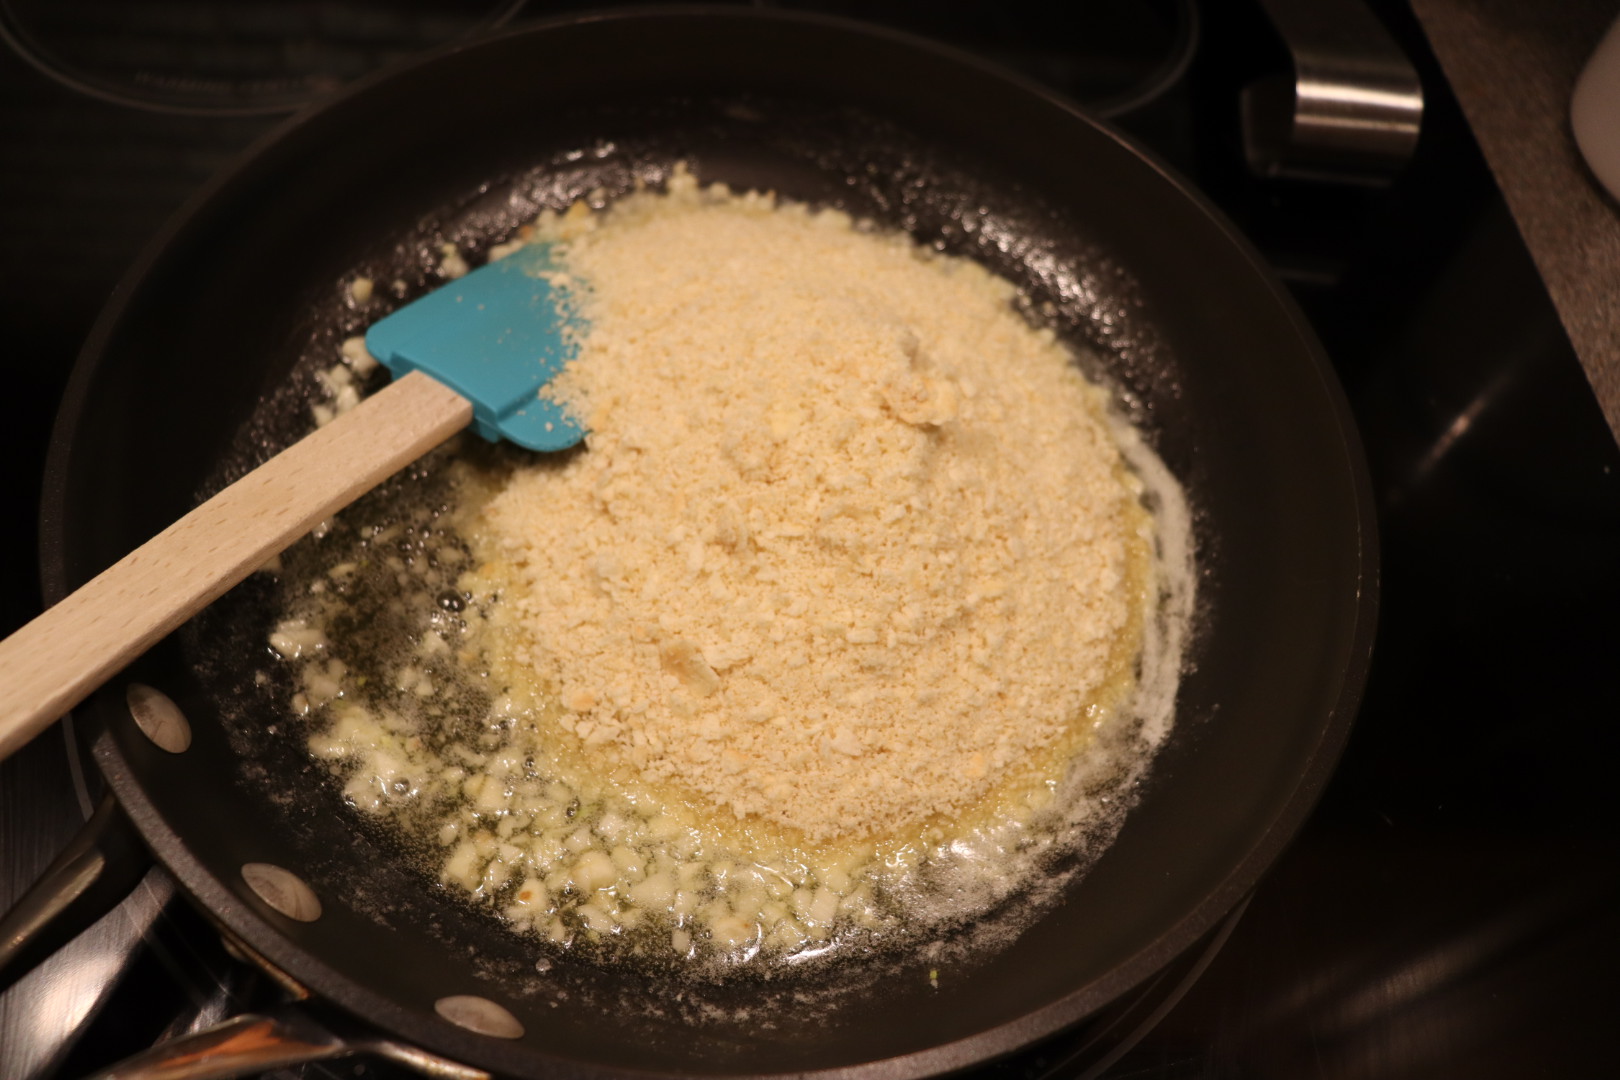
The second recipe in this episode uses bay, rather than sea, scallops. For four servings, you will need a half pound of bay scallops (side muscles removed), rinsed and patted dry. Preheat the oven to 450 and heat 2 T butter in a skillet over medium heat. When the butter has melted, add 1 T minced garlic and a pinch of Kosher salt. After about 30 seconds, add 1 C of crushed club crackers (this is what Alton used in the episode). Stir the cracker mixture until everything is combined and set it aside.

In a small bowl combine two finely chopped ripe medium tomatoes with 1/4 C chopped flat leaf parsley and 1/4 t Kosher salt.

Divide the tomato mixture evenly among four small ovenproof dishes. Evenly distribute the scallops on top of the tomatoes and top the scallops with the cracker mixture.

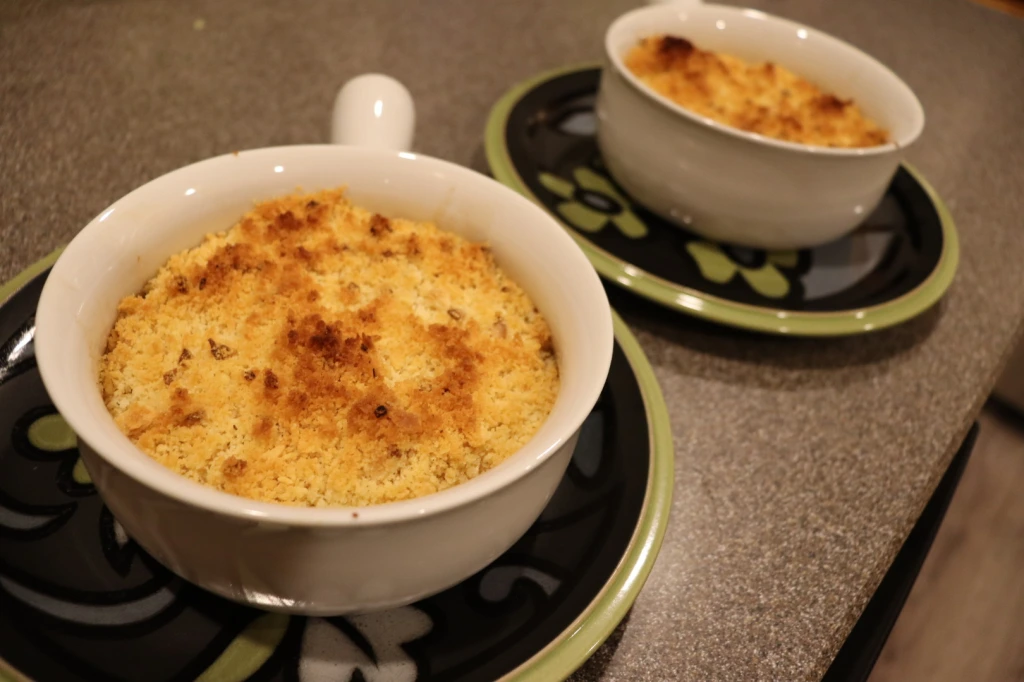
Bake the scallops for 8-10 minutes or until the cracker topping is golden brown.

Alton’s scallops on the half shell after baking.

This was my first time cooking bay scallops and they turned out really well. I personally felt that the ratio of crackers to scallops/tomatoes was a bit too high, which resulted in this being a surprisingly heavy and filling dish. I would probably reduce the crackers by a third. I was worried that the crackers would be soggy, but separating the crackers from the tomatoes kept the crackers nice and crispy. This would make a really nice appetizer for a dinner party, and is another recipe that comes together in a snap.
Scallop Mousse

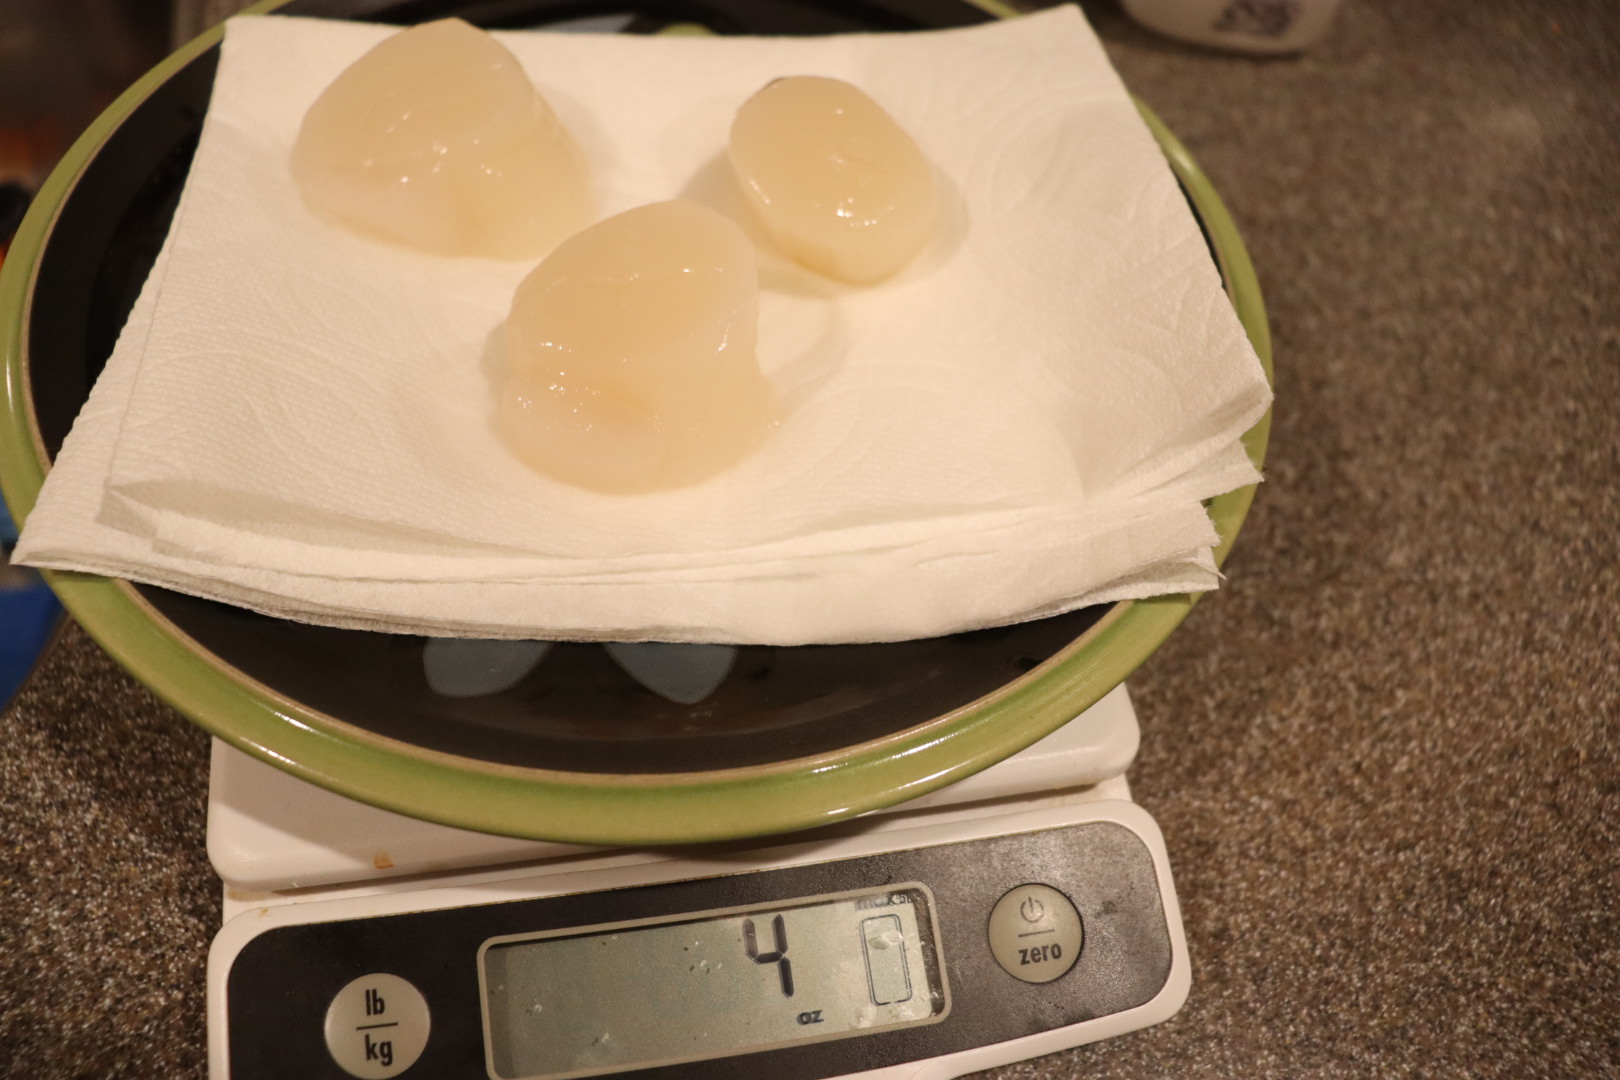
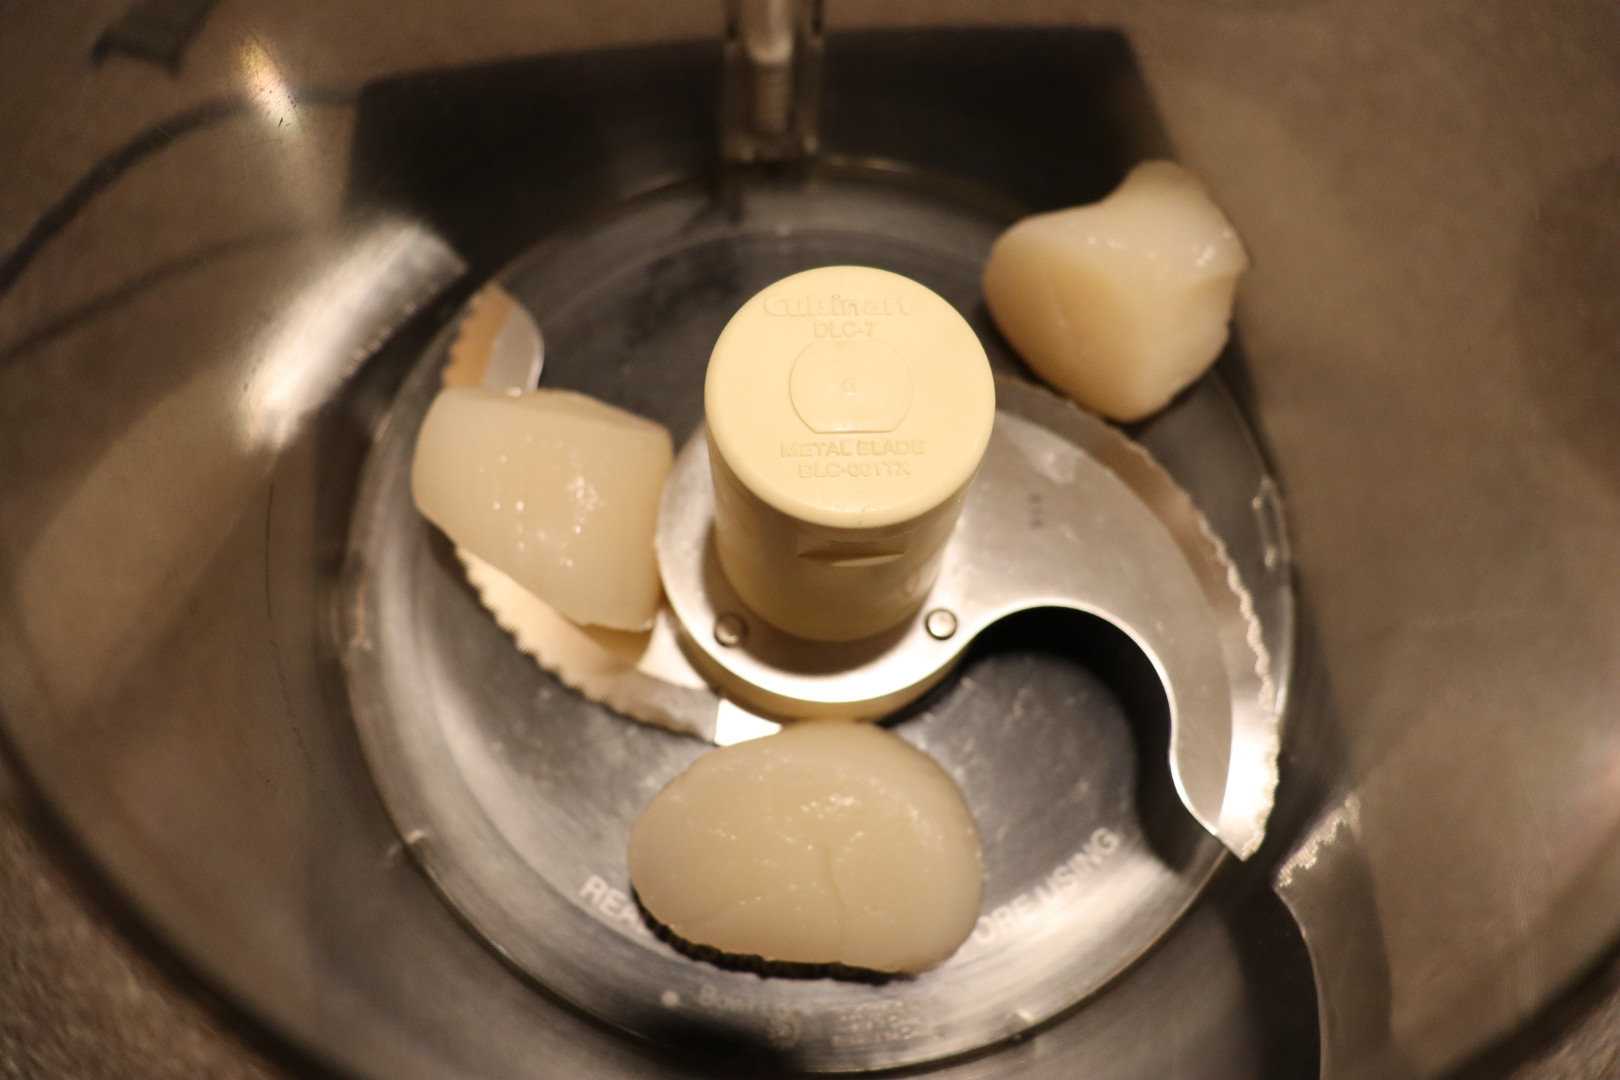
Scallop mousse is the final recipe for this one. Since there were only two of us eating this recipe and I was planning it to be an appetizer, I only used about 1/4 pound of sea scallops and adjusted the other ingredients accordingly. For a full batch of this recipe, you’ll need a pound of wet sea scallops. Begin by preheating your oven to 350. Place your rinsed/patted pound of scallops in the bowl of a food processor and pulse them to a smooth paste – about 5 pulses. Add two egg whites and pulse until the egg whites are no longer visible.

Add 1/4 t nutmeg, 1/4 t white pepper, 1/2 t lemon zest, 1/2 t parsley, and 1 t Kosher salt.

Nutmeg, pepper, lemon zest, parsley, and Kosher salt.

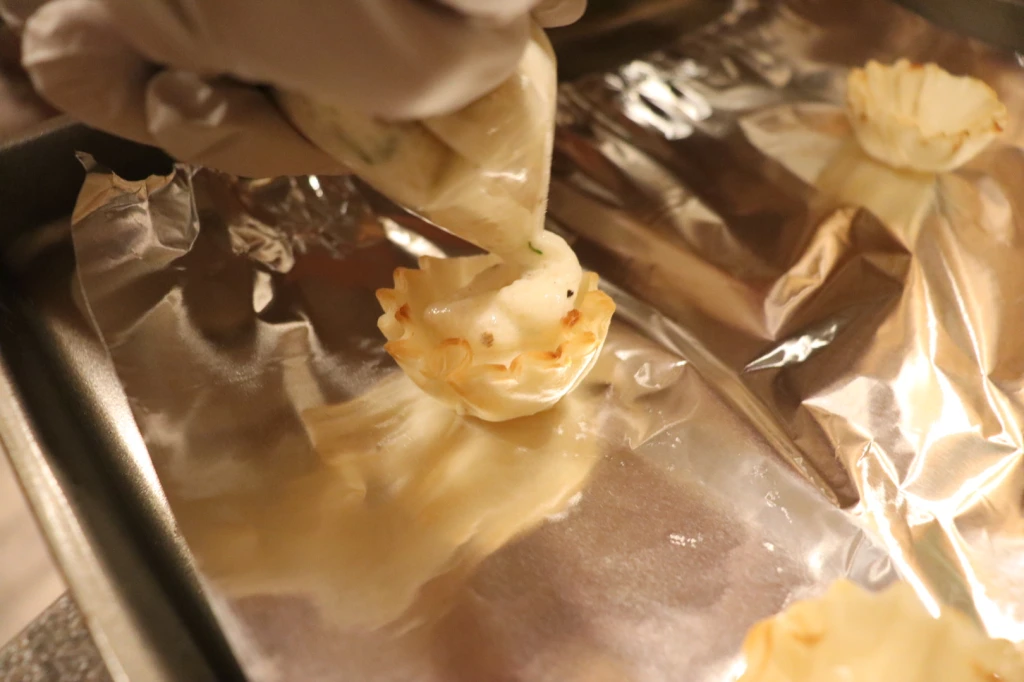
With the machine running, drizzle in 1/4 C of cold heavy cream. Transfer the mousse to a large zip top bag, sealing it well. Use scissors to snip off one bottom corner of the bag, as this will allow you to use the bag like a piping bag. Pipe the mousse into mini phyllo shells (you can find these in the freezer section) placed on a baking sheet.

Mousse, after adding seasoning, being piped into phyllo cups.

Bake the mousse for 10 minutes. Let cool slightly before eating.

I have to be honest that I was turned off from this recipe from the get-go. Even as I was watching Alton prepare this mousse, I just found it really unappealing, and that bias was hard to turn off. As I placed the scallops in the food processor and began pureeing them, it was just as unappealing as I had imagined. There is just something really gross about pureed seafood. Then, when you add egg white to the party… well, it just gets worse and starts to resemble something along the lines of foamy snot. Flavorwise, the mousse is very mild, almost to the point of being quite bland, but both Ted and I struggled with the texture. Yep, this one for me, was a straight no-go.

Pad Thai

They say that every Thai cook has his/her own version of Pad Thai, leading to countless recipes and variations. In reading the online reviews of Alton’s Pad Thai recipe, some reviewers are critical of his recipe, questioning its authenticity. I am not personally enough of a Pad Thai expert to evaluate the authenticity of Alton’s version, but I sure can give my opinion on how much I did/did not like it. Many of the ingredients in this recipe are not available in a regular supermarket, so a trip to an Asian grocery store is most likely necessary. 

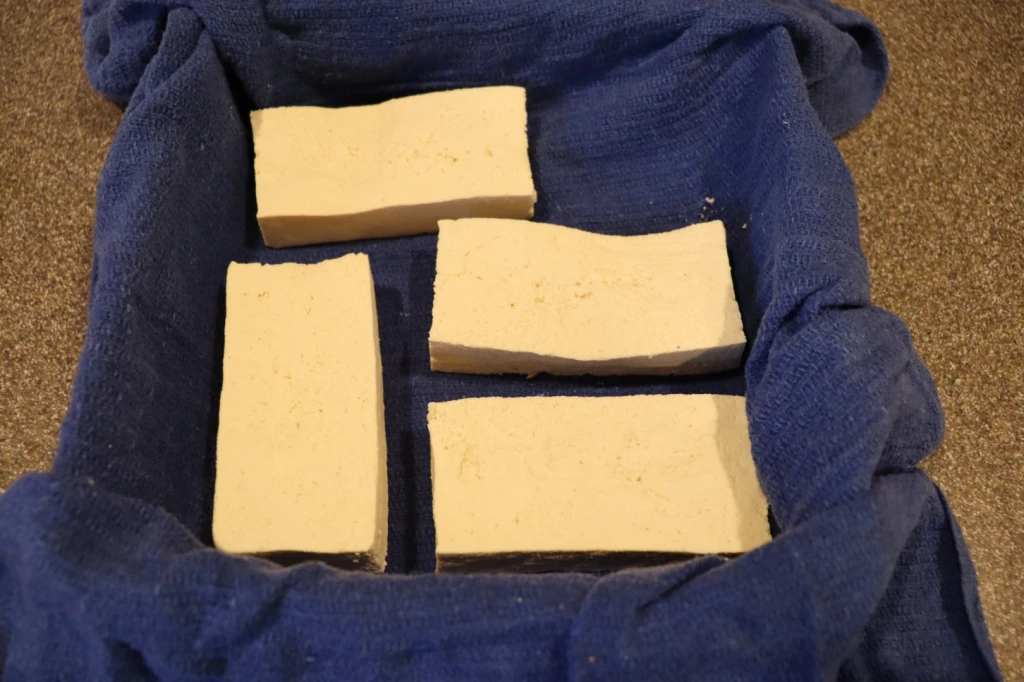
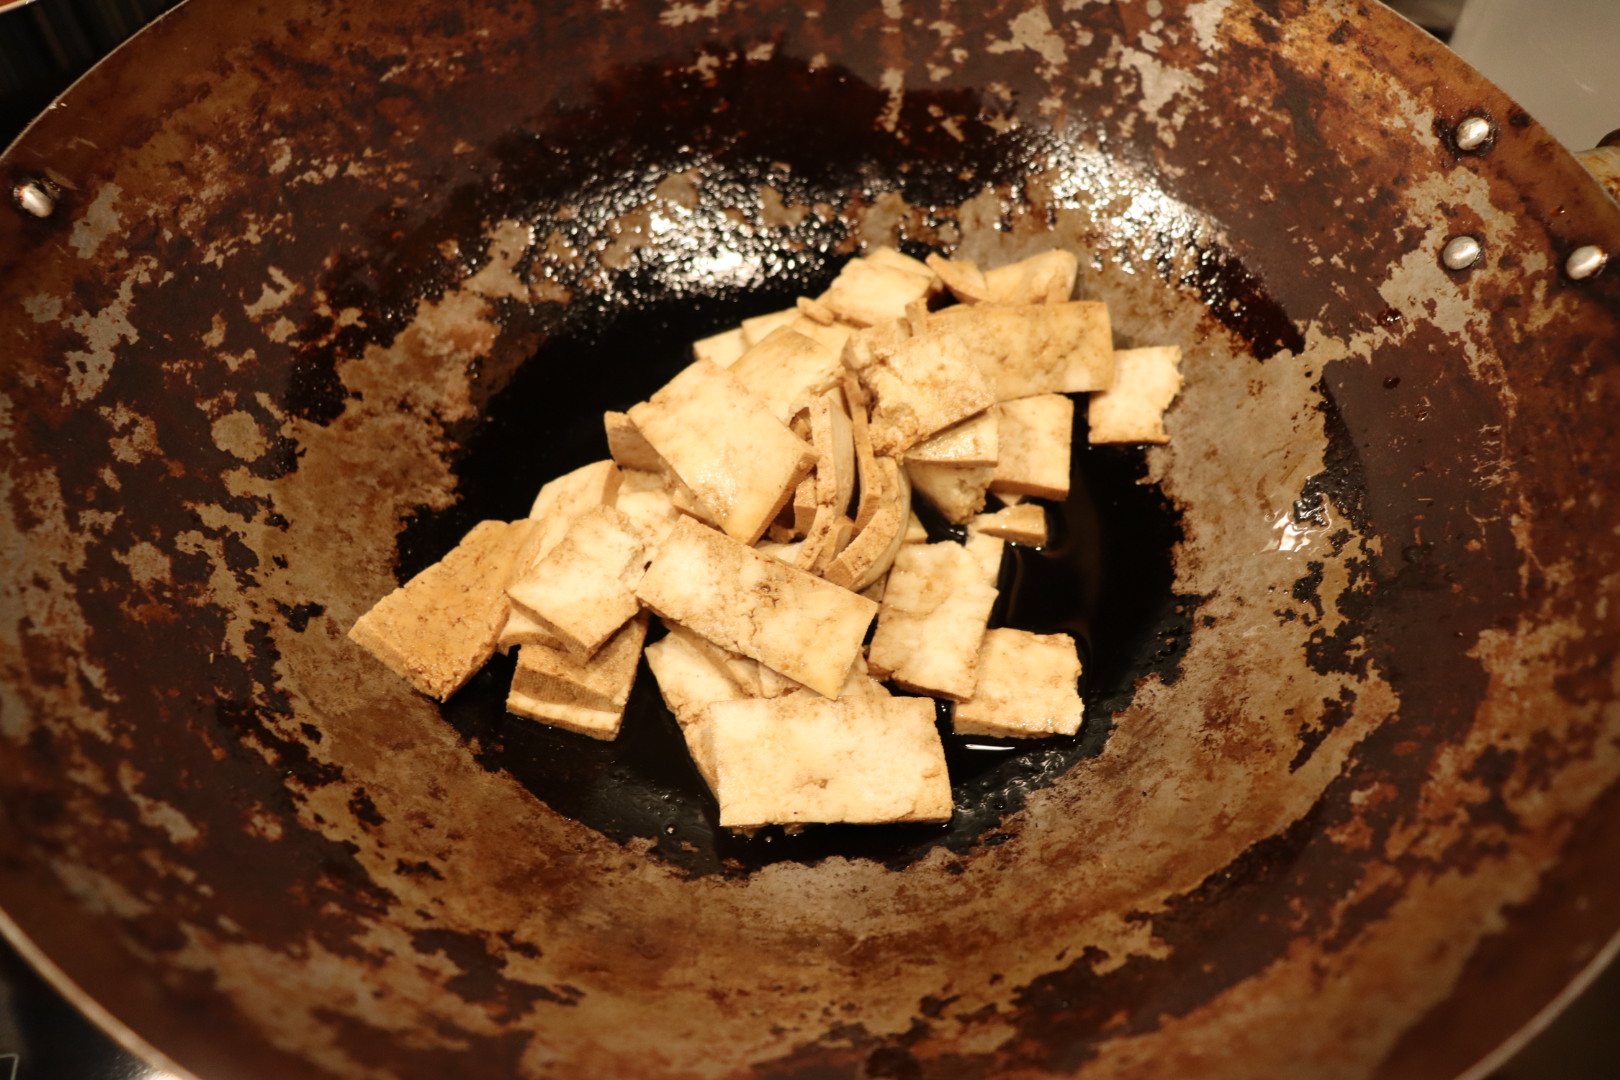
The night before you plan to eat your Pad Thai, you will want to begin prepping some tofu. To do this, slice 12 ounces of extra firm tofu into four slices. Line a baking pan with a tea towel, placing the tofu slices on top of the towel. Fold the towel over the tofu and place a second baking pan on top. Place a five pound weight on top of the second baking dish and place the tofu in the refrigerator overnight.

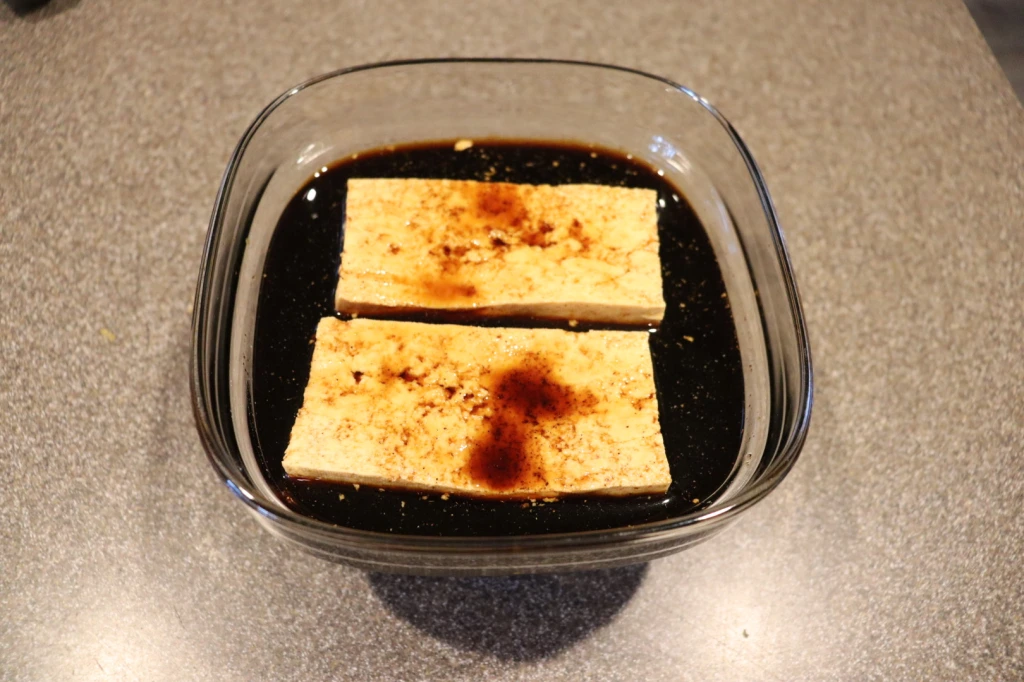
The following day, a half hour before you are going to cook, unwrap your tofu and soak it for 30 minutes in a mixture of 1 1/2 C soy sauce with 1 t Chinese five spice powder.

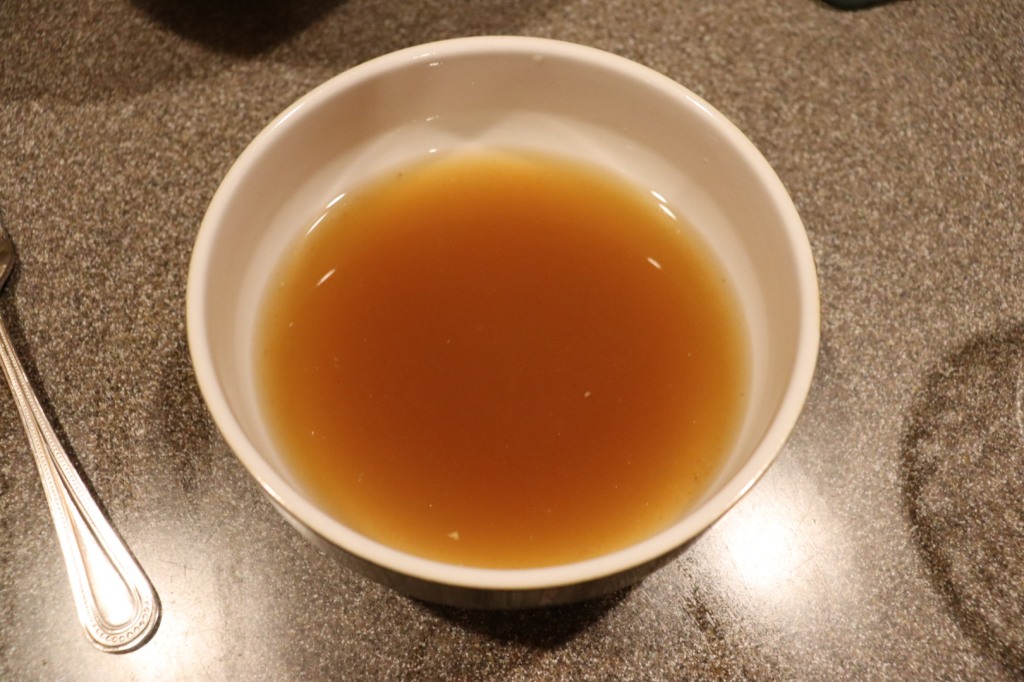
While your tofu marinates, pour 3/4 C boiling water over an ounce of seedless tamarind paste and set it aside; I accidentally got tamarind concentrate instead of tamarind paste (paste is much thicker).

Remove half of the tofu from the marinade and thinly slice it.

Next, to make the sauce, combine in a bowl:  2 T palm sugar, 2 T fish sauce, and 1 T rice wine vinegar. Strain the tamarind paste into this bowl, pressing on the solids to extract all liquid. Discard the solids.

In a separate large bowl, place 4 ounces of fine rice stick noodles and cover them with hot water for 10 minutes.

Fine rice stick noodles soaking in hot water for 10 minutes.

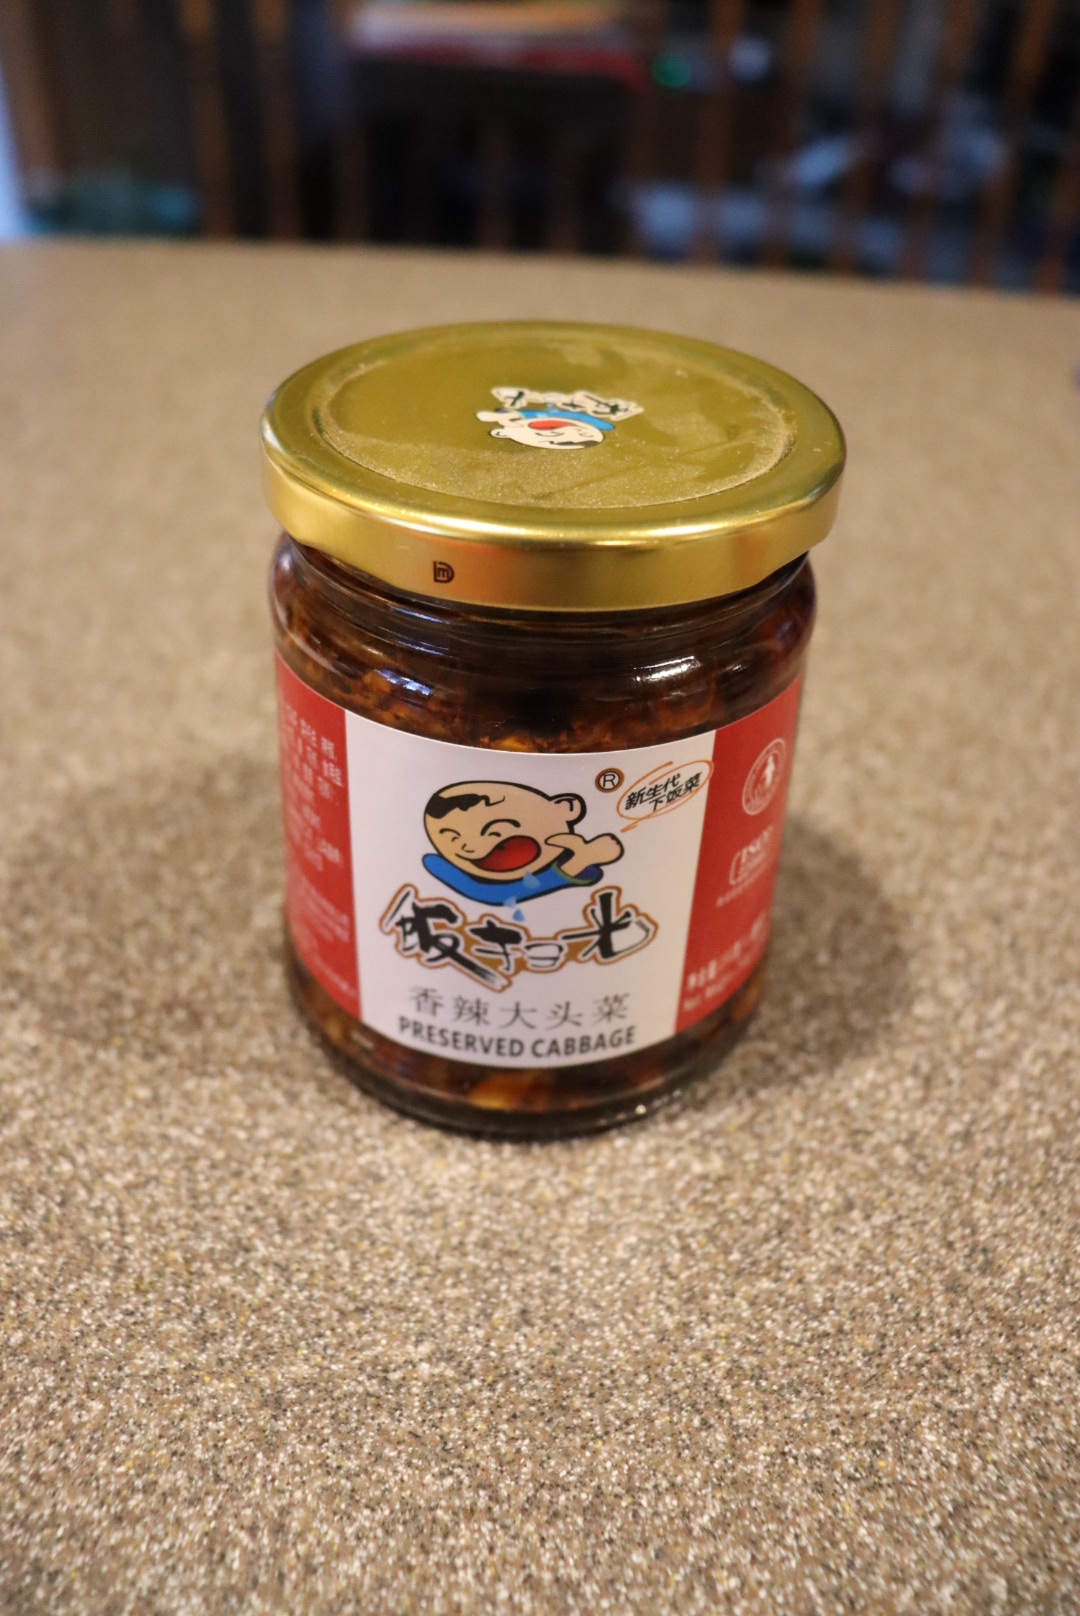
Before cooking you will want to also prep the following ingredients:  2 scallions cut on the bias, 2 t minced garlic, 2 whisked eggs, 2 t salted cabbage (comes in a jar), 1 T chopped dried shrimp, 3 oz bean sprouts, 1/2 C chopped salted peanuts, 6-8 dried red chilies ground to a powder, and 1 lime cut in wedges.

If you want to stir-fry Alton’s way, you’ll want to use your wok on a charcoal grill; you can purchase a wok ring to hold your wok. I don’t have a charcoal grill or a wok ring, so I just went with the good ol’ stovetop. Heat 1 T peanut oil in a wok over high heat and add your sliced marinated tofu. Cook the tofu until it is golden around the edges, and then remove the tofu from the pan.

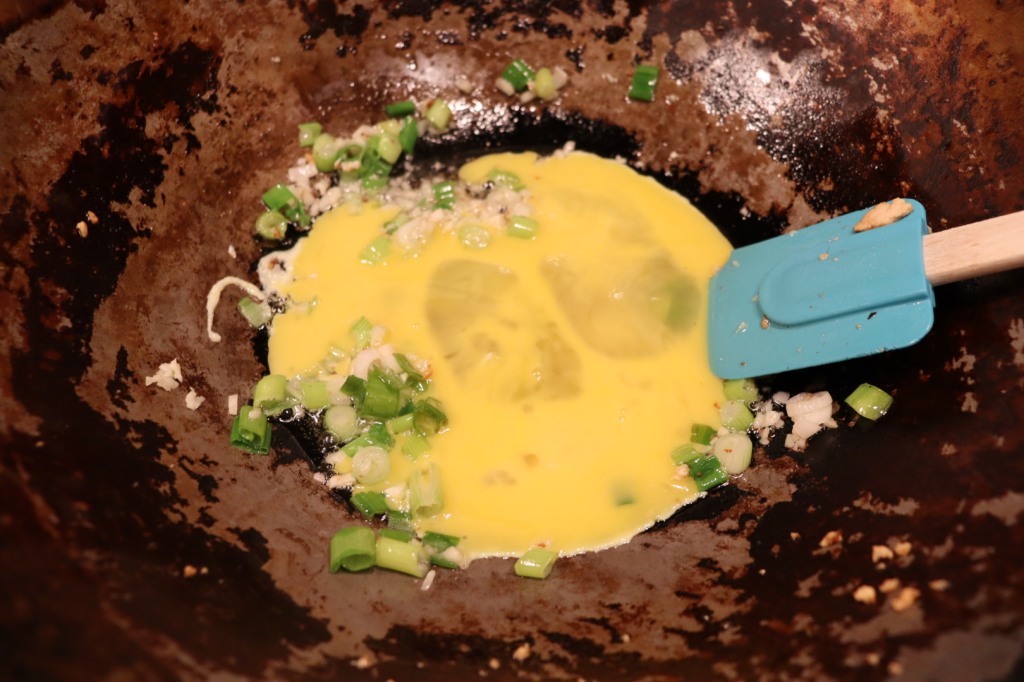
Add some more peanut oil to the wok, along with 2/3 of the scallions and all of the garlic. Next, pour in your whisked eggs, scrambling them once they start to solidify.

Once the eggs have been scrambled, add your drained rice noodles and the sauce.

Soaked/drained noodles and sauce added to wok.

Add 2/3 of the bean sprouts, 2/3 of the peanuts, all of the cabbage, and all of the shrimp. Toss everything together until heated through.

2/3 of sprouts, 2/3 of peanuts, salted cabbage, and shrimp added to the pan.

To finish, add the tofu back to the pan and toss again until the tofu is heated through.

Transfer the Pad Thai to a large serving plate and garnish it with the remaining sprouts, scallions, and peanuts. Sprinkle the top with the powdered chiles and serve with lime wedges.

Alton’s Pad Thai.

As I said before, I’m not a Pad Thai pro, but I really enjoyed making and eating this dinner. It was fun to utilize some new-to-me ingredients and the method of stir-frying is always kind of fun. I actually prepped this dinner for us two nights in a row since the recipe yields enough marinated tofu to double the recipe; the tofu was really very salty the second day, so I would not marinate the tofu for longer than the recipe states. We also did both find that the dried shrimp overpowered the dish, as they have a very strong seafood-like flavor. Personally, I would decrease or omit the dried shrimp, but that’s just me. Otherwise, it’s easy to see why Pad Thai is such a popular Thai dish because it has such a wide variety of textures and flavors. I will absolutely be making this again, especially now that we have all of the Asian ingredients in our pantry.

I fell behind a little bit in my project, as we went out of town a couple times and our 11-month-old has kept me pretty busy. She is crawling everywhere, standing, and into everything, so I can really only get things done when she is sleeping! Oh, and some days we only take one nap! I also wanted to make some of my favorite summer dishes (gazpacho, caprese, and risotto) before the season is over. Summer has gone by way too quickly for my liking.

This episode, featuring another “flat” food, showcases flounder. Alton claims that flounder is a readily available fish, which is probably true in some areas, but not where I live. I called our local markets and was told that they never have flounder, and that any flounder they would order would be frozen. My only option, it seemed, was to use frozen flounder fillets, so that’s what I did.

Baked Stuffed Flounder

The first flounder recipe is for flounder fillets stuffed with a vegetable filling. This recipe, as written, makes enough for four to six people, so I halved it for us. To make the full recipe, you’ll first want to cook enough rice to yield three cups of cooked rice. You can set the rice aside until later. To start the filling, melt 2 T butter in a skillet over medium-low heat, adding a chopped medium onion and a pinch of Kosher salt.

IMG_2283(2)

Onion and Kosher salt in skillet with melted butter.

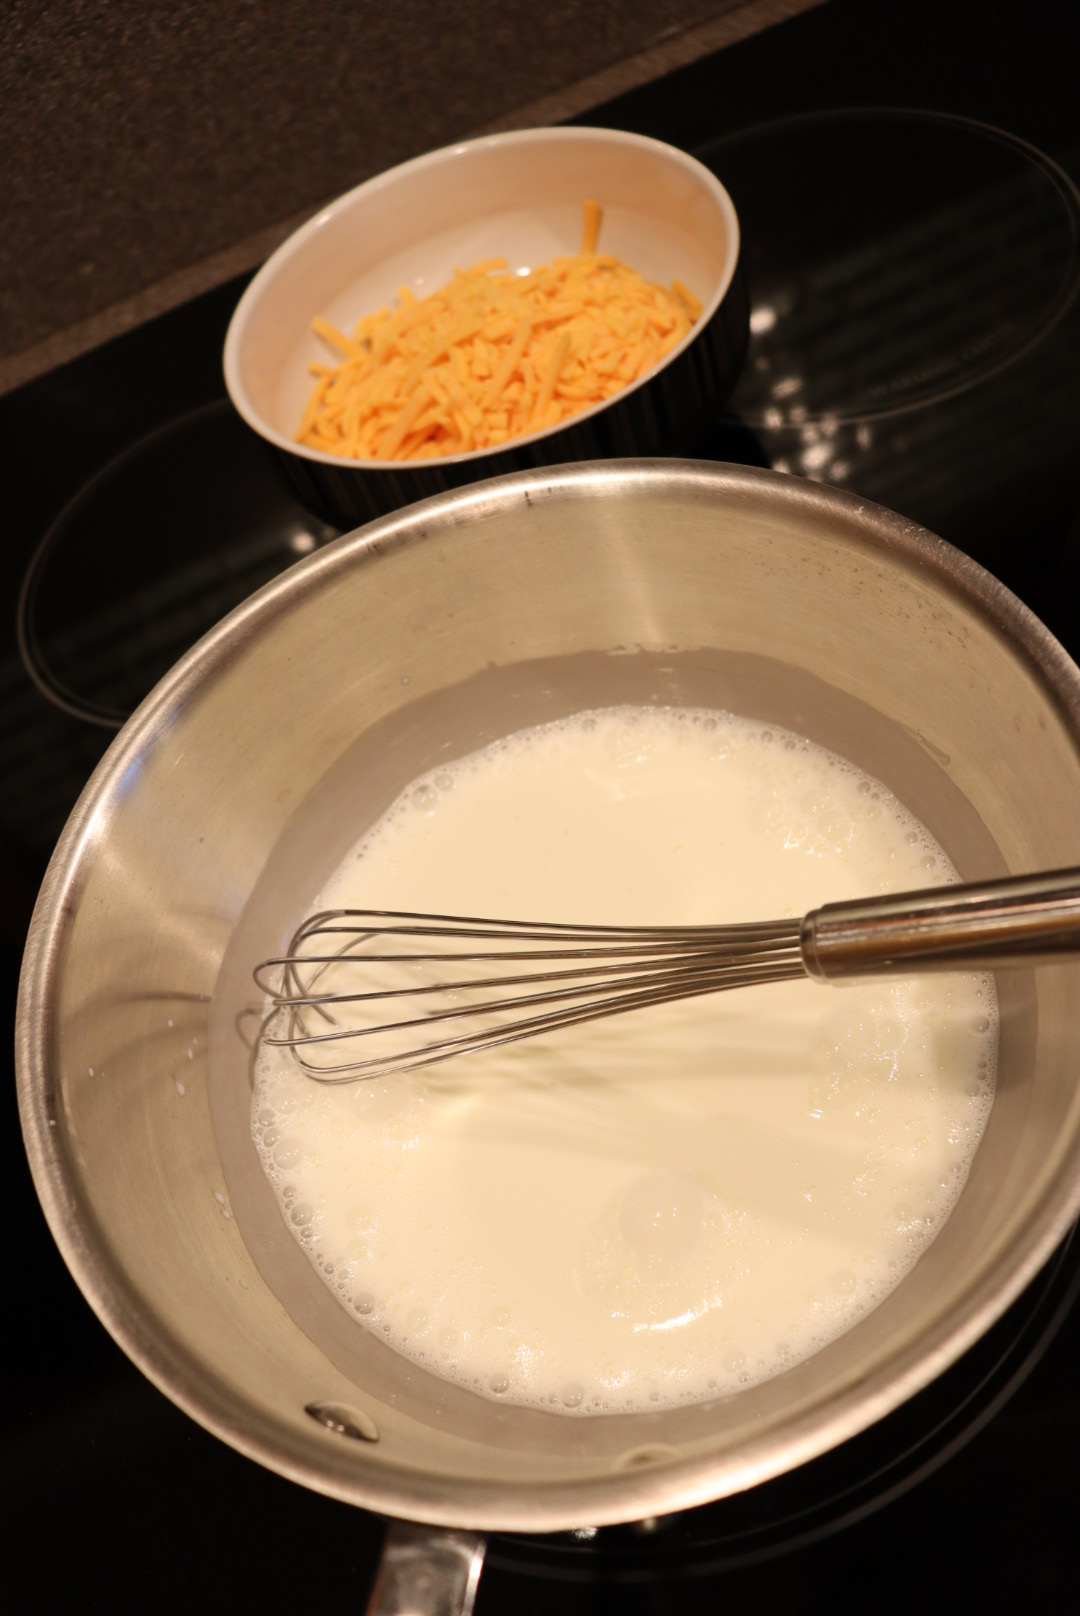
While the onion sweats, pour 1 C heavy cream and 1/4 C white wine into a saucier over medium heat, and whisk as you bring the mixture to a simmer.

IMG_2281(2)

Heavy cream and white wine in saucier.

Meanwhile, add 1 minced clove of garlic to the onion and cook for a minute. Once the cream mixture is simmering, slowly whisk in 10 ounces of cheddar cheese, letting each addition of cheese melt before adding more. When all of the cheese is in and the sauce is smooth, remove it from the heat.

IMG_2284(1)

Cheese, ready to add to simmering cream/wine.

To finish the filling, add to the onion pan 10 ounces of chopped frozen spinach that has been thawed and drained, along with the zest of a lemon. Next, add 2 T chopped parsley, 1/2 t Kosher salt, and 1/4 t pepper. Remove the filling from the heat.

Stir the cheese sauce again before placing 1 1/2 to 2 pounds of flounder fillets on a sheet pan. Season the fish liberally with Kosher salt and pepper. Distribute the spinach filling among the fillets, placing a mound at the widest part of each filet.

Roll the fish around the filling, bringing the tail end up over the filling and the head portion down, kind of twisting the fish around the filling. Place the fillets seam side down in a 1 1/2 to 2 quart casserole that has been filled with the 3 C of cooked rice from earlier.

IMG_2292(2)

Fillets rolled around filling and placed on rice.

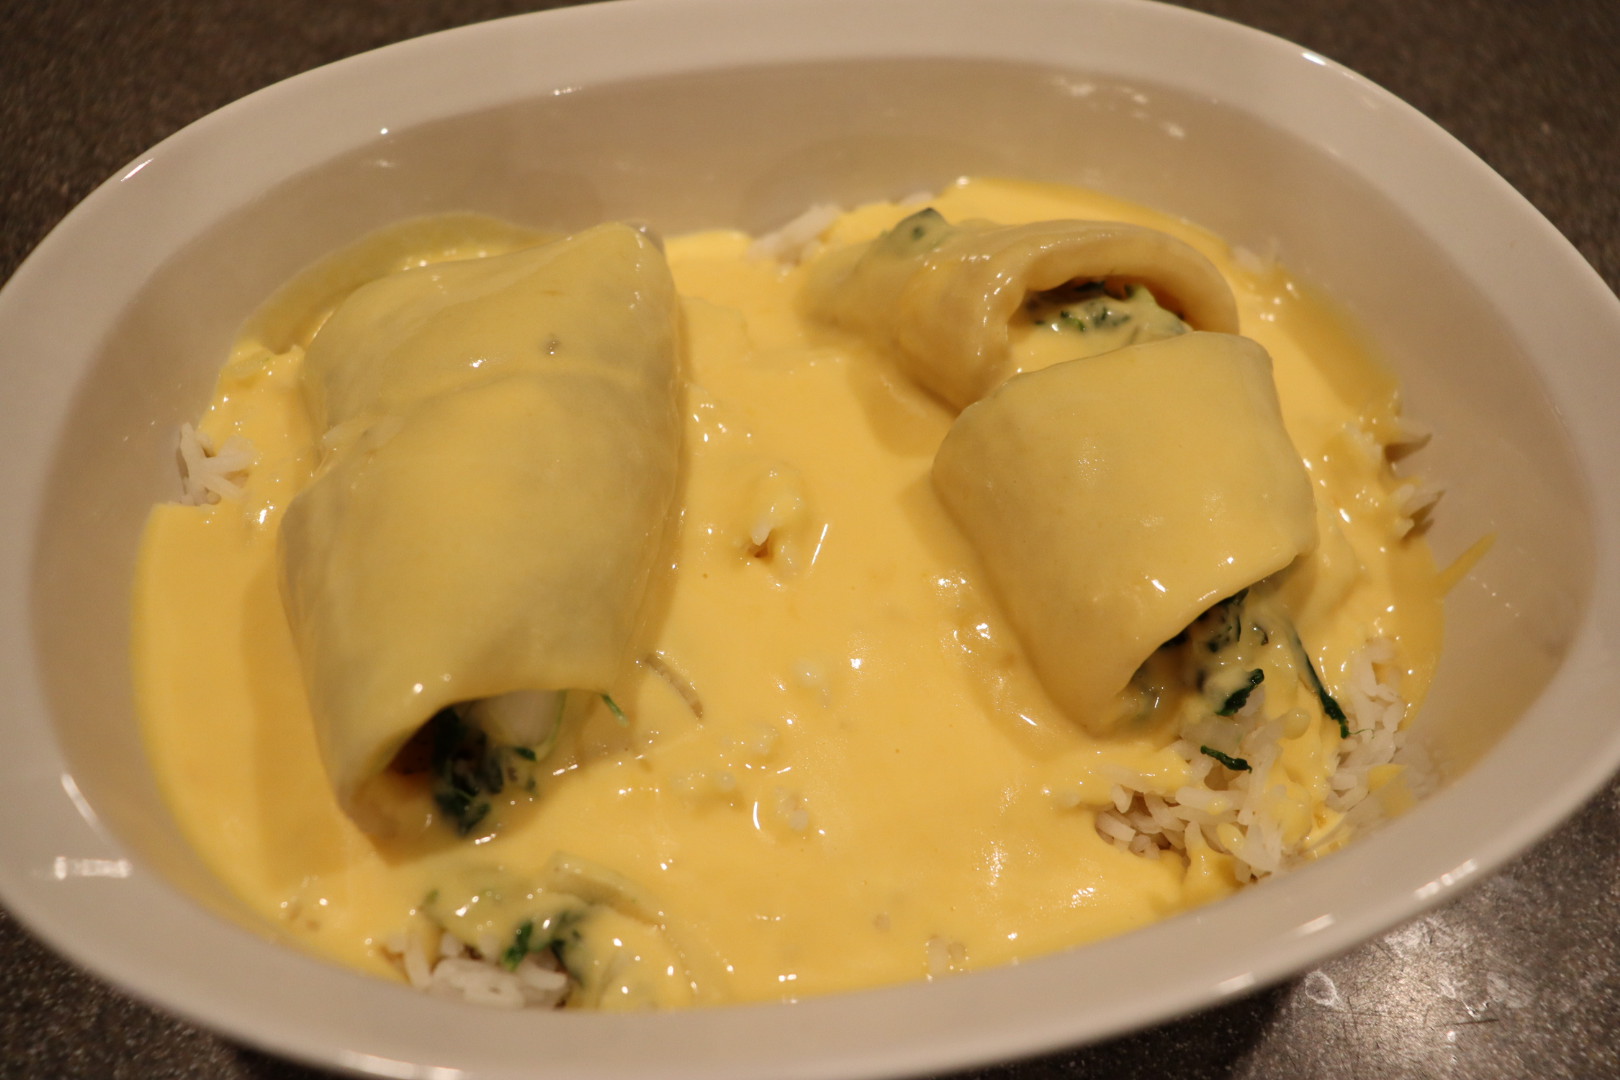
Pour the cheese sauce over the fish and rice and bake the fish for 25 minutes at 350 degrees. Let the fish rest for five minutes before serving.

IMG_2293(2)

Cheese sauce poured over fish and rice.

IMG_2295(2)

Fish after baking for 25 minutes.

IMG_2296(2)

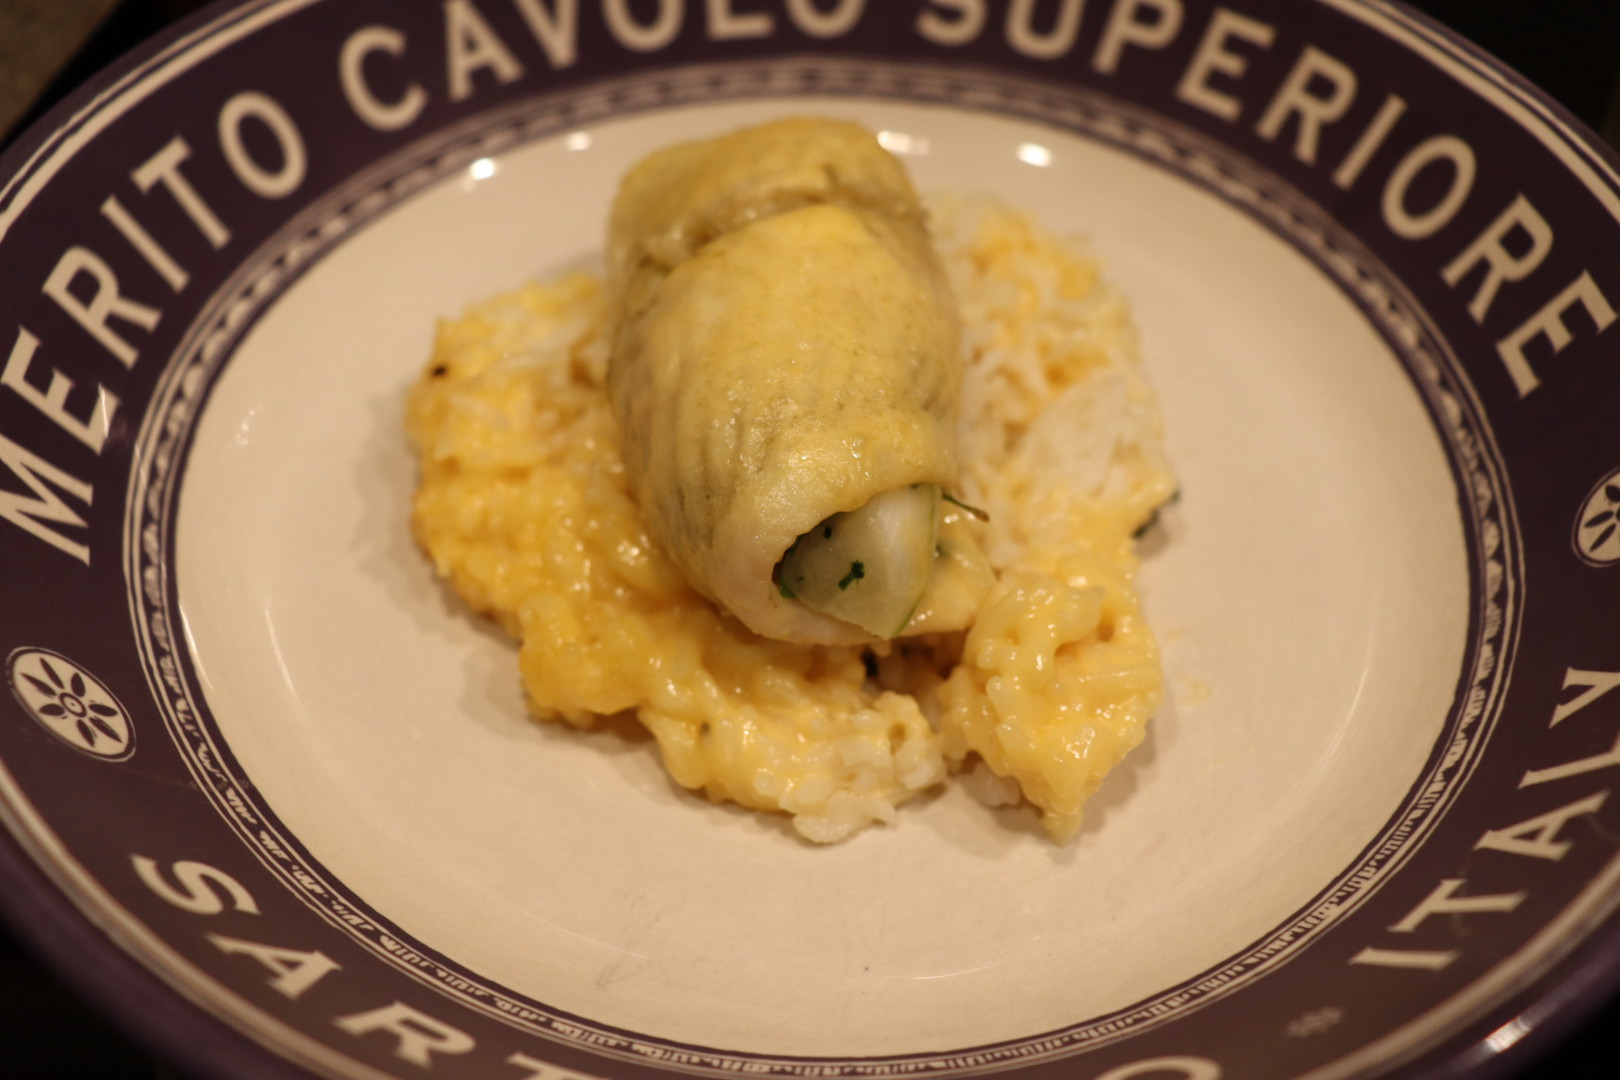
Alton’s stuffed flounder.

Okay, so I instantly cringed at the idea of fish and cheese together when I watched Alton prepare this dish. Cheese and seafood? Well, it turned out that the cheese wasn’t so much of the problem as was my fish. Is all flounder fishy? My flounder smelled super fishy when I opened it and maintained a fishy flavor after cooking. The fish also had a somewhat mushy texture, and we both found it really unappealing. In fact, I just ended up eating the rice with the filling and sauce. I would definitely not make this recipe again as it is written. Maybe this would be better with a different type of fish? Still… fish with cheese. Yeah, I’d recommend skipping this one.

Oil Poached Flounder

After making Alton’s first flounder dish, I decided to make the remaining to recipes with a different type of fish that I could get fresh locally – salmon. My flounder was just so bad that I could tell it would not taste good in any recipe. Yes, substituting ingredients (especially the main ingredient) goes against the premise of this project, but I chose to do it here in Alton’s oil poached flounder recipe. To poach fish in oil, heat 3 C of olive oil on the stove over low heat until it reaches 300-310 degrees.

IMG_2305(2)

Olive oil heating to 300-310 degrees.

While the oil heats, heat the oven to 350 degrees and season 1 1/2 to 2 pounds of fish fillets with Kosher salt and pepper.

IMG_2307(2)

Salmon, seasoned with Kosher salt and pepper and cut into fillets.

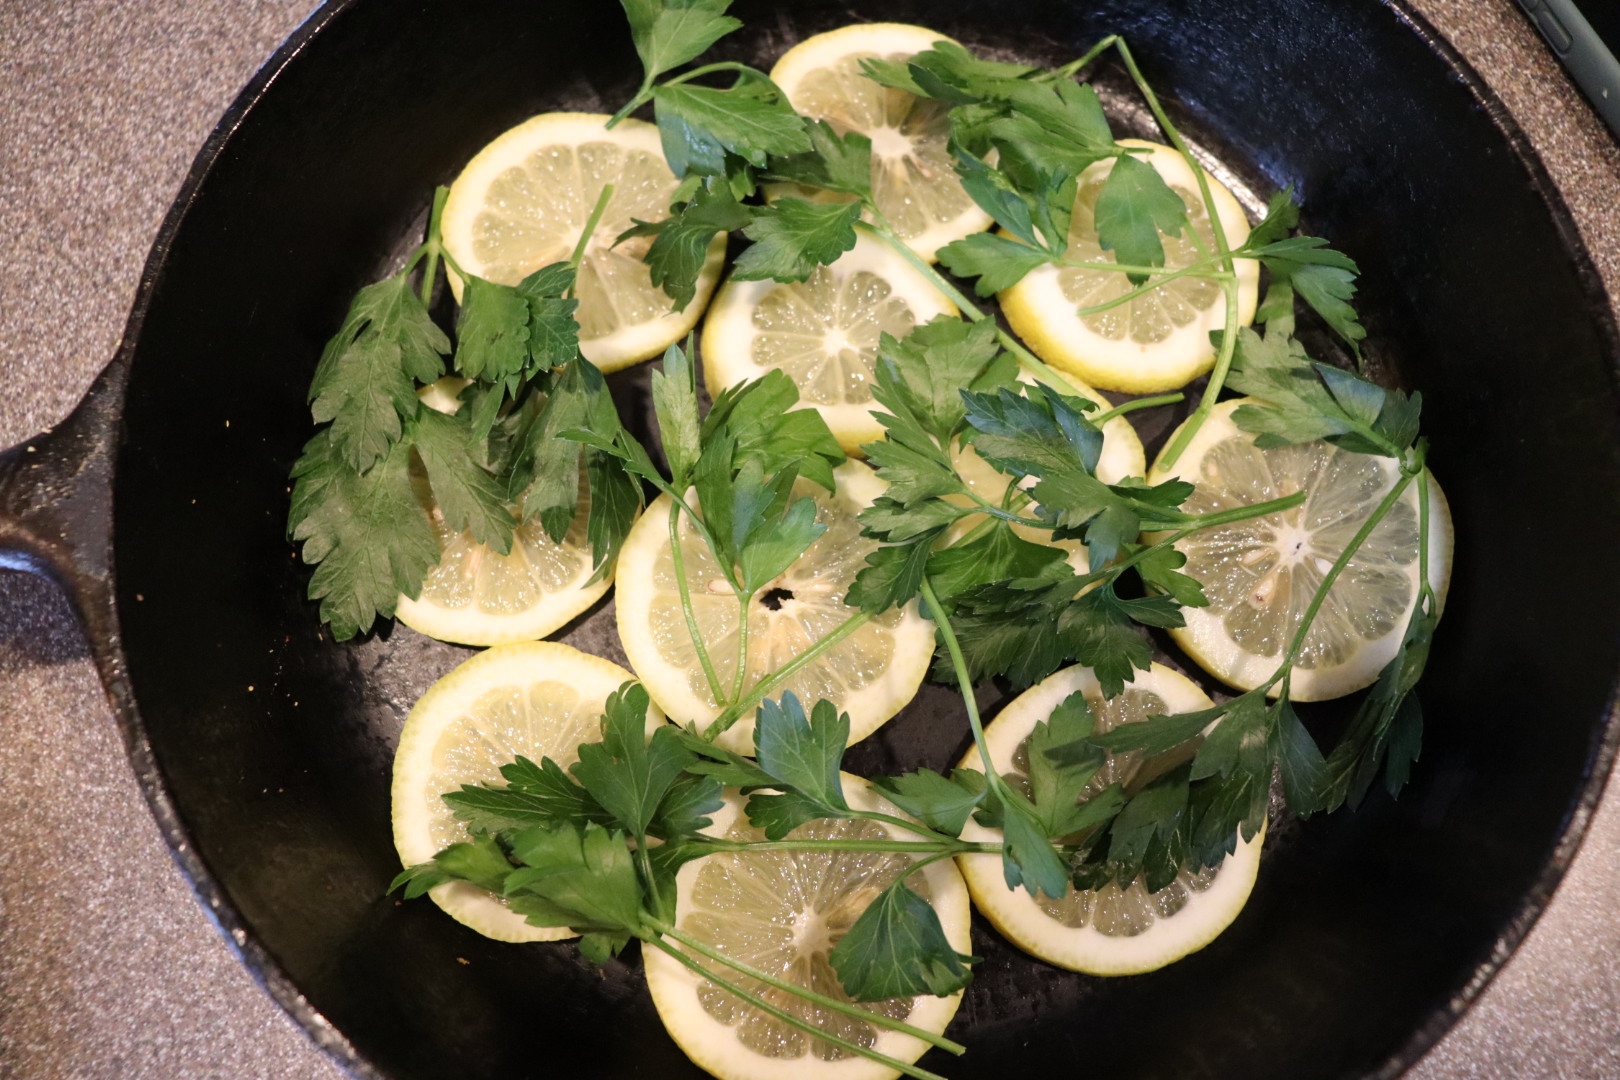
Thinly slice a lemon and line the bottom of a cast iron skillet with the lemon slices. Top the lemon slices with a few sprigs of fresh parsley.

IMG_2304(2)

A layer of lemon slices and parsley in a cast iron skillet.

Place the fish fillets on top of the parsley and top the fish with another layer of thinly sliced lemon and a few more sprigs of parsley. Make sure your parsley is not wet.

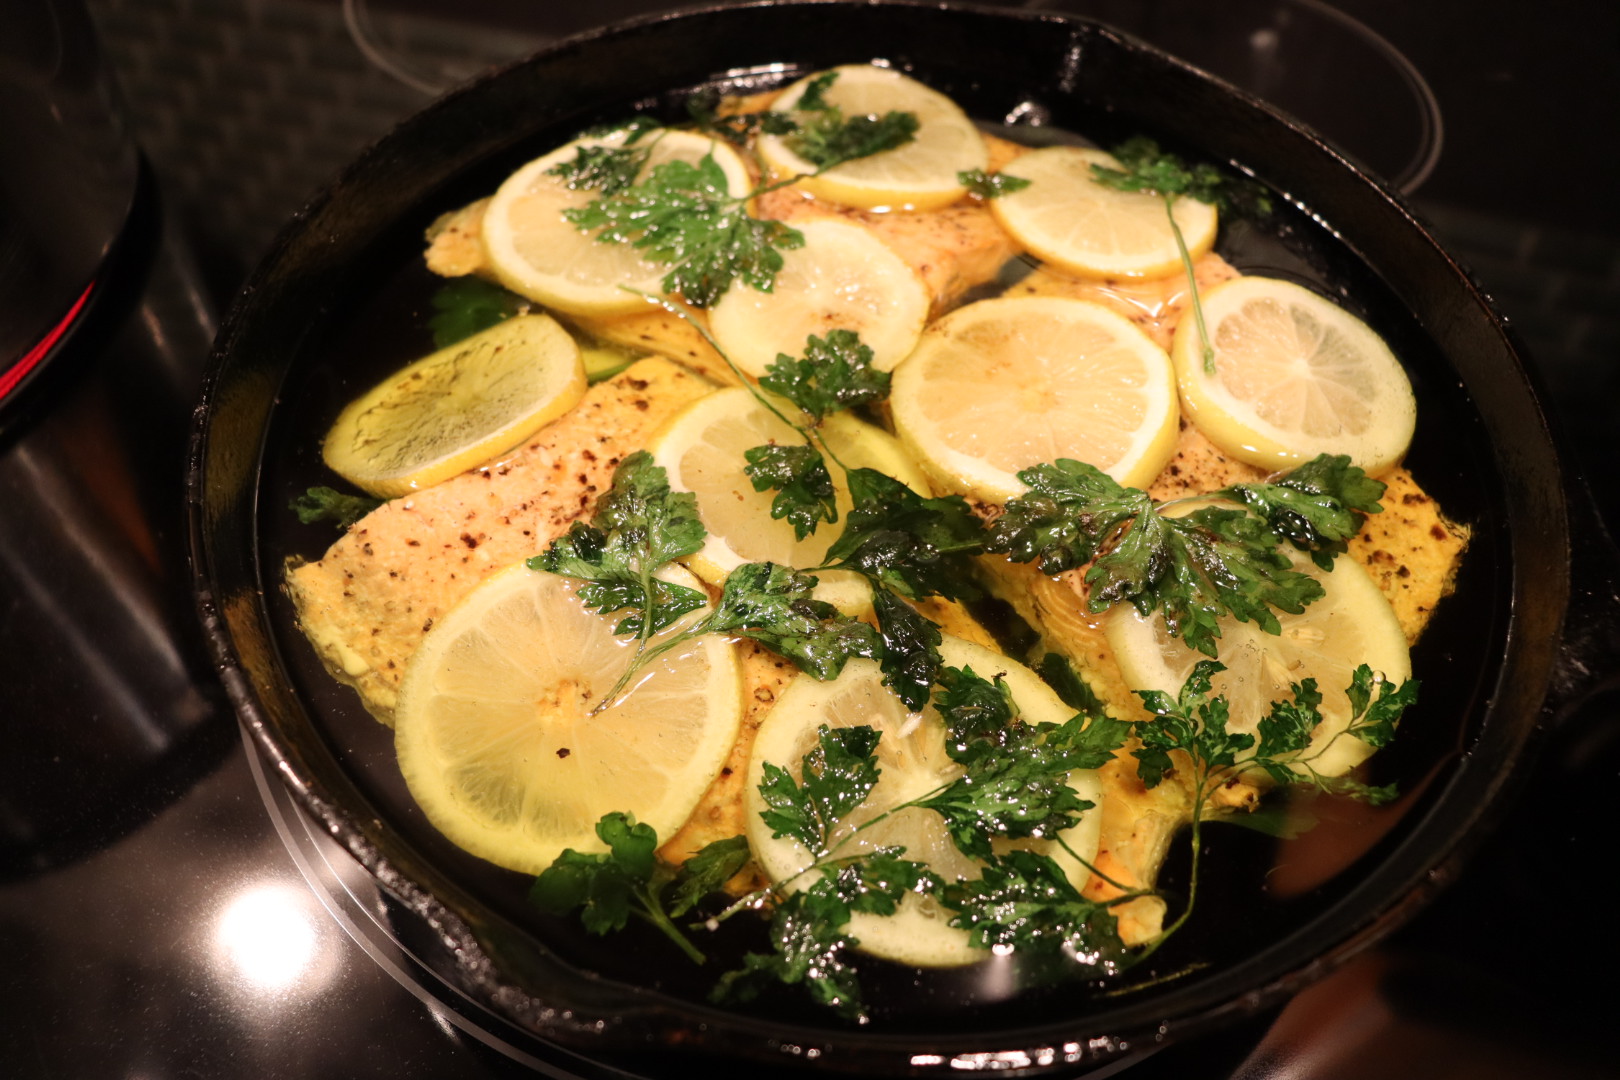
Place the skillet in the preheated oven and carefully pour the hot oil over the fish.

IMG_2318(1)

Skillet placed in oven and hot oil poured over.

Let the fish cook for 10 minutes before removing it from the oven. Let the fish rest for five minutes before serving.

IMG_2321(1)

Fish after poaching for 10 minutes in the oven.

IMG_2322(1)

Alton’s oil poached fish.

You can strain and save the oil for later fish cooking. If you plan to make the next recipe, which uses leftovers from this recipe, be sure to save 1/2 C of the cooking oil and two of the lemon slices. My salmon turned out moist and flavorful, yet not greasy. I do think my fish was slightly overcooked, so I would be tempted next time to cut the cooking time by several minutes. I did like this method of cooking fish and I did save the oil, so I think I’ll try this again. I suppose you could always mix up the fresh herbs; since I used salmon, I think dill would pair well.

Flounder Fish Salad

Leftover fish is typically pretty gross, so I wasn’t sure what to think when I saw Alton making a leftover fish salad. To make this salad, whisk together in a bowl:  3 T white wine vinegar, 1 T lime juice, 1/2 t Kosher salt, 1/8 t pepper, and 8-10 drops of hot sauce.

IMG_2327(1)

White wine vinegar, lime juice, Kosher salt, pepper, and hot sauce.

Slowly whisk in 1/2 C of the strained leftover cooking oil from the previous recipe until you have an emulsion.

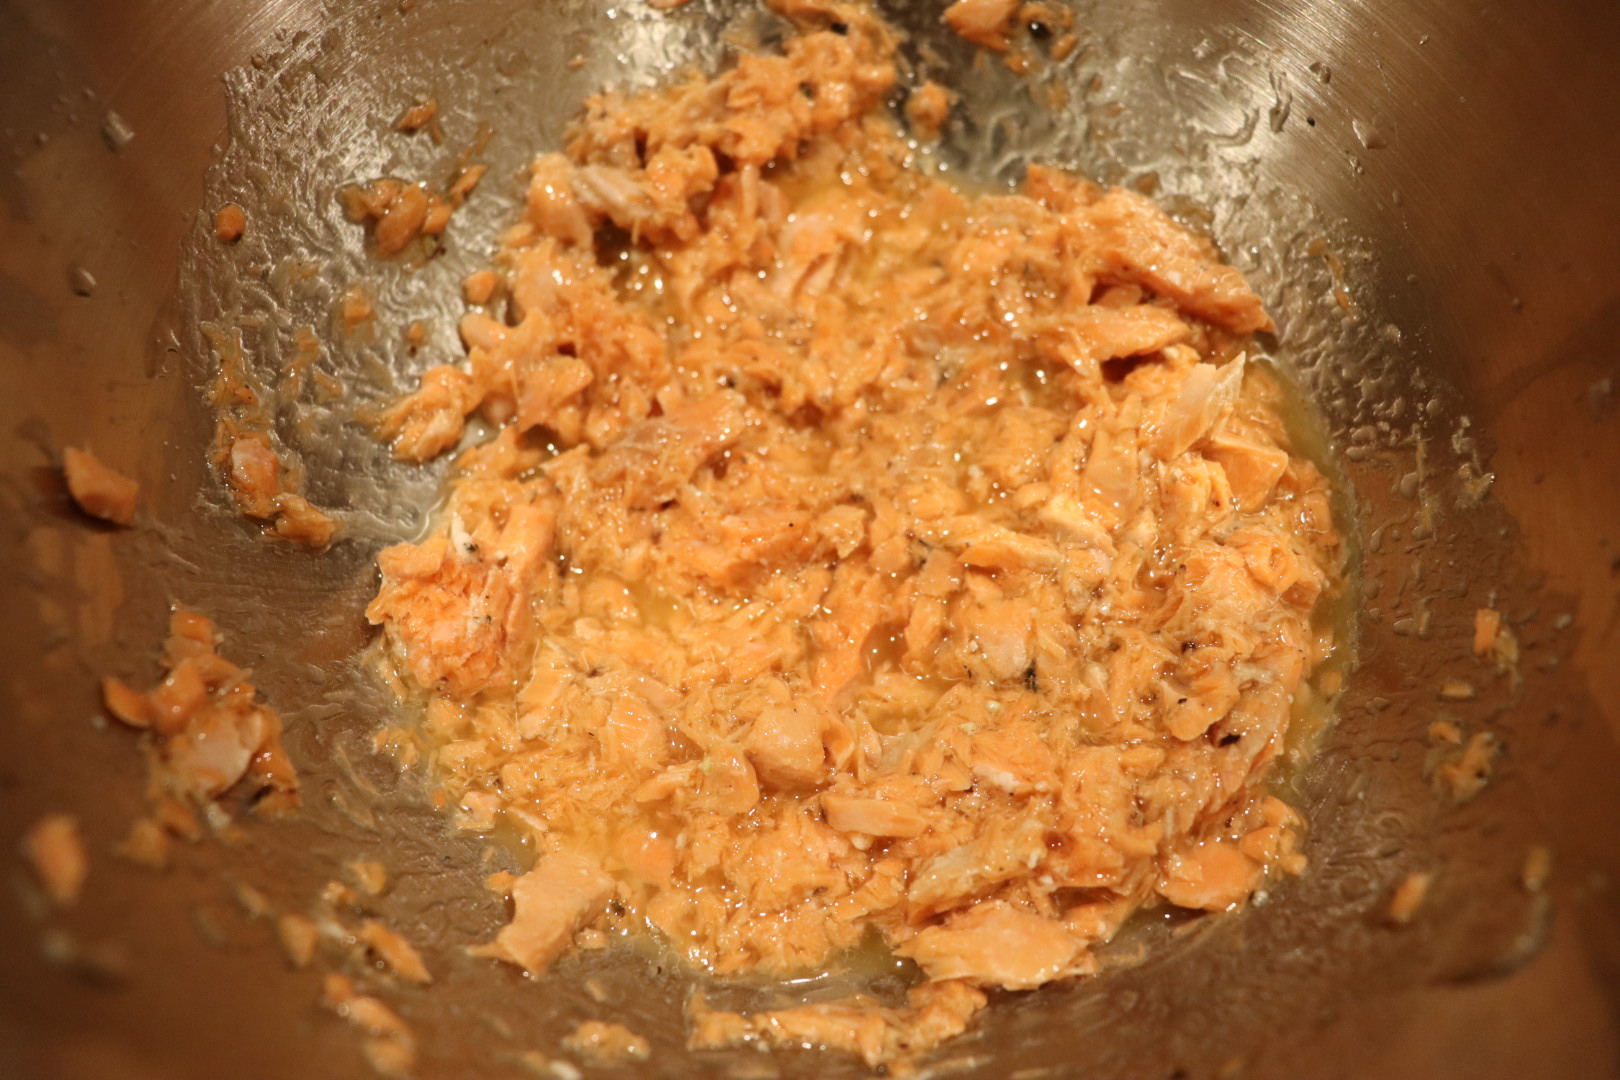
Fold a pound of leftover cooked fish from the previous recipe into the dressing.

IMG_2332(1)

Leftover poached fish added to vinaigrette.

Finally, add two diced  leftover lemon slices from the previous recipe, 2 T parsley, and 2 T scallions. Serve the fish salad with crackers.

IMG_2333(1)

Diced lemon, parsley, and scallions added to fish.

IMG_2334(1)

Alton’s fish salad on crackers.

I used my leftover salmon from the previous recipe and thought this turned out to be surprisingly good. We ate this as an appetizer on crackers. The fish didn’t taste fishy and the vinaigrette had a nice pep to it. The leftover diced lemon added both texture and a bit of tart citrus. I found this to be a very summery dish. While I never would have considered eating leftover fish before, I may make this salad again in the future if we have good leftover fish. I can assuredly say that this recipe would have been awful if I had used the frozen flounder that I used in the first recipe, so if you do decide to try this one, be certain that you are using good fish!

Well, it took a while, but I finally completed all of Alton’s recipes for an entire butchered beef tenderloin. In “Tender is the Loin I,”  Alton showed how to butcher a whole tenderloin into cuts to be used in five different recipes. You cut the loin into four filets, a center cut roast, a head roast, a tip portion, and a chain.

In addition to the butchering in that first tenderloin episode, he also demonstrated a recipe for the filets from the tenderloin. As I mentioned before, for some reason, a cocktail episode aired in between the two tenderloin episodes, which was an odd decision. Here are the recipes for the remaining cuts from the beef tenderloin.

Center Cut Tenderloin Roast

The center cut roast from the tenderloin is used first in the second episode. This cut of meat should weigh 1 to 1 1/4 pounds. For this recipe, place 1 1/2 t Kosher salt, 1 1/2 t pepper, and 1 t cumin in a loaf pan.

IMG_2154(2)

Kosher salt, pepper, and cumin.

Set the roast in the spices and toss it around to coat on all sides. Let the roast sit at room temperature for 30 minutes to one hour.

After resting, place a grill pan over high heat for five to seven minutes. Sprinkle the pan with Kosher salt, as this will make it easier to clean later. Sprinkle vegetable oil over the roast and turn it with tongs to coat. Place the roast at the front of the grill pan and gradually roll the roast from the front to the back of the pan, searing for about eight minutes total on all sides.

Transfer the roast from the grill pan to a metal baking pan and let it sit for 10-15 minutes.

IMG_2172(2)

Seared roast placed in metal pan.

While the roast sits, preheat the oven to 250 degrees. Place the roast back on the grill pan place it in the oven with a probe thermometer in its center. Cook the roast until the probe thermometer says 135 degrees.

Remove the roast from the oven, wrap it in foil, and let it rest for 30 minutes before slicing.

IMG_2176(1)

Roast wrapped in foil for 30 minutes.

IMG_2185(2)

Alton’s center cut tenderloin roast.

This roast was so easy and was perfectly cooked. I typically use some sort of sauce with beef, but I found that this roast was flavorful enough on its own. The outside of the roast had a spice-filled crust, while the inside of the roast was juicy and tender. This is a roast you could easily make any day of the week and any meat-eater would certainly enjoy this.

Stuffed Roast

To follow the center cut roast, Alton prepped his recipe for the small head roast (1 to 1.5 lb) portion of the loin. I prepared this for dinner on Father’s Day. To begin, slice open the head roast, creating a pocket. Open the roast and place a few more slices internally, slicing it “like a book.” Brush the inside of the roast with olive oil and season it with Kosher salt and pepper.

Sear the roast on both sides on a hot grill pan that has been sprinkled with Kosher salt. Let the roast rest for 15 minutes after searing.

IMG_2239(1)

Head roast on hot grill pan to sear.

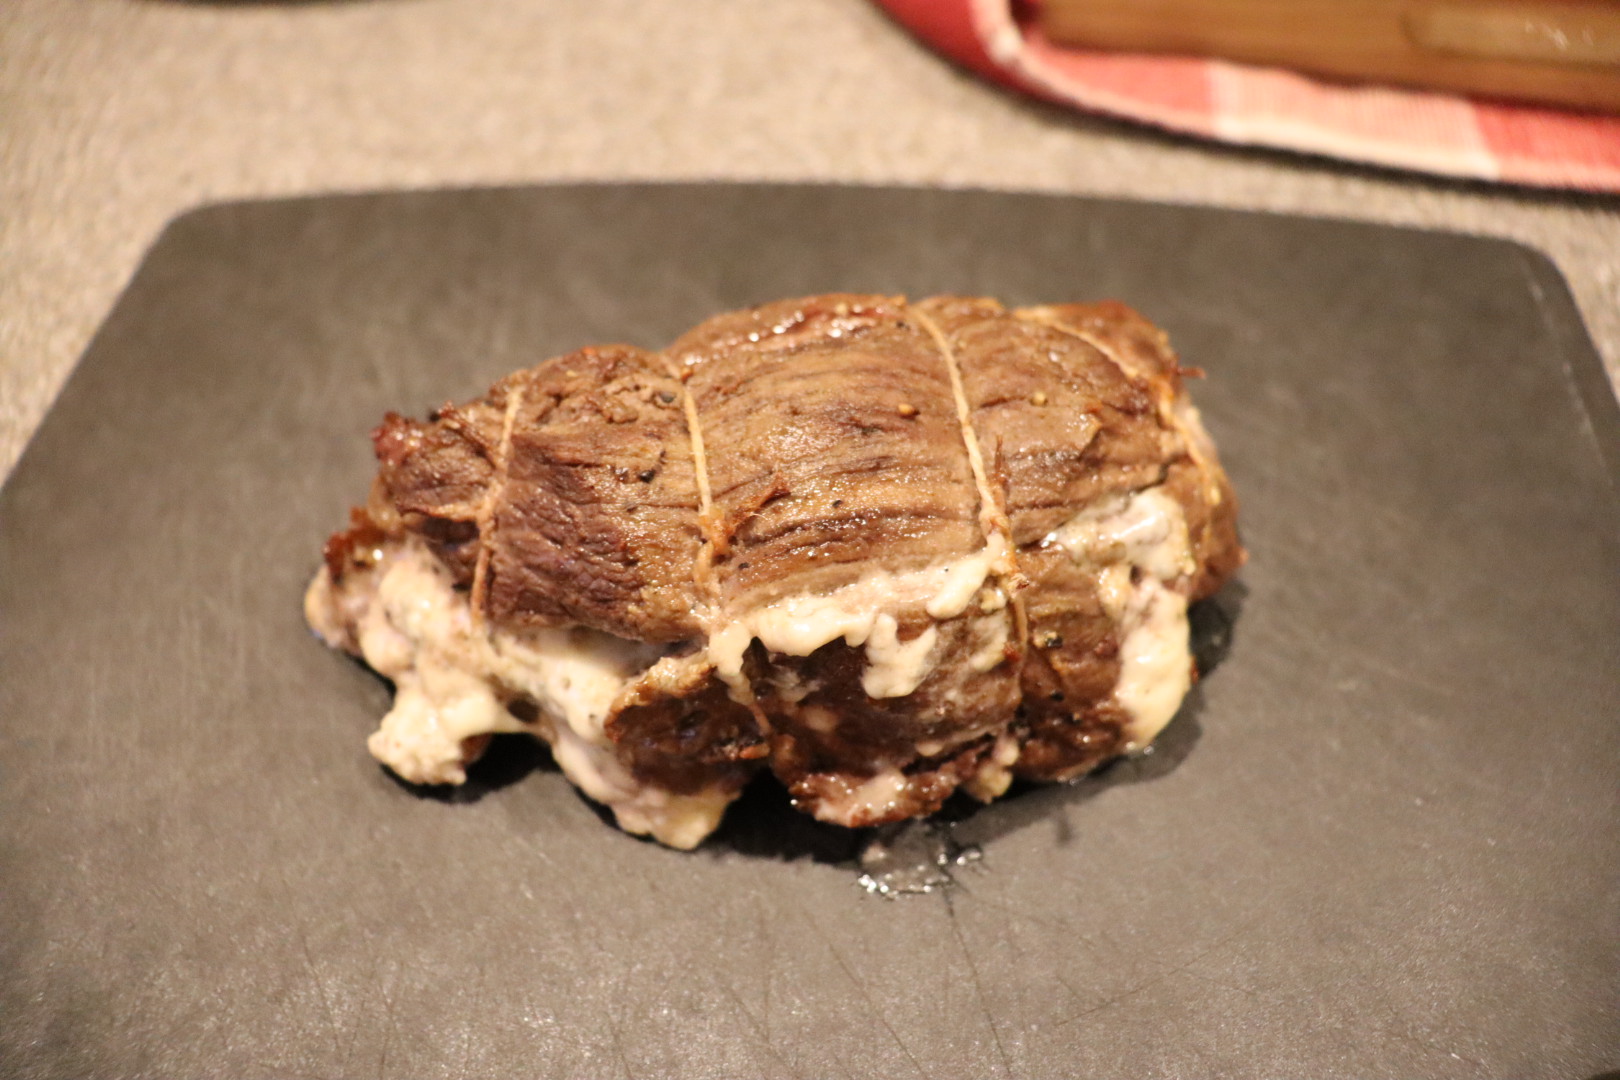
Stuff the roast with three ounces of blue cheese, roll the roast up, and secure it with butcher’s twine.

Place a probe thermometer in the center of the roast and cook the roast in the oven at 450 degrees until the thermometer reaches 125 degrees.

IMG_2246(1)

Head roast in 450 degree oven until reaching 125 in the center.

Remove the roast from the oven, cover it with foil, and let it rest for 15 minutes before slicing.

IMG_2248(1)

Head roast resting in foil for 15 minutes.

IMG_2249(1)

Head roast, ready to be sliced.

IMG_2251(1)

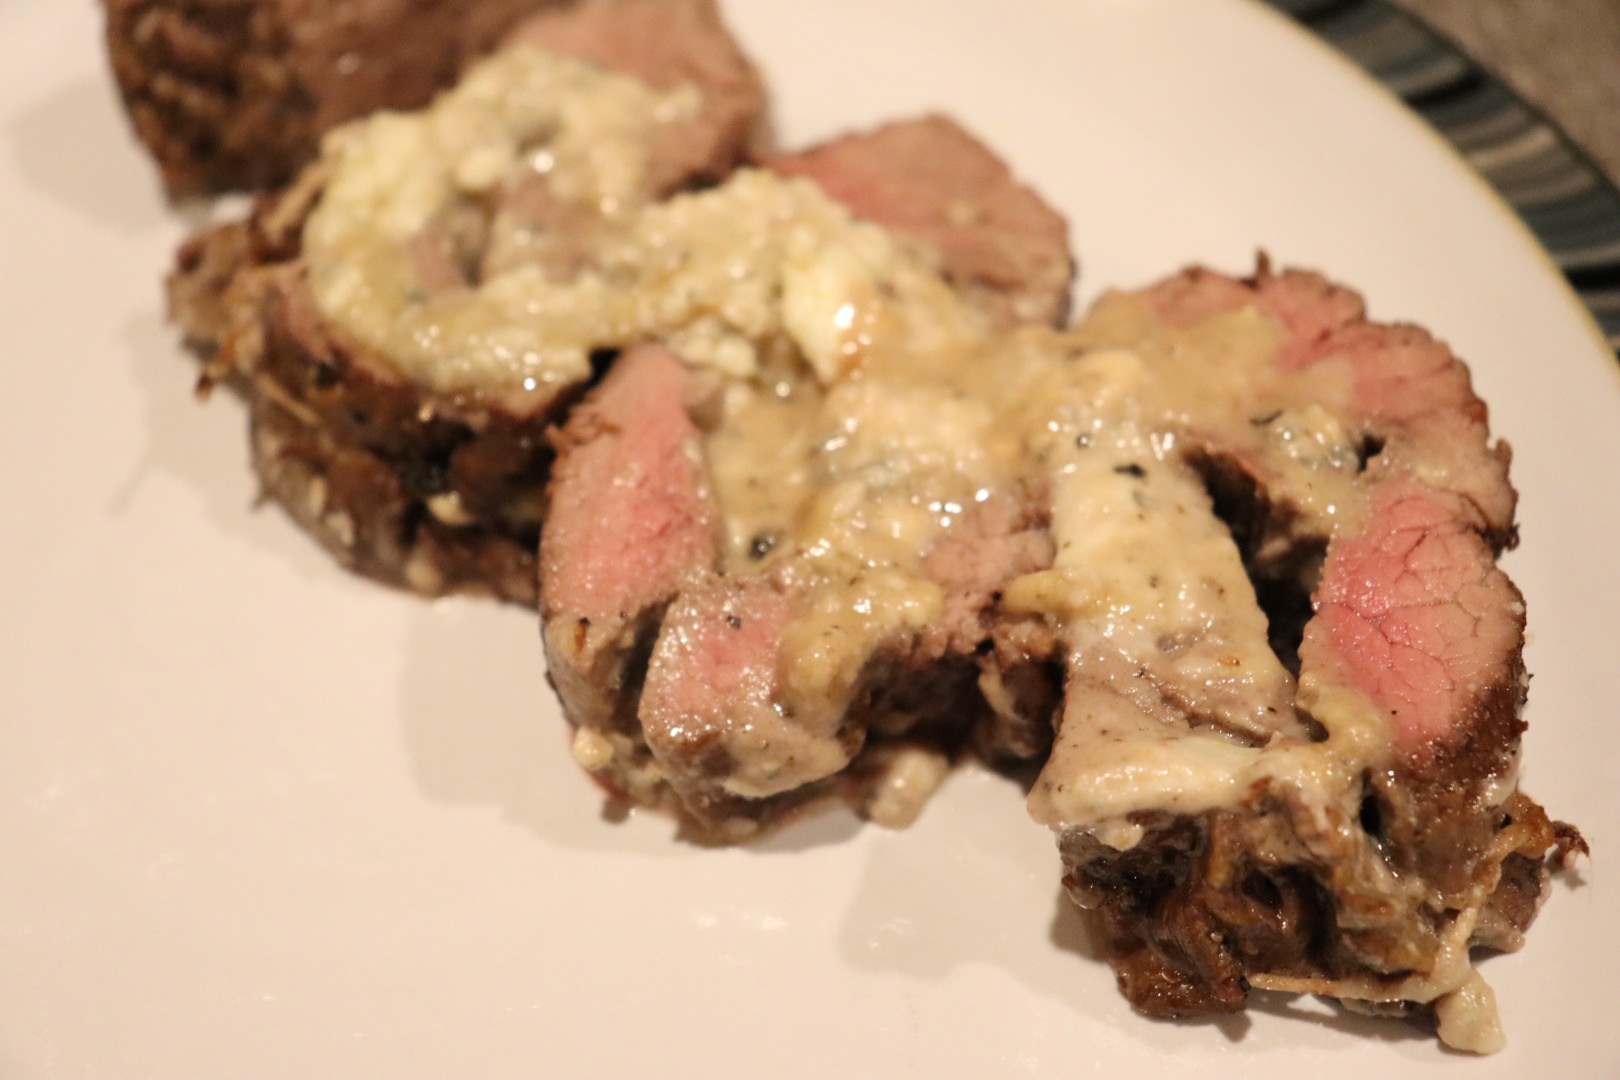
Alton’s stuffed tenderloin.

This was delicious, especially if you like blue cheese. As Alton said, the idea with this recipe was to put the sauce on the inside of the meat… and it works. The meat came out pink and juicy and the cheese was melting in the center. This is another fantastic roast recipe that requires very little effort and produces great results.

Carpaccio

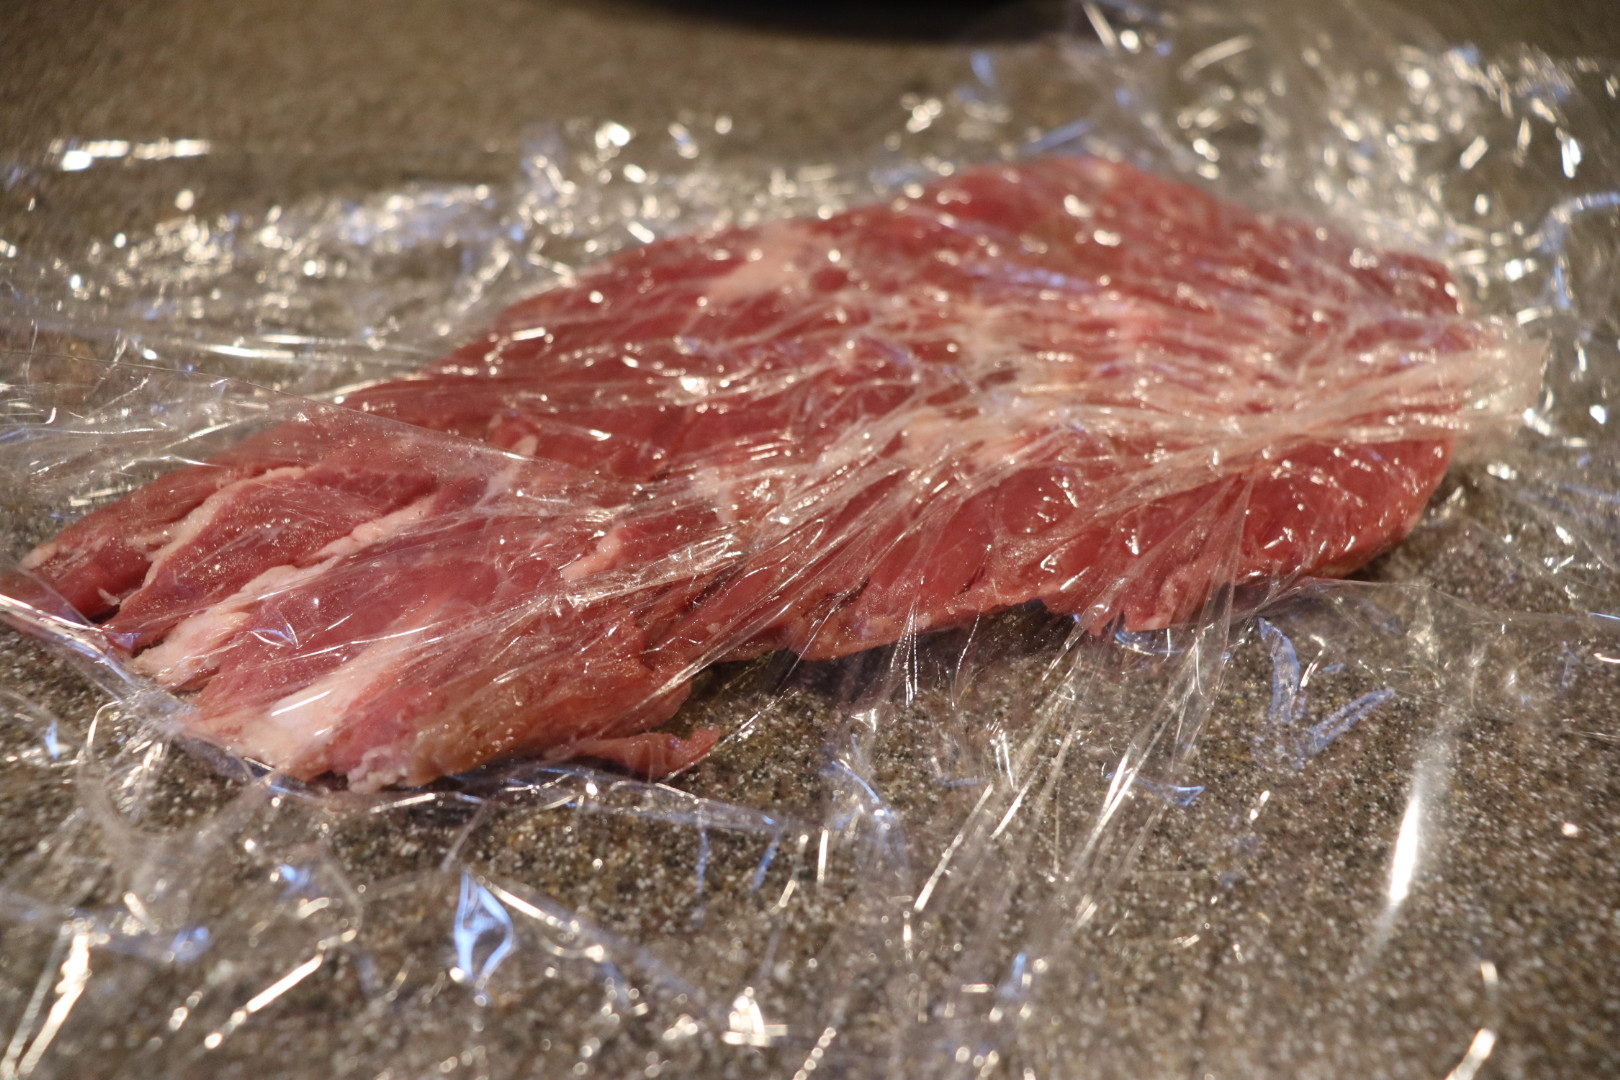
I love carpaccio. Although the idea of raw meat may scare some people, I encourage you to give it a try. I had previously only had carpaccio in restaurants, and I likely would never have made it at home if were not for this project. To make Alton’s carpaccio, you will need a small tip portion from a beef tenderloin. Wrap the meat in plastic and place it in the freezer for two hours, or until it is quite firm.

IMG_2151(1)

Tenderloin tip wrapped in plastic and heading to freezer for 2 hours.

Leaving the plastic on, slice the meat as thinly as possible with a very sharp knife; I actually removed the plastic for slicing, as I found that the plastic really got in the way.

IMG_2157(2)

Slicing meat after freezing.

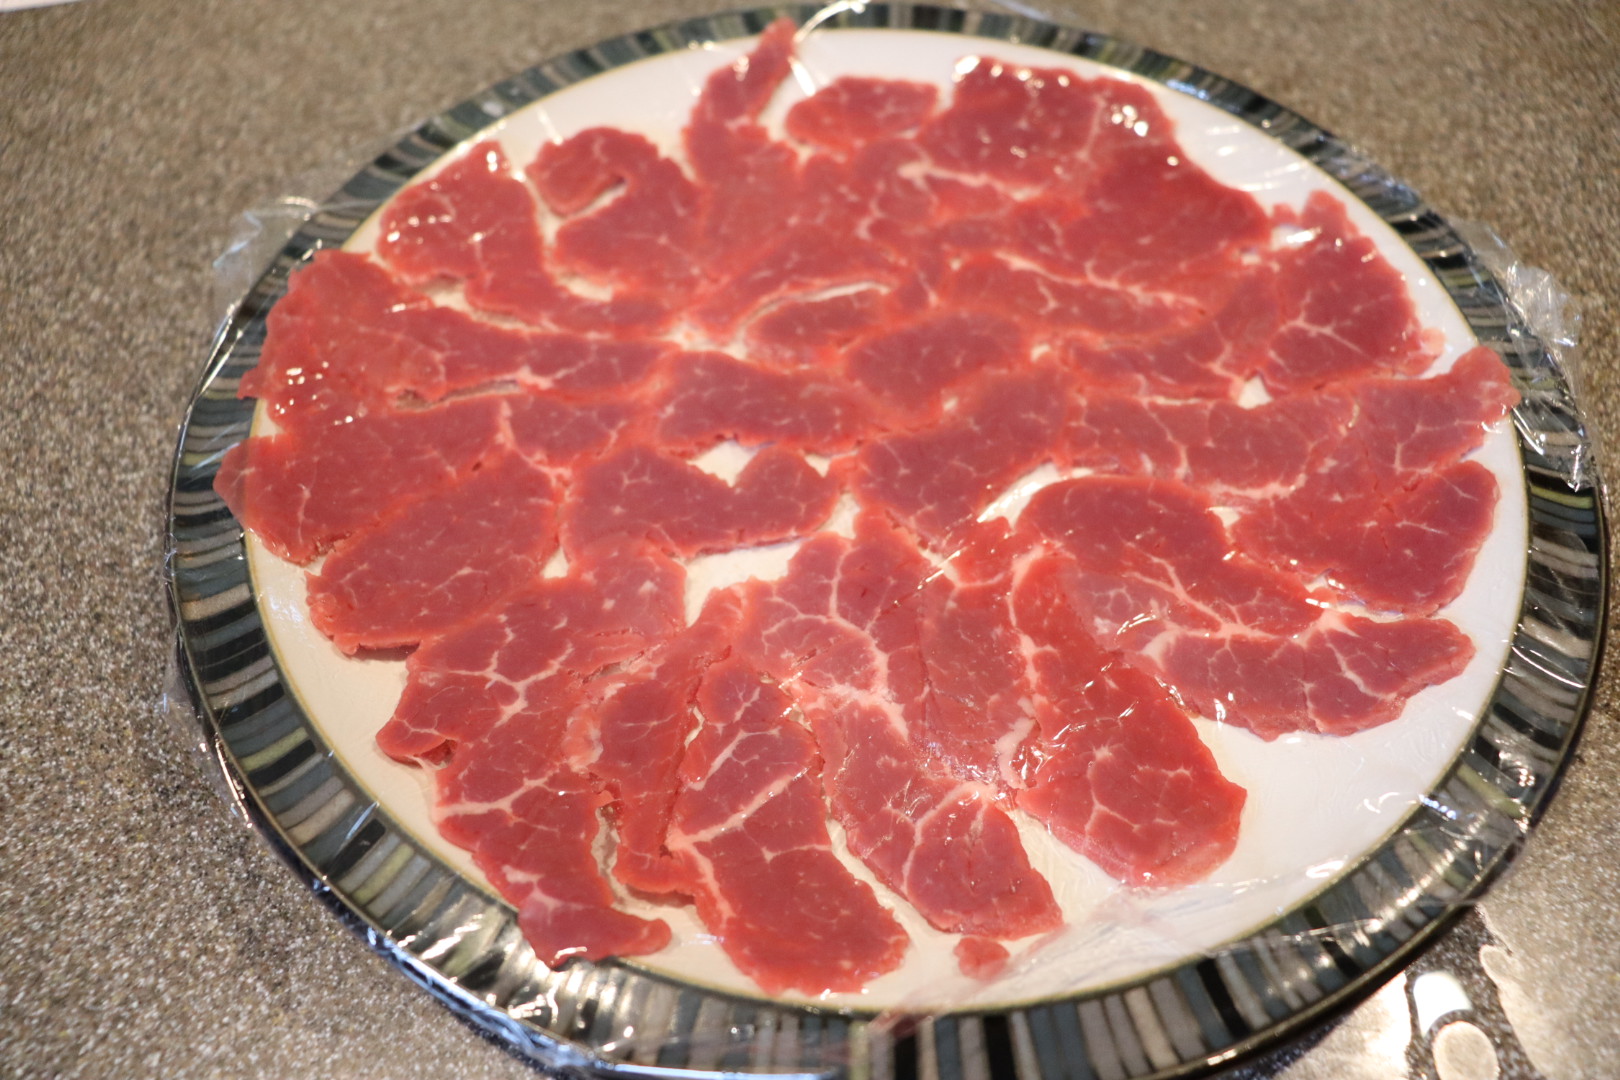
Spritz a counter top with water and place a layer of plastic wrap down. Spritz the top of the plastic and add the meat slices, overlapping them slightly to form a “disc of meat.” Spritz the meat again and fold the plastic over the top of the meat, sandwiching the meat between the plastic layers.

Spritz the top layer of plastic one final time. Set a pie tin on top of the plastic and pound it with a mallet until the meat is very thin.

Remove the top layer of plastic and invert a plate on top of the meat. Slide your hand under the meat and invert the meat back onto the top of the plate.

IMG_2165(2)

Inverting meat onto plate.

Peel off the remaining plastic, leaving the meat on the plate. Chill the meat until eating.

IMG_2166(2)

Carpaccio, inverted onto plate.

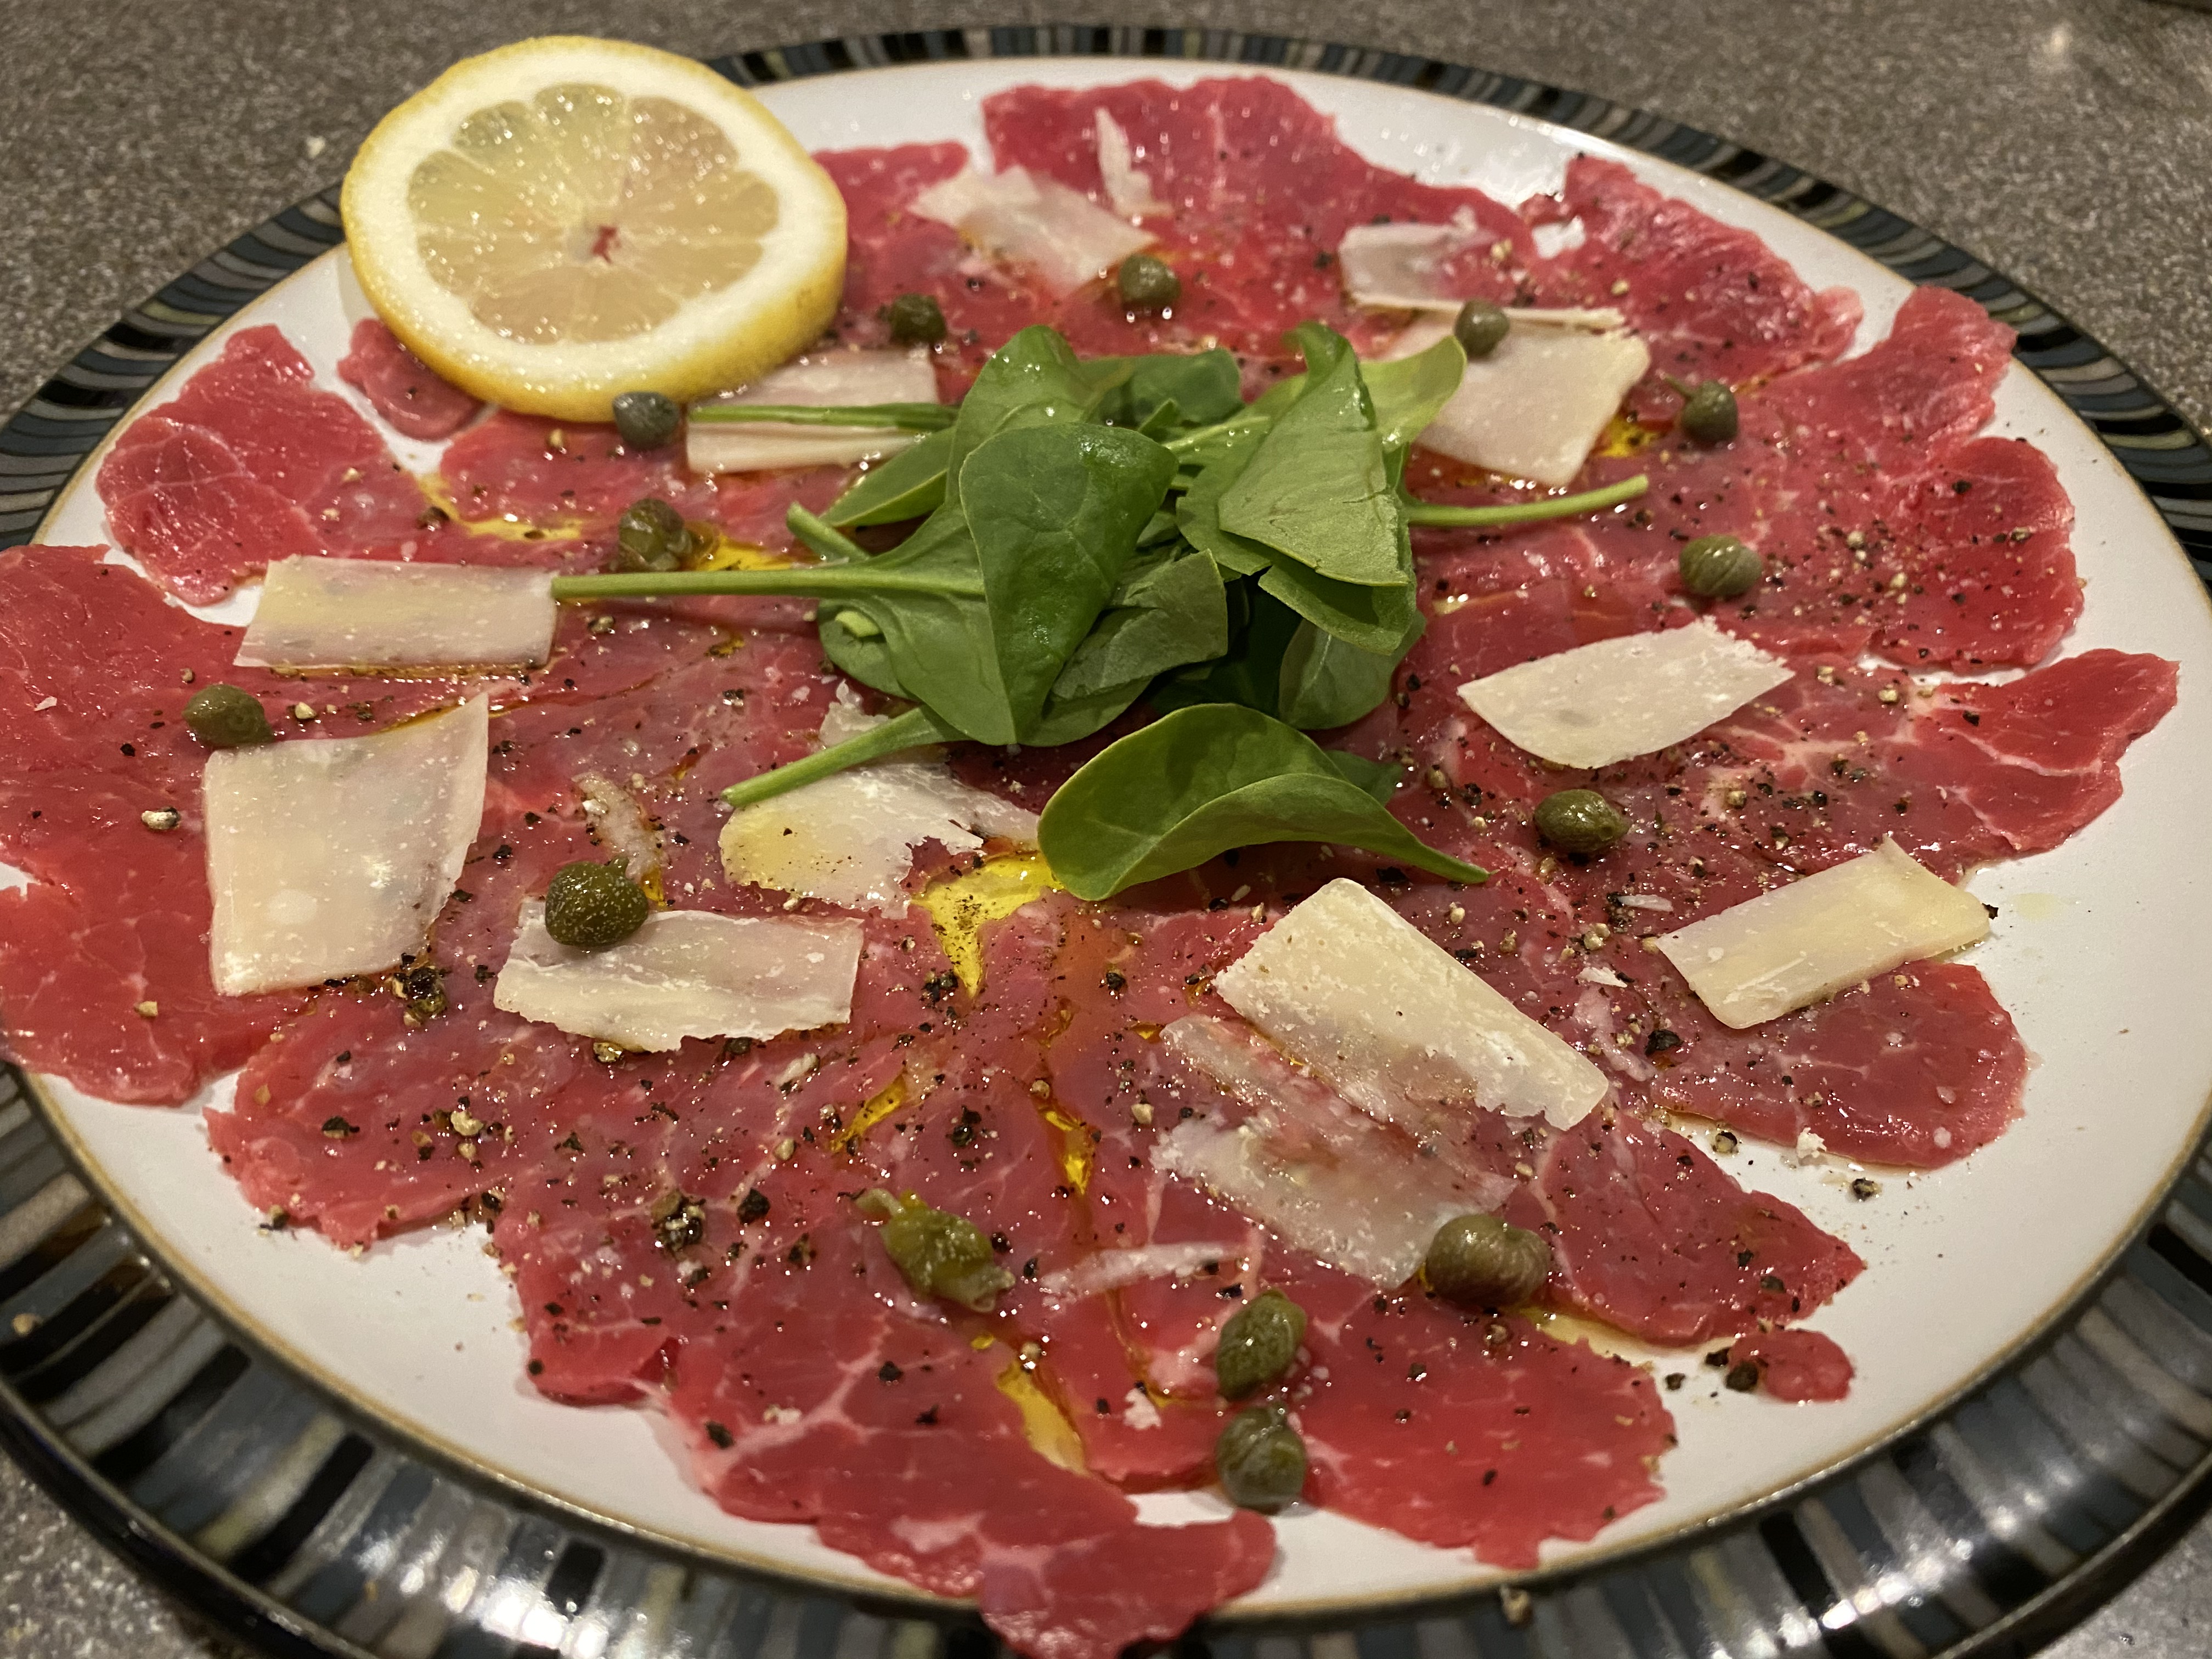
To serve the carpaccio, dress it with good olive oil, Kosher salt, pepper, lemon juice, shaved Parmesan, and greens. I also added some capers for good measure.

IMG_1707(1)

Alton’s carpaccio.

I served the carpaccio with good crackers. I honestly did not think homemade carpaccio would measure up to what I’ve had in restaurants, but Alton’s carpaccio was just as good as anything I’ve eaten out. Now, of course, this was using high-quality beef. This would make a great appetizer to serve to guests, as it is really quite simple to prepare, but is a restaurant-quality dish. Great recipe!

Chain of Bull Cheese Steaks

The final recipe of the tenderloin recipes uses the “chain” part of the loin to make cheesesteak sandwiches. We ate these sandwiches just last night for dinner. I had frozen my chain and pulled it out to thaw a couple days ago. To make these sandwiches, trim the chain of any excess fat and place it between sheets of plastic wrap that have been spritzed with water.

Pound the meat with a mallet until it is even in thickness for its whole length.

IMG_2256(2)

The chain portion placed in plastic and pounded until thin.

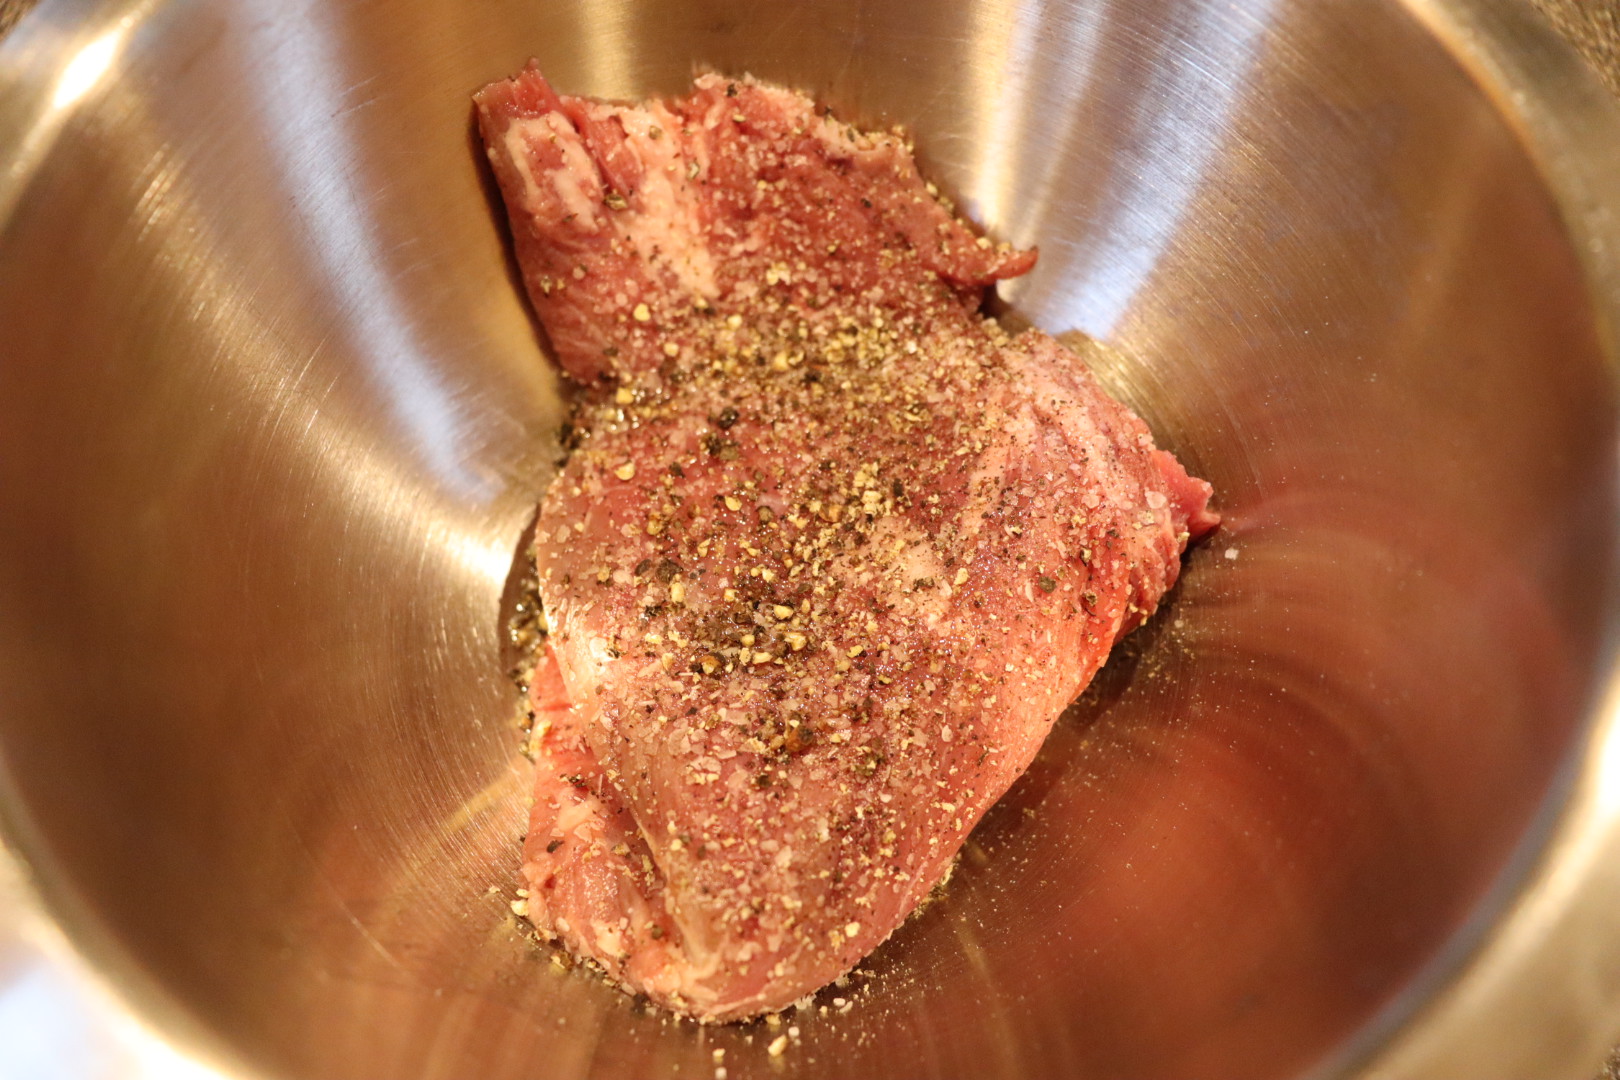
Place the meat in a bowl and add olive oil, Kosher salt, and pepper. Toss the meat to coat.

IMG_2257(2)

Chain placed in bowl and seasoned with olive oil, Kosher salt, and pepper.

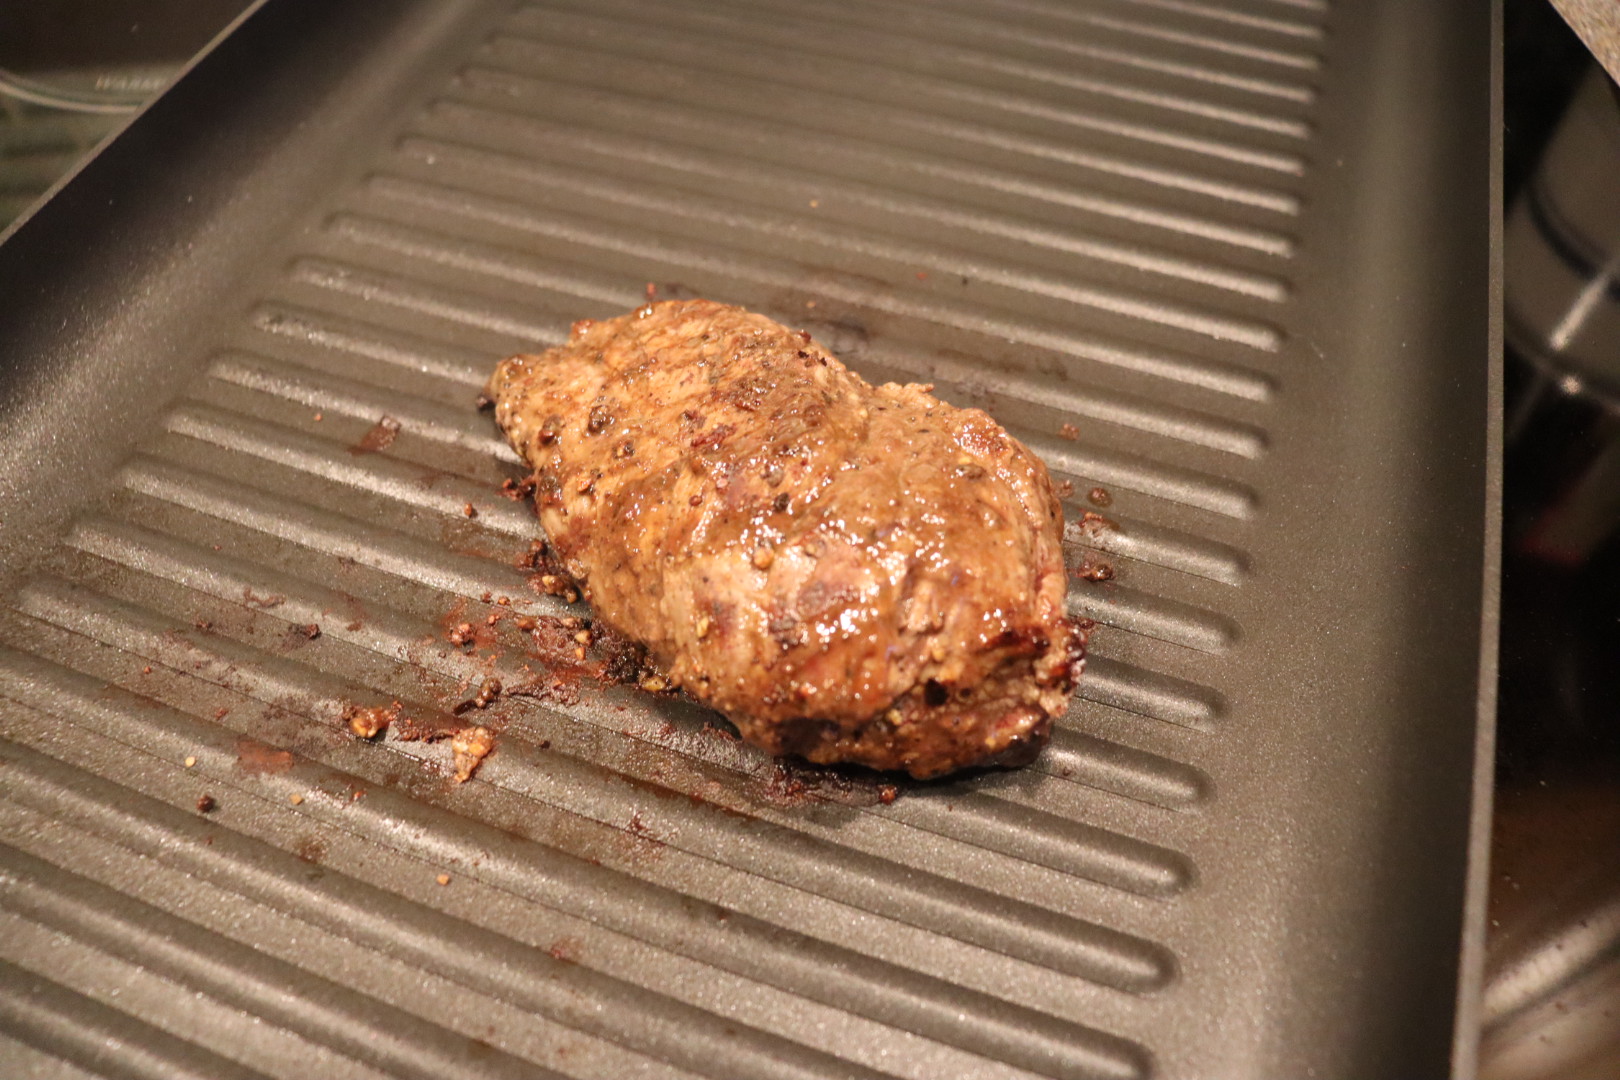
Heat a grill pan until it is hot and sear the meat on all sides for about eight minutes total.

IMG_2260(1)

Seared chain.

Remove the hot meat from the pan and wrap it tightly in foil. Add some additional olive oil to the grill pan and add one julienned onion. Cook the onion until is golden brown and soft.

Finely chop the cooked meat and pack it onto hoagie rolls.

IMG_2264(1)

Chopped chain meat.

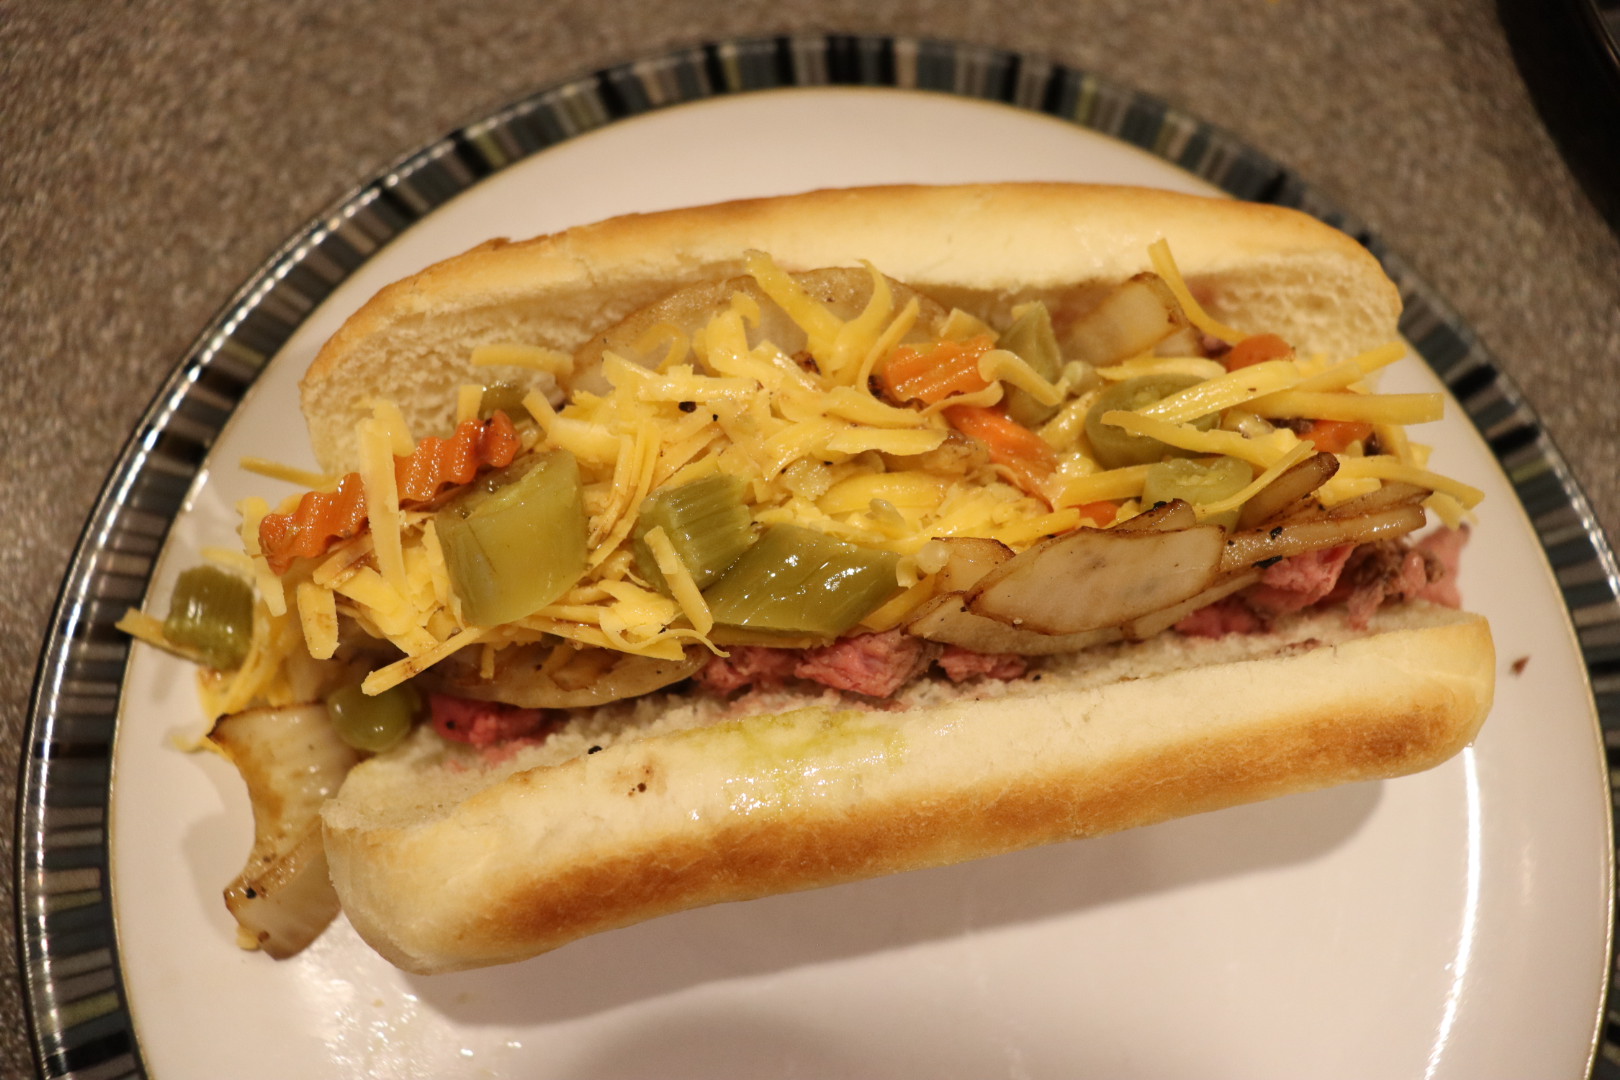
Top the meat with shredded Mimolette cheese and the warm onions. I could not find Mimolette cheese locally, so I opted for shredded Cheddar. And, we added a little bit of hot Giardiniera.

IMG_2267(2)

Alton’s cheese steak sandwich.

I know people are picky about their cheesesteak sandwiches, and I am a complete novice. All I can say is that the meat was very tender and the warm onions melted the cheese just enough to kind of bind everything together. I did appreciate the little punch of heat from the Giardiniera, so I would personally opt for that again, though some may view that as sacrilegious. I found this to be a really tasty sandwich. Is it a true Philly-style cheesesteak sandwich? Well, that’s a question for those more experienced than I.


I relish in the tradition of cocktail hour. I remember my maternal grandparents having an evening cocktail – Grandma’s drink of choice was a Manhattan. When I was little, my dad would come home from work and indulge in an evening martini, using the little etched martini glasses that were his father’s. I now have two of those glasses, but I save them only for special days.

Our barware also includes two decanters that came from Dad’s side of the family. For Ted’s 40th birthday Dad gave Ted a decanter he had received from his mother when he graduated from medical school, and we typically keep Scotch in there (when we have it). We keep dry vermouth in a teardrop-shaped decanter that Dad’s father got at an estate sale. Three generations of our family have now used that decanter for vermouth.

This episode of Good Eats features three types of cocktails, so we tried them for cocktail hour on three different nights. Alton also went over his bar necessities:  old-fashioned and Collins/highball glasses for drinks on the rocks, stemmed cocktail glasses and champagne flutes for drinks not on the rocks, a jigger (1.5 oz)/pony (1 oz) combo, ice, a Boston shaker, and a julep strainer.

Cocktails can have three components:  a base, a mixer, and an accent. A martini, for example, would have gin as a base, vermouth as a mixer, and an olive or lemon twist as an accent. Some cocktails only use two components, such as a rum (base) and coke (mixer). Now, let’s get to Alton’s drink recipes.

AB’s Martini

Alton’s version of a martini is pretty dry, meaning it has little vermouth in it. To make his version, place a cocktail glass in the freezer or fill it with ice to chill.

IMG_1954(2)

Martini glasses filled with ice to chill.

Put 1 C of ice in a cocktail shaker and add 1/2 a pony (1/2 ounce) of dry vermouth. Slosh the vermouth around to coat the ice.

Using a cocktail strainer, pour the vermouth out of the shaker, leaving only the vermouth-coated ice.

IMG_1957(1)

Strainer on shaker to pour out excess vermouth.

Add 2 1/2 ounces of gin (1 pony plus 1 jigger). I believe Alton may have used Gilbey’s London Dry gin, but he had the label covered. Stir the drink thoroughly. Alton prefers stirring because shaking makes the drink too cold, causing it to lose some of its aromatic qualities.

IMG_1959(1)

Gin added to vermouth-coated ice. Stirred, not shaken.

Place a single olive in your chilled martini glass and strain the drink into the glass.

IMG_1960(1)

A lone olive in each glass.

IMG_1962(1)

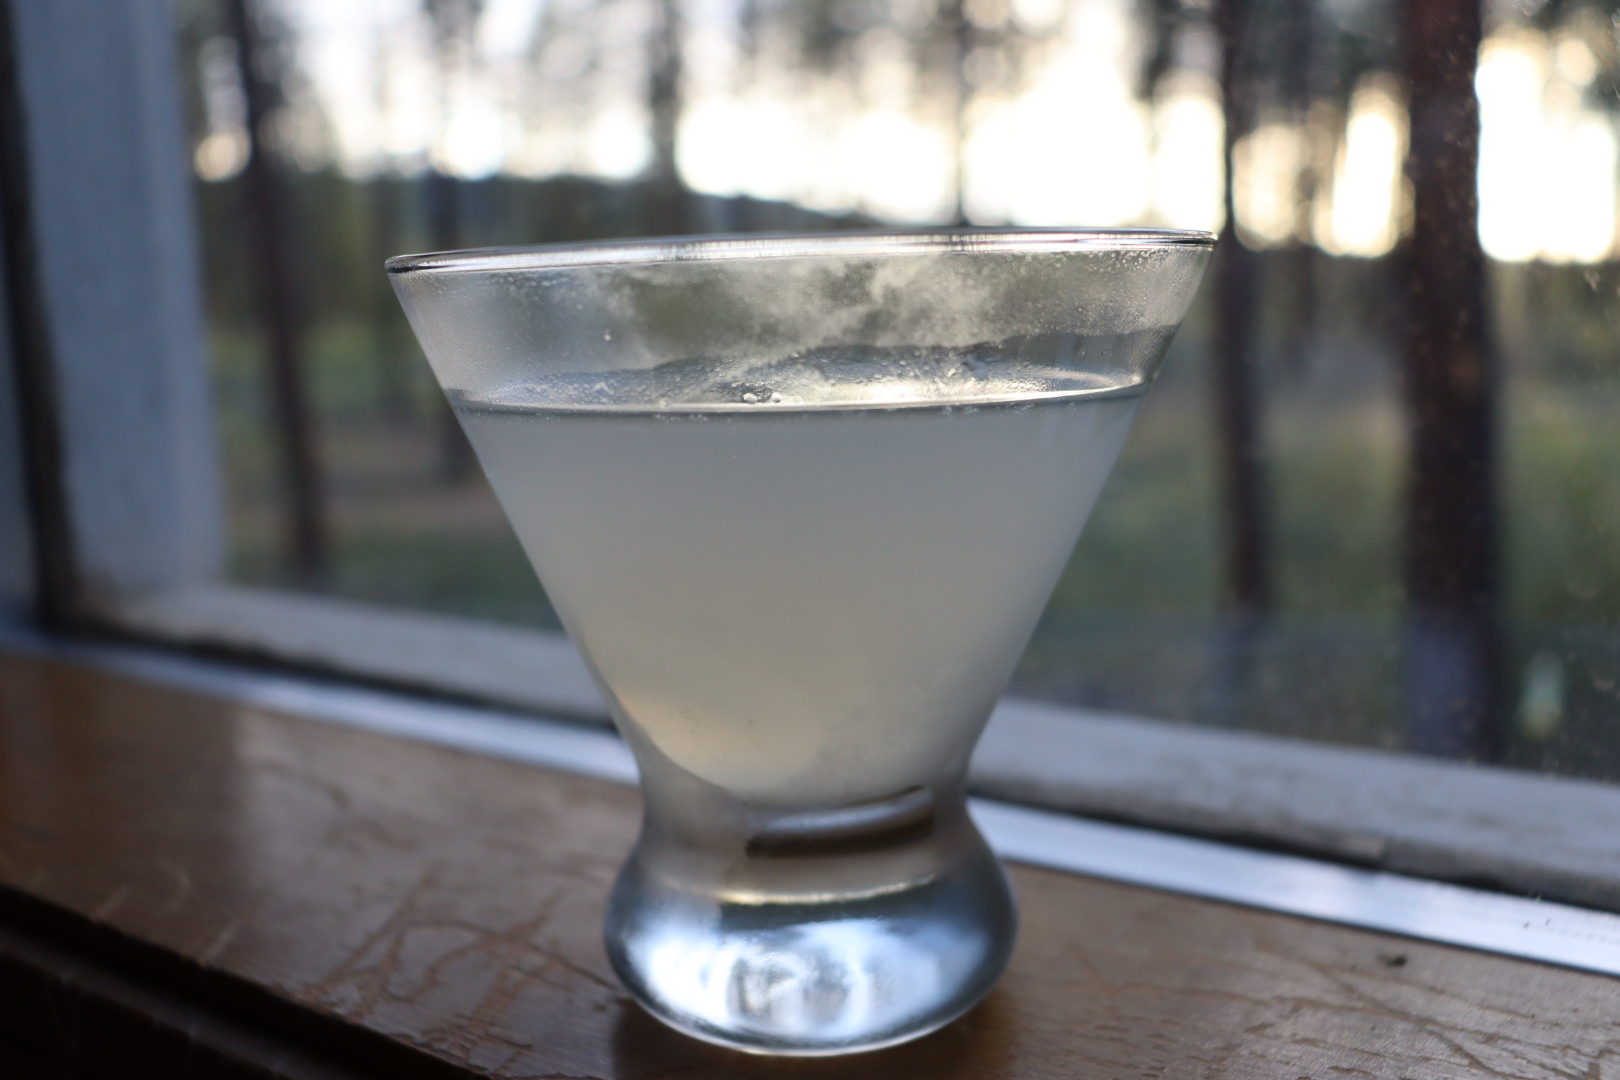
Alton’s martini.

So, it’s interesting that Alton liked his martini this dry in the past because he has been doing some live cocktail demos on Instagram lately, along with his live YouTube cooking show at his house. On one of the shows, he made a martini, and his current version contains much more vermouth. In fact, he uses a 2:1 ratio of gin to vermouth, stirring the ingredients together without pouring anything out. I suppose his preferences must have changed over the years. I typically drink a pretty dry martini because my dad drank them that way – it’s really the only way I’ve known them! In fact, I’ve made my martinis Alton’s original way since I first started making them years ago, so it’s really my go-to method. I happen to think that this makes a really fantastic dry martini. If you prefer your martinis with more vermouth, feel free to add more! I will admit that a wetter martini is more complex. Really, dry and wet martinis are completely different cocktails, so it’s worth it to try both. If you think you dislike gin martinis, give a wet martini a try. You just may find that you dislike super dry martinis, but that you enjoy those with a bit more vermouth. If you like your martinis on the drier side, Alton’s method is a surefire way to make a good one.

Daiquiri

I’m betting that when you think of a daiquiri, you picture a fruity, icy drink with whipped cream on top. Am I right? Well, there’s also a version that is served ice-free. For this drink, you will need to first make some rich simple syrup. Simple syrup is made by heating equal amounts of sugar and water until the sugar dissolves. Although he doesn’t mention it, Alton actually uses rich simple syrup in this recipe, which means it has more sugar than water. To make the syrup, combine 2 C sugar with 1 C water and heat on the stove until the sugar has completely dissolved. Let the syrup cool before using. You can store extra syrup in the refrigerator.

IMG_2049

Making rich simple syrup by dissolving 2 C sugar in 1 C water.

To make the drink, chill a champagne flute or a martini glass by placing it in the freezer or filling it with ice. Put a pint of ice in a cocktail shaker and add 2 oz of light rum.

IMG_2051

Ice and rum in shaker.

Add 1 oz fresh lime juice and 1/2 oz of the rich simple syrup.

You will want to shake this drink because it has cloudy/viscous ingredients. Shake the drink vigorously and strain it into your chilled glass.

IMG_2054(1)

Chilled glasses.

IMG_2056(1)

Alton’s daiquiri.

We don’t really drink rum very often at all, so this was a little different for us. This is sort of a pretty drink, as its pale green opacity looks appealing in the glass. I find this to be a very balanced drink, as it is simultaneously pleasantly sweet and tart. The alcohol flavor is not super strong, and this is an easy-drinking cocktail, which could be a potentially dangerous combo. This is a simple and delicious cocktail to add to your repertoire.

Mint Julep

The third cocktail in this episode is the bourbon-based mint julep. I have made mint juleps once or twice in the past (on Derby Day, of course), and they have been pretty underwhelming. I wondered how Alton’s recipe would make me feel about this drink. To make one mint julep, place 10 mint leaves (I used mint from our garden) in the bottom of an old-fashioned glass and add 1 1/2 t superfine sugar; you can make superfine sugar at home by blending sugar in a food processor.

IMG_2067(1)

Mint and superfine sugar in a glass.

Muddle the mint and sugar together until you have a green paste.

IMG_2068(1)

Mint and superfine sugar after muddling to a paste.

Add a splash of seltzer water to the glass and fill the glass 3/4 full with ice. Add 2 1/2 oz of bourbon and a final splash of seltzer.

Stir the drink, garnish it with a mint leaf or two, and serve.

IMG_2077

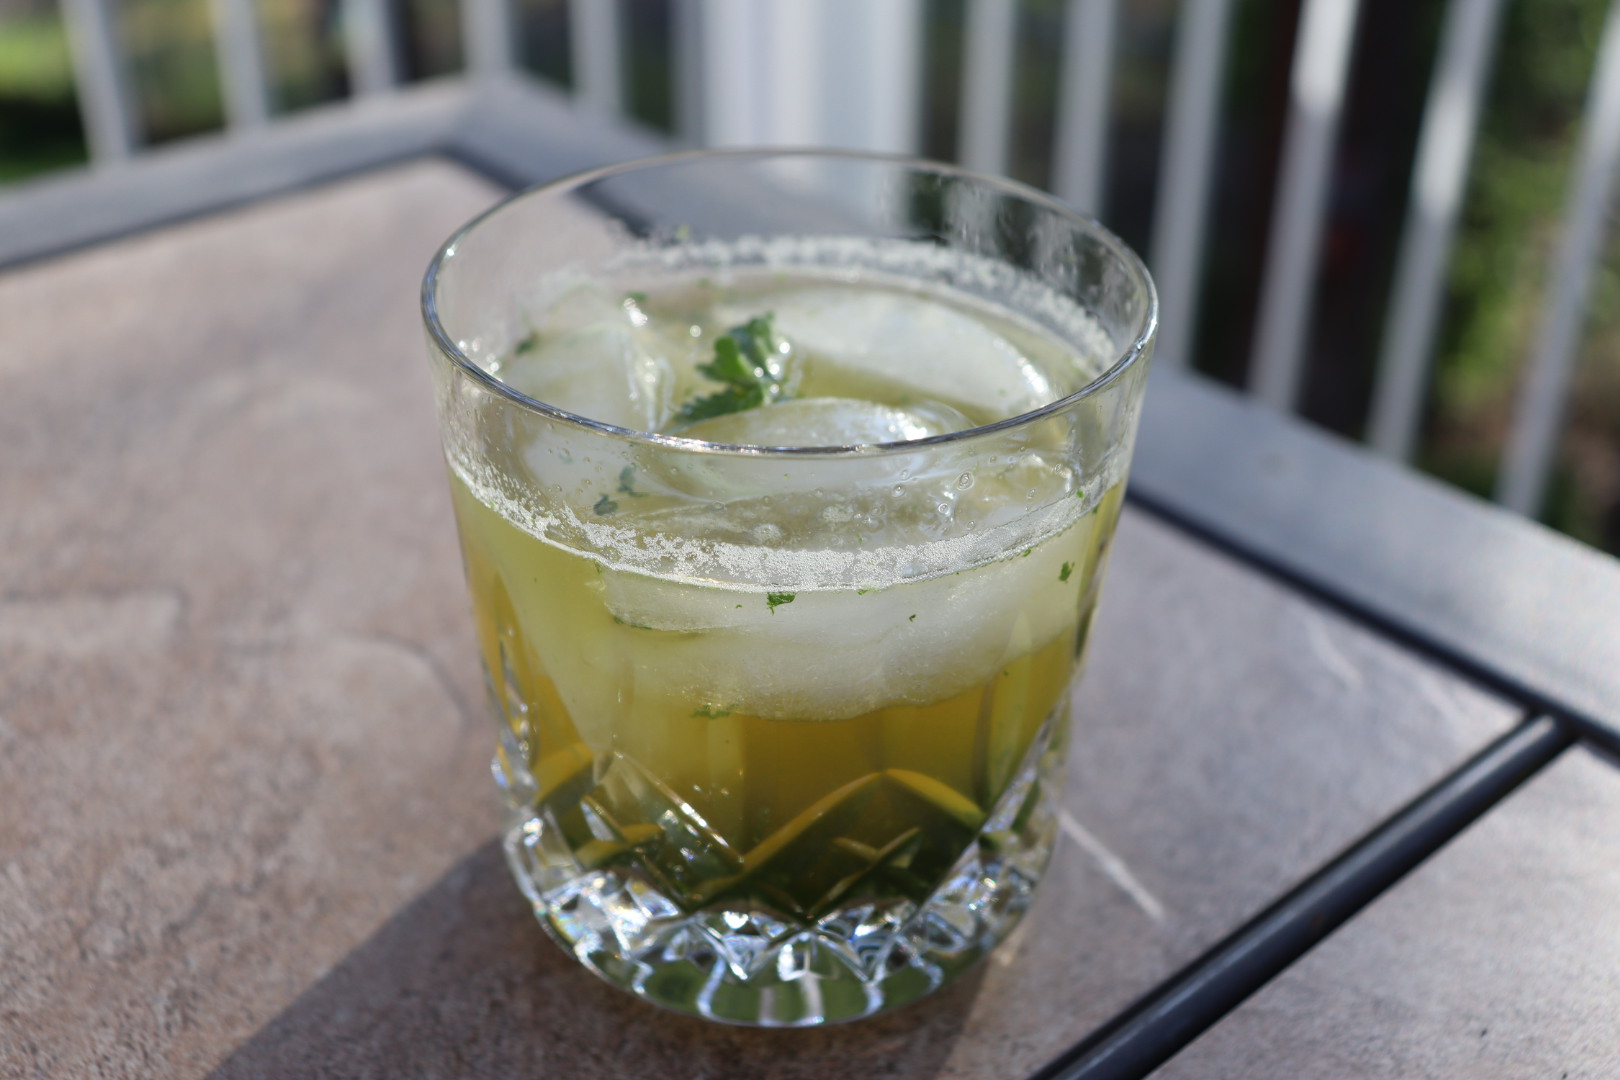
Alton’s mint julep after topping off with a final splash of seltzer.

I have never had a mint julep that I haven’t made at home, so I don’t have a large frame of reference, but this was by far my favorite mint julep. The mint was very apparent, but not overpowering, and the drink had just enough sweetness. The little bit of carbonation from the seltzer was a nice touch. Perhaps southerners would disapprove of this rendition of a mint julep, but I can only say that I really enjoyed this for a cocktail hour change of pace.


I’ve mentioned previously that my dear dad was a big Good Eats fan also, but he primarily watched for education. He would adopt a lot of Alton’s kitchen hacks along the way, and occasionally an episode would grab his attention enough that he would actually run to the store and try his hand at a recipe or two. Well, the 141st episode is one that got Dad really excited because it involves purchasing a whole beef tenderloin and butchering it at home into several cuts; as a surgeon, Dad was obviously proficient at such things, and he also really enjoyed learning new skills for himself. It’s also cheaper to do the butchering at home.

There is only one recipe in this episode, but prior to doing any cooking, Alton took to his demonstrations of butchering a tenderloin. When purchasing a whole tenderloin from a store such as Costco, you will want to look for a loin that has been peeled of extra fat and has the side muscle on. Apparently, this is called a PSMO (pronounced “pismo”) in the butchery world. It took a couple weeks for us to be able to find a whole tenderloin at Costco, as there was a bit of a meat shortage for a while, and when we did find one it was more expensive than normal.

When ready to begin cutting, rinse the whole tenderloin under water and let it drain in the sink for a few minutes.

IMG_2145(1)

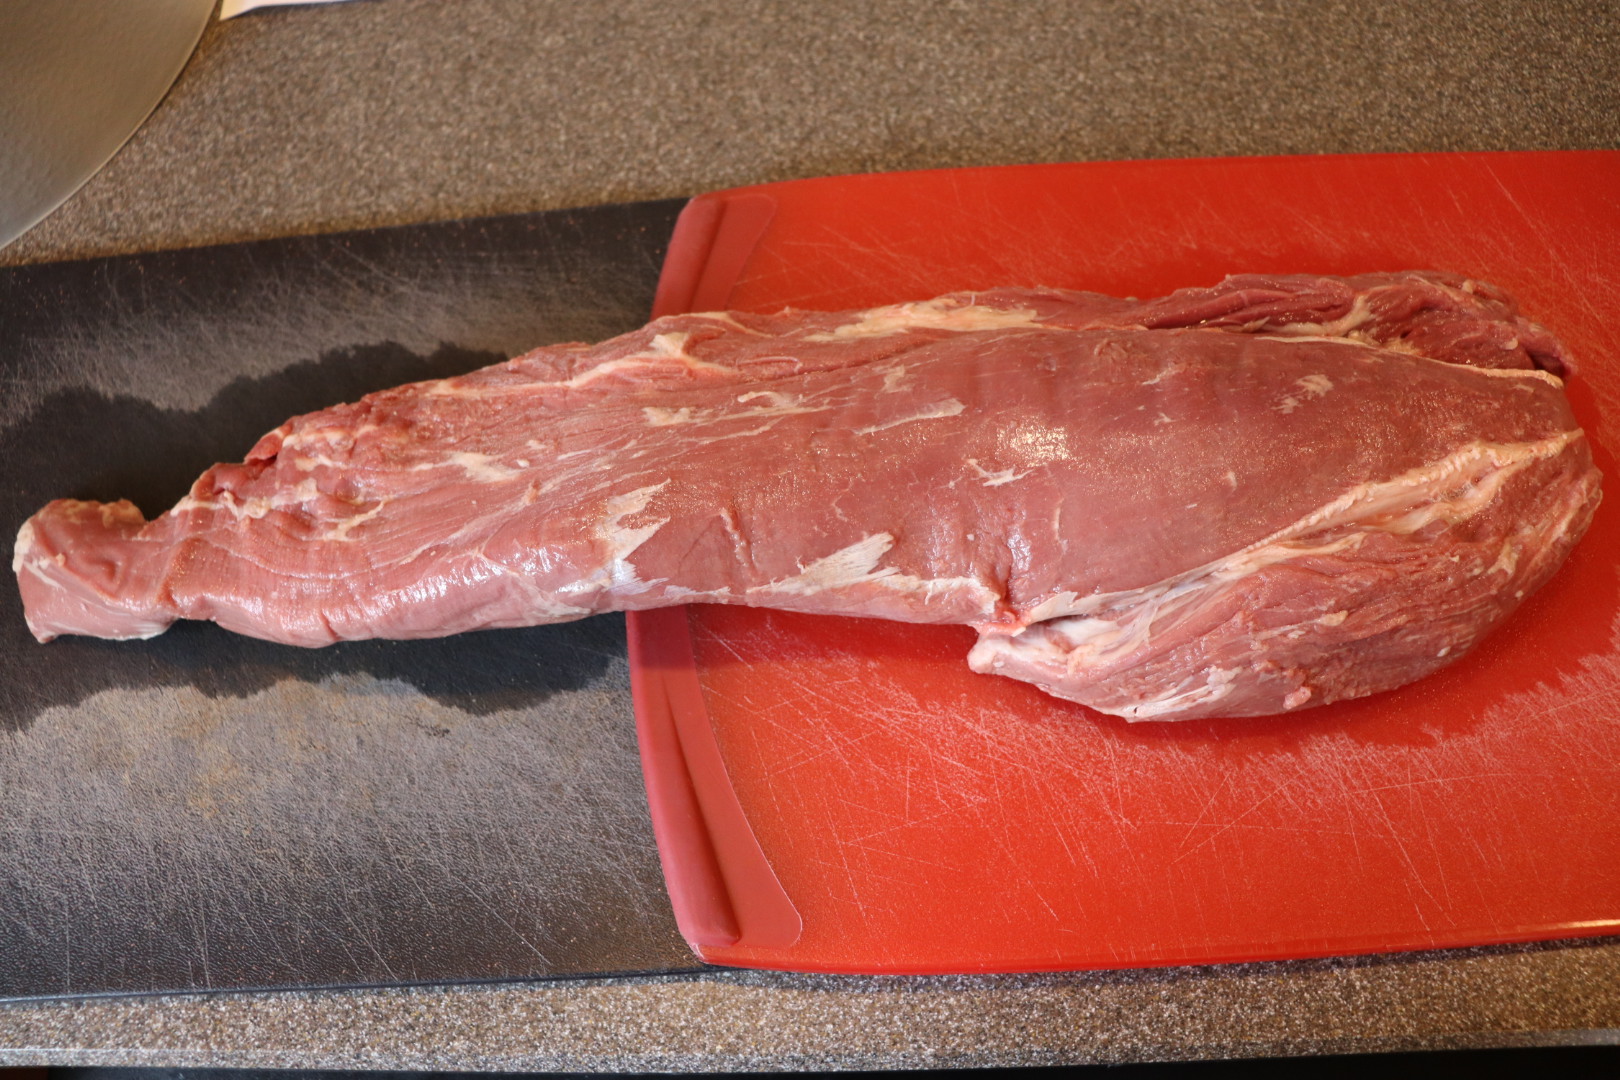
Whole beef tenderloin.

Place the loin on a long cutting board (I had to overlap two boards) with the vertebral/rough side down and the wide end away from you. If there is a large white membrane visible on the top of the meat, tear/peel/cut the membrane away to expose the tenderloin underneath. My tenderloin did not have much of this membrane.

Next, you will notice that the meat is composed of three distinct portions – the long tenderloin in the center and two additional muscles that are attached. The long thin muscle on the side of the tenderloin will come off next; it is easiest to do this by cutting from the thin end to the wide end. Once removed, set this “chain” muscle aside. This meat will be used to make Philly cheesesteak sandwiches in the next tenderloin episode.

IMG_2146(1)

Whole beef tenderloin. You can see the chain muscle running along the top and the small head muscle at the bottom of the wide end of the loin.

IMG_2147(1)

Here, the chain has been removed – to be used later for cheesesteak sandwiches. The head muscle will be cut off next – you can see it starting to separate now.

Flip the tenderloin over and remove any excess fat, shaving it off with a sharp knife running toward you. Your loin will have some silver skin on it, which is the tough, shimmery band of connective tissue that is inedible. If you have a boning knife, insert its tip under the band of silver skin, perpendicular to the loin, and lift the silver skin up. Place your finger under the silver skin and pull it tight as you slide the knife away from you to remove the silver skin. Discard all of the silver skin.

Since you have now removed the “chain” muscle from the loin, you will notice that you now have the main tenderloin and a small muscle that attaches to the wide end of the loin. Remove this small “head” muscle, setting it aside. This muscle will be used to make a stuffed tenderloin roast in the next tenderloin episode.

To portion the remaining meat, you will want to use a long slicing knife. Alton prefers to use a Granton knife, which has a long dimpled blade. I don’t have a Granton knife, so I used my sharpest chef’s knife. Without sawing through the meat, slice off the tip portion of the narrow end of the loin. Set this piece aside to make beef carpaccio later. Still working from the narrow end of the loin, use a ruler to cut a three-inch portion; this will be a butterflied filet because it is cut from a skinnier part of the tenderloin. To butterfly this piece, cut it almost all the way through at its center and fold it open to bring the sides together – you should now have a filet that is about 1.5 inches thick. The cut sides will now form the flat top of the filet.

IMG_2152(1)

Butterflied filet at the top and other filet below.

Next, cut three more filets, each 1.5 inches thick. We’ll get to cooking the filets soon here.

IMG_2148(1)

Butchered tenderloin. Top left is chain muscle for cheesesteak sandwiches. Below that is a portion that will be used for a stuffed roast. Then there are the four filets (the top one is the butterflied one), and the small piece of meat in the upper right corner is for carpaccio.

You should be left with a remaining center hunk of tenderloin that is about 1-1.5 pounds. This piece will also be used later in the next tenderloin episode to make a center cut tenderloin roast.

At this point, if you plan to use the meat soon, you can double wrap it in plastic and store it in your refrigerator. For longer storage, vacuum seal the meat and stick it in the freezer.

Steak au Poivre

After portioning that entire tenderloin, this episode only provides a recipe for the four filet portions of the loin. The remaining cuts of meat will be used in the second tenderloin episode, which, oddly, is not the next episode. Instead, there is a cocktail episode that separates the two tenderloin episodes. It seems really silly to me that the two tenderloin episodes didn’t air back-to-back since the second episode is a continuation of the first. So, yeah, I froze most of the meat I cut from my tenderloin. The filets, though, I did not freeze, but rather used to make Alton’s steak au poivre. I only cooked two filets, though, instead of four. For four filets, you want to first grind 2 T of black pepper; you want this pepper to be very coarsely ground. If your pepper mill doesn’t do a very coarse grind, place the whole peppercorns in a pie tin, top them with a towel, and crush them with a mallet. Season your four room temperature filets with Kosher salt on both sides.

IMG_2204(1)

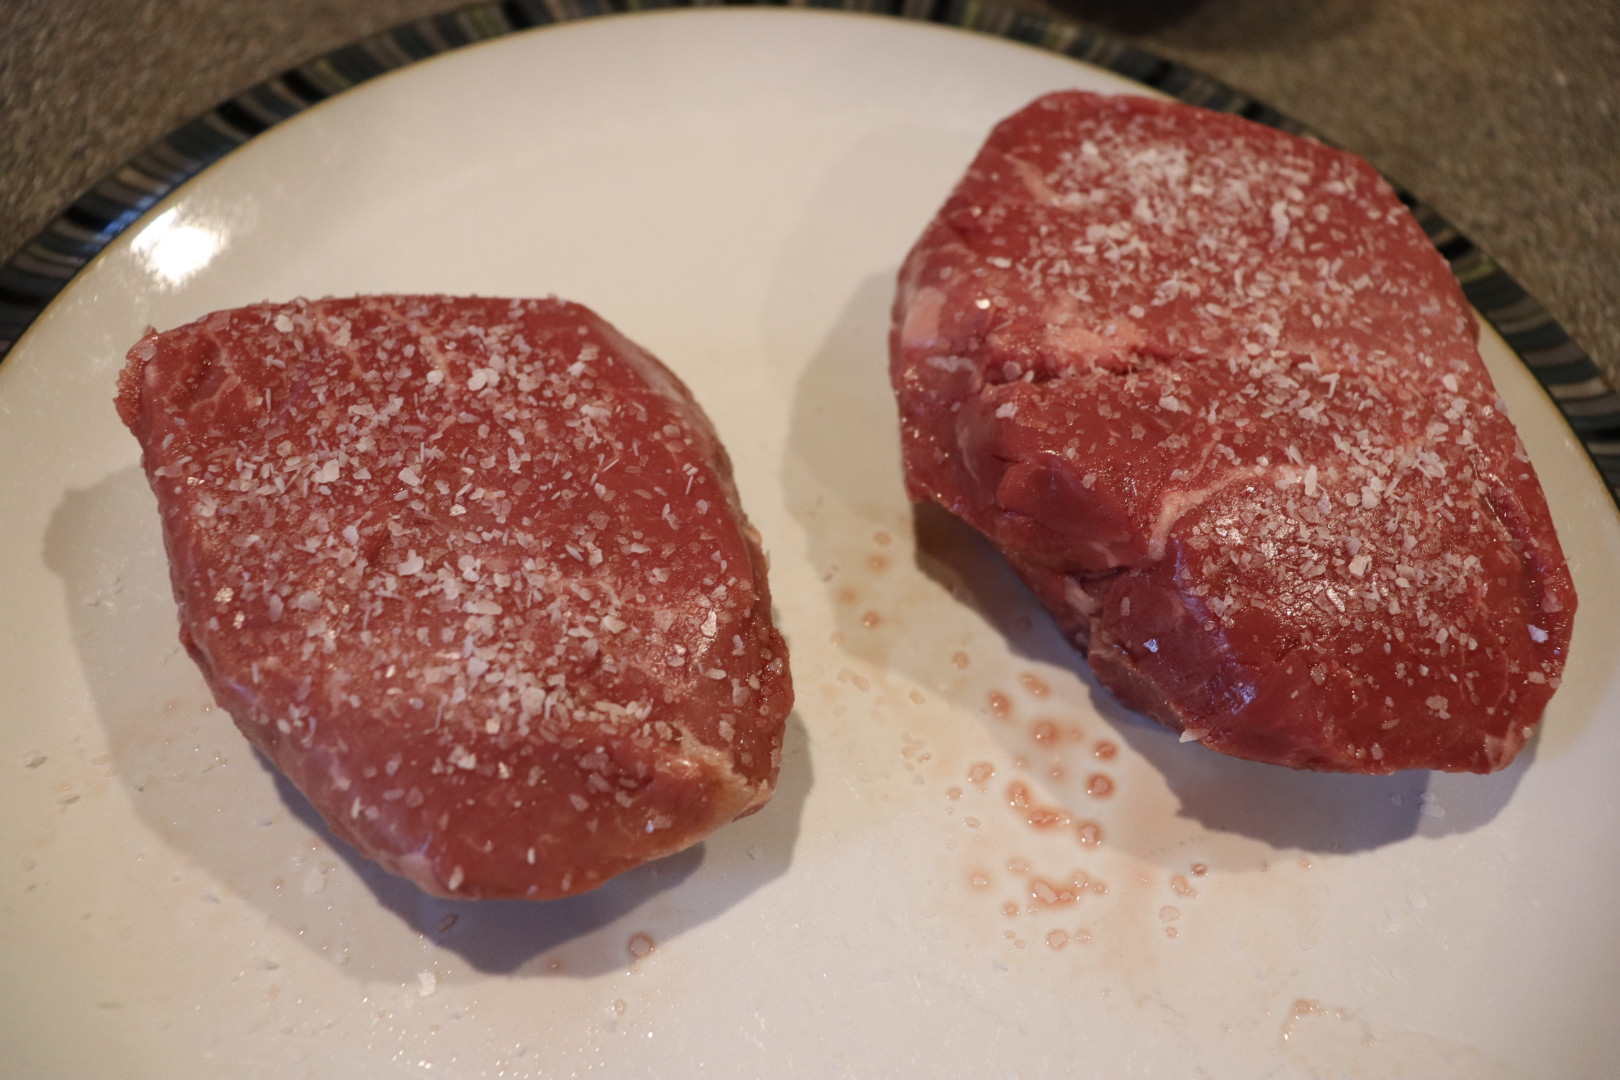
Filets (the right filet is the larger butterflied one) seasoned with Kosher salt.

Then, press the filets into the ground pepper on both the top and bottom sides.

Place a 10″ skillet (NOT non-stick) over medium-high heat, adding 1 T butter and 1 t olive oil (not extra virgin).

IMG_2202(1)

Butter and olive oil in pan.

When the fat just starts to color and you see a tiny bit of smoke, add the steaks to the pan, cooking them for four minutes per side for medium rare. I did not do the best job with butterflying my one filet, so it ended up being considerably larger than my other three filets. Since Ted likes his steak a little less cooked than I do, I figured I would cook the larger one for Ted simultaneously with a smaller filet for me, and they would be done around the same time.

Transfer the steaks to a warm plate on a heating pad and cover them with foil.

Pour any remaining fat out of the pan (my pan had none), leaving the solids. Set the pan over high heat.

IMG_2216(1)

Pan after removing steaks.

Turn the burner OFF and add 1/3 C of Cognac to the pan. Use a lighter to carefully ignite the alcohol.

IMG_2223(1)

Cognac added to pan and ignited.

When the flames have dissipated, place the pan back over medium heat and scrape the solids off the bottom of the pan with a whisk. Add 1 C heavy cream, bringing it to a boil over medium-high heat. Cook the sauce over low heat until it has thickened to your desired consistency. Taste the sauce and adjust for seasoning with Kosher salt and pepper. Stir in 1/2 to 1 t additional Cognac.

Add the warm steaks back to the pan and turn them to coat with the sauce.

Serve the steaks immediately.

IMG_2234(1)

Alton’s steak au poivre.

I don’t cook steaks often, and I always really worry about overcooking them, especially when they are good cuts of meat. I cooked my steaks for four minutes on each side and they ended up being a bit underdone, unfortunately. I chose to use a pan of my parents’ that I really am not familiar with, so maybe I should have gone with my cast iron instead? I think an extra minute of cooking on each side would probably have worked very well in the pan I used. The pepper crust on the meat was fantastic and the meat almost melted in your mouth. The sauce was rich without being heavy, and the Cognac gave the sauce a little sweetness to contrast with the heat of the black pepper. This really was quite delicious. If only I had cooked my steaks just a tiny bit longer…